6 Projects to Banish Boredom from Your Yard
In Yard & PatioSave time and money while adding touches of awesomeness to your yard.
Work with the weather, not against it for a yard that thrives.
Save time and money while adding touches of awesomeness to your yard.
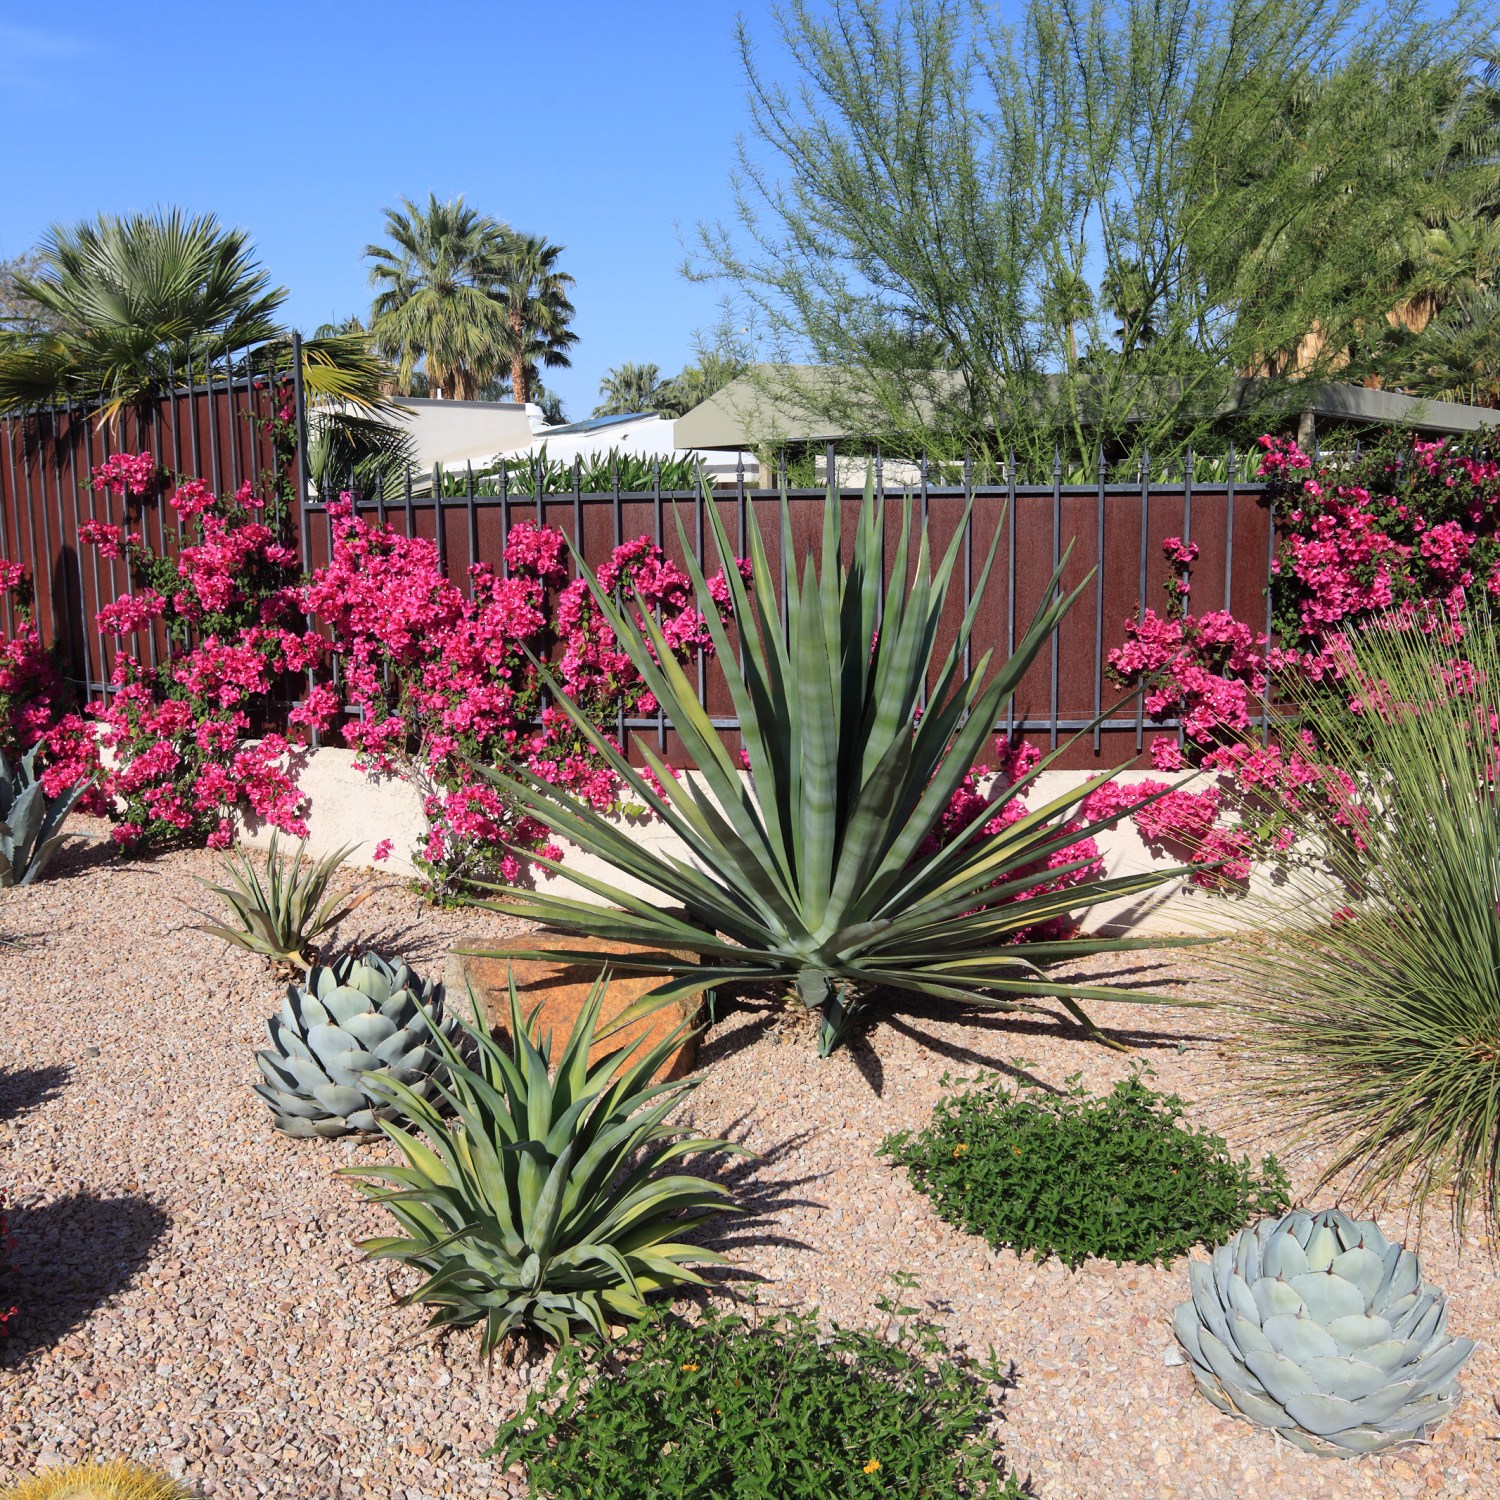
No-water and low-water ideas for a drought-friendly yard.
Yards are meant for fun times — not chores.
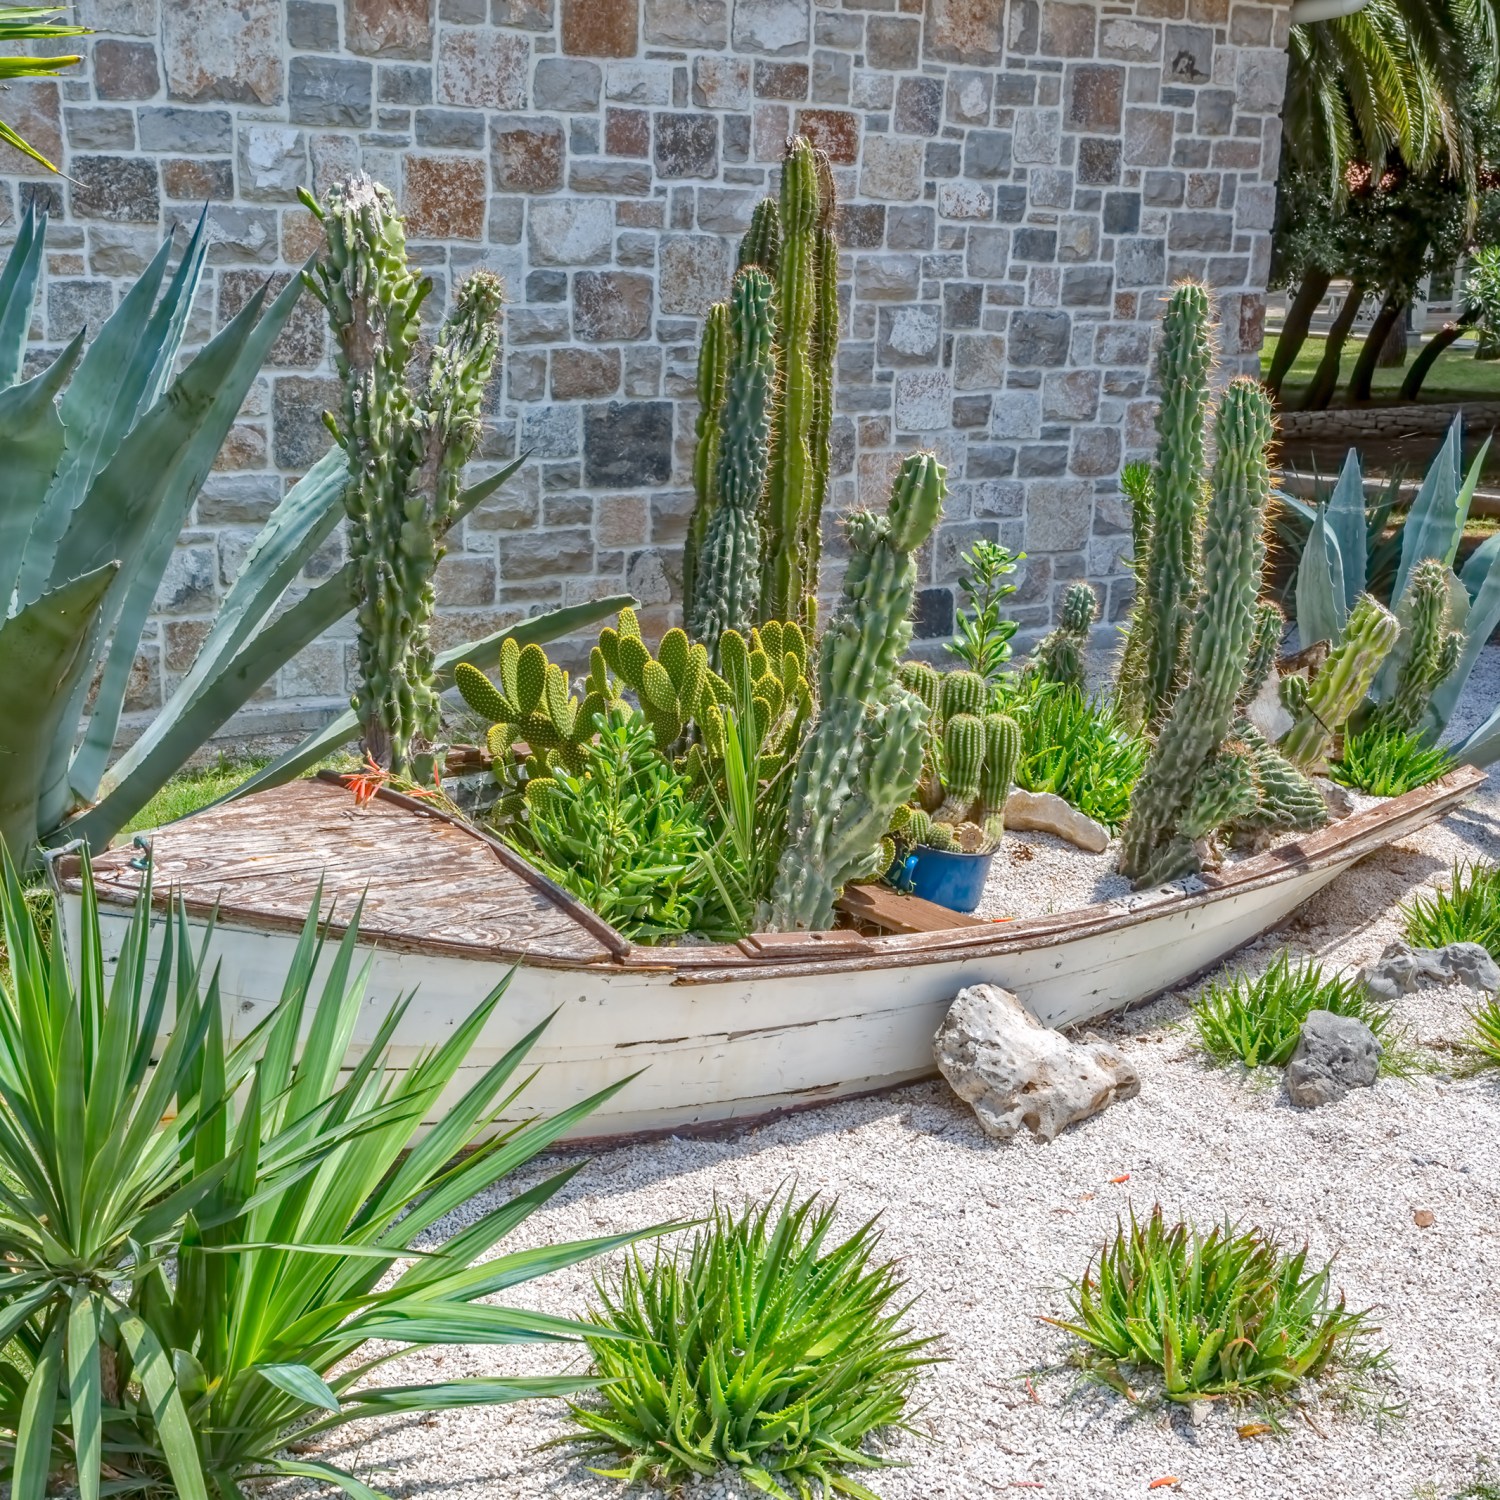
Gorgeous, cheap, and practically care-free — what’s not to love?!

Pick nature-friendly landscaping options to bypass weather fallout.
A new way to look at landscaping can protect your yard from severe weather patterns.
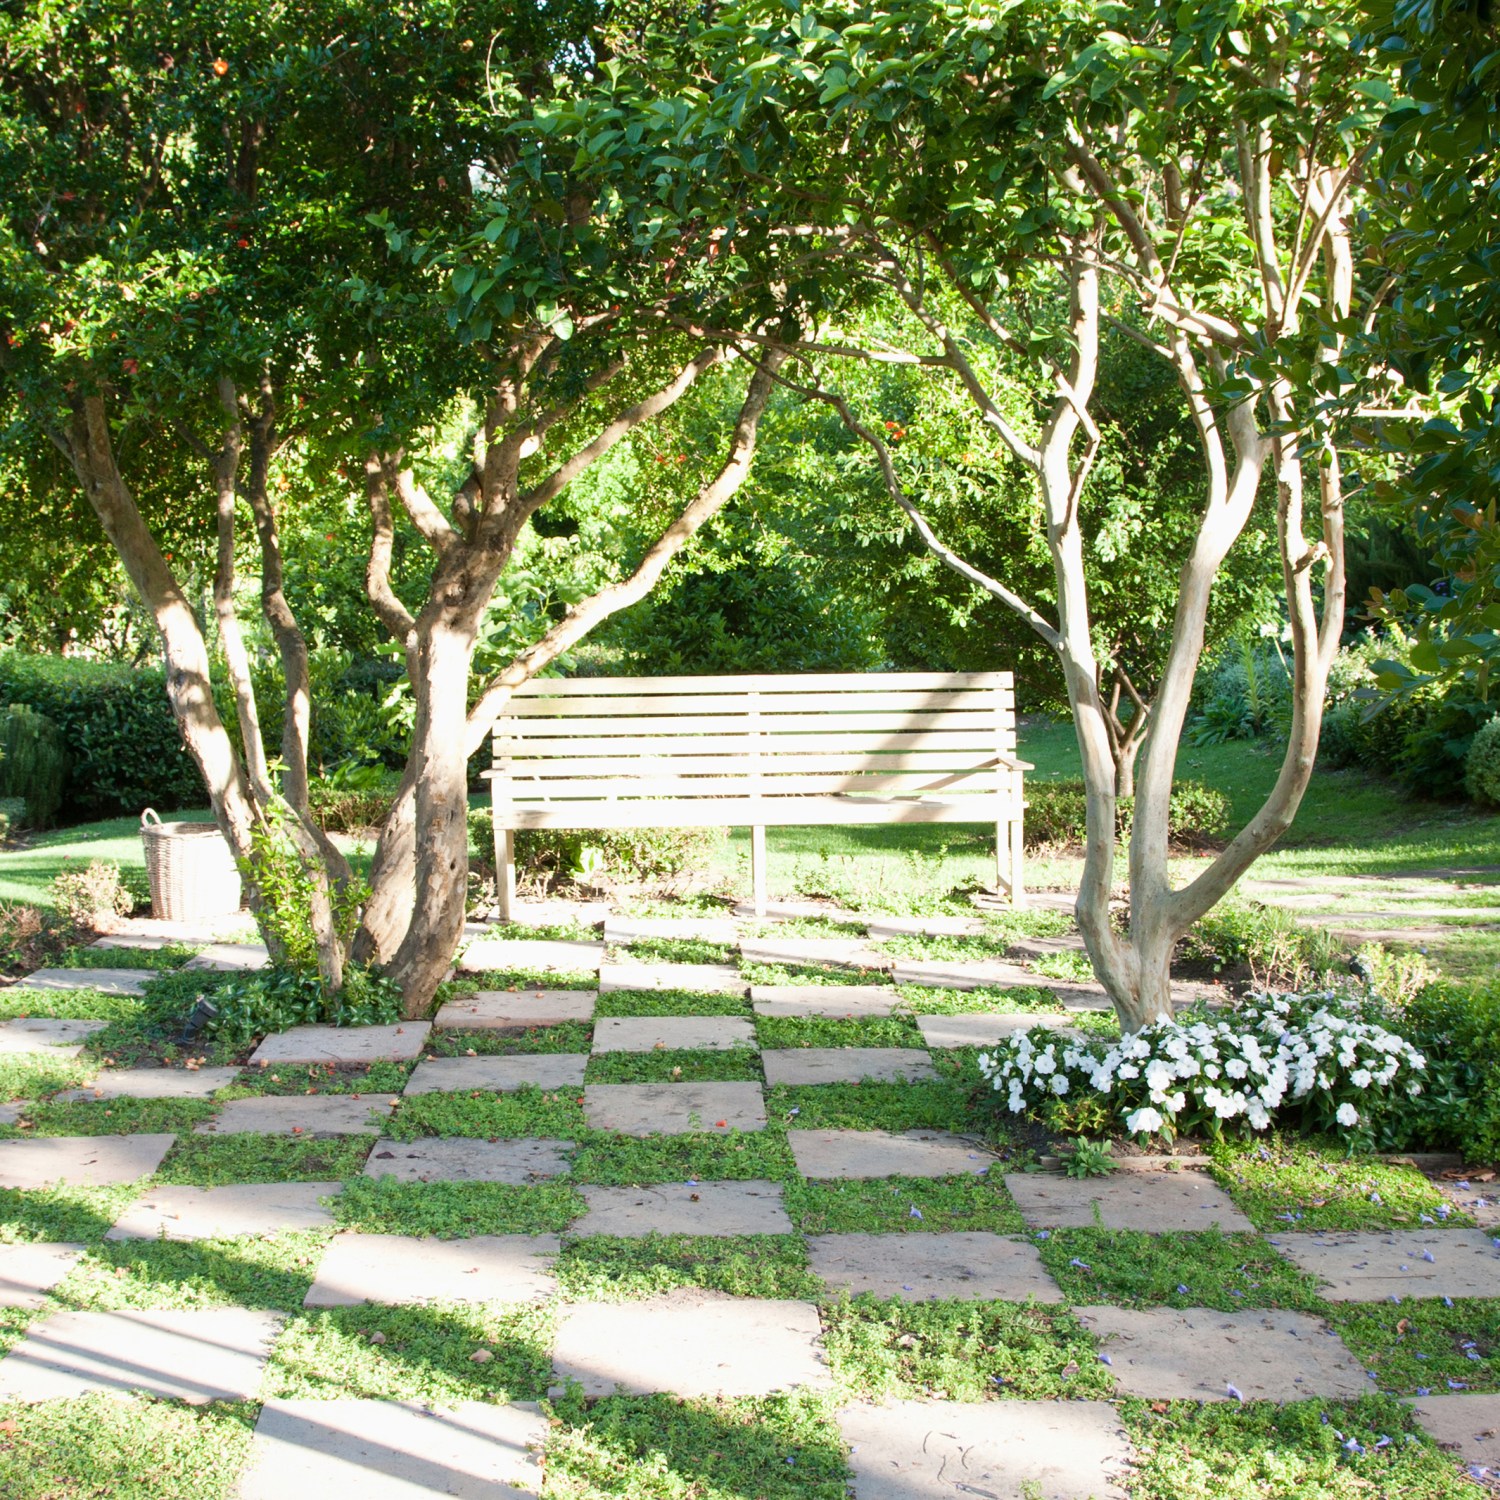
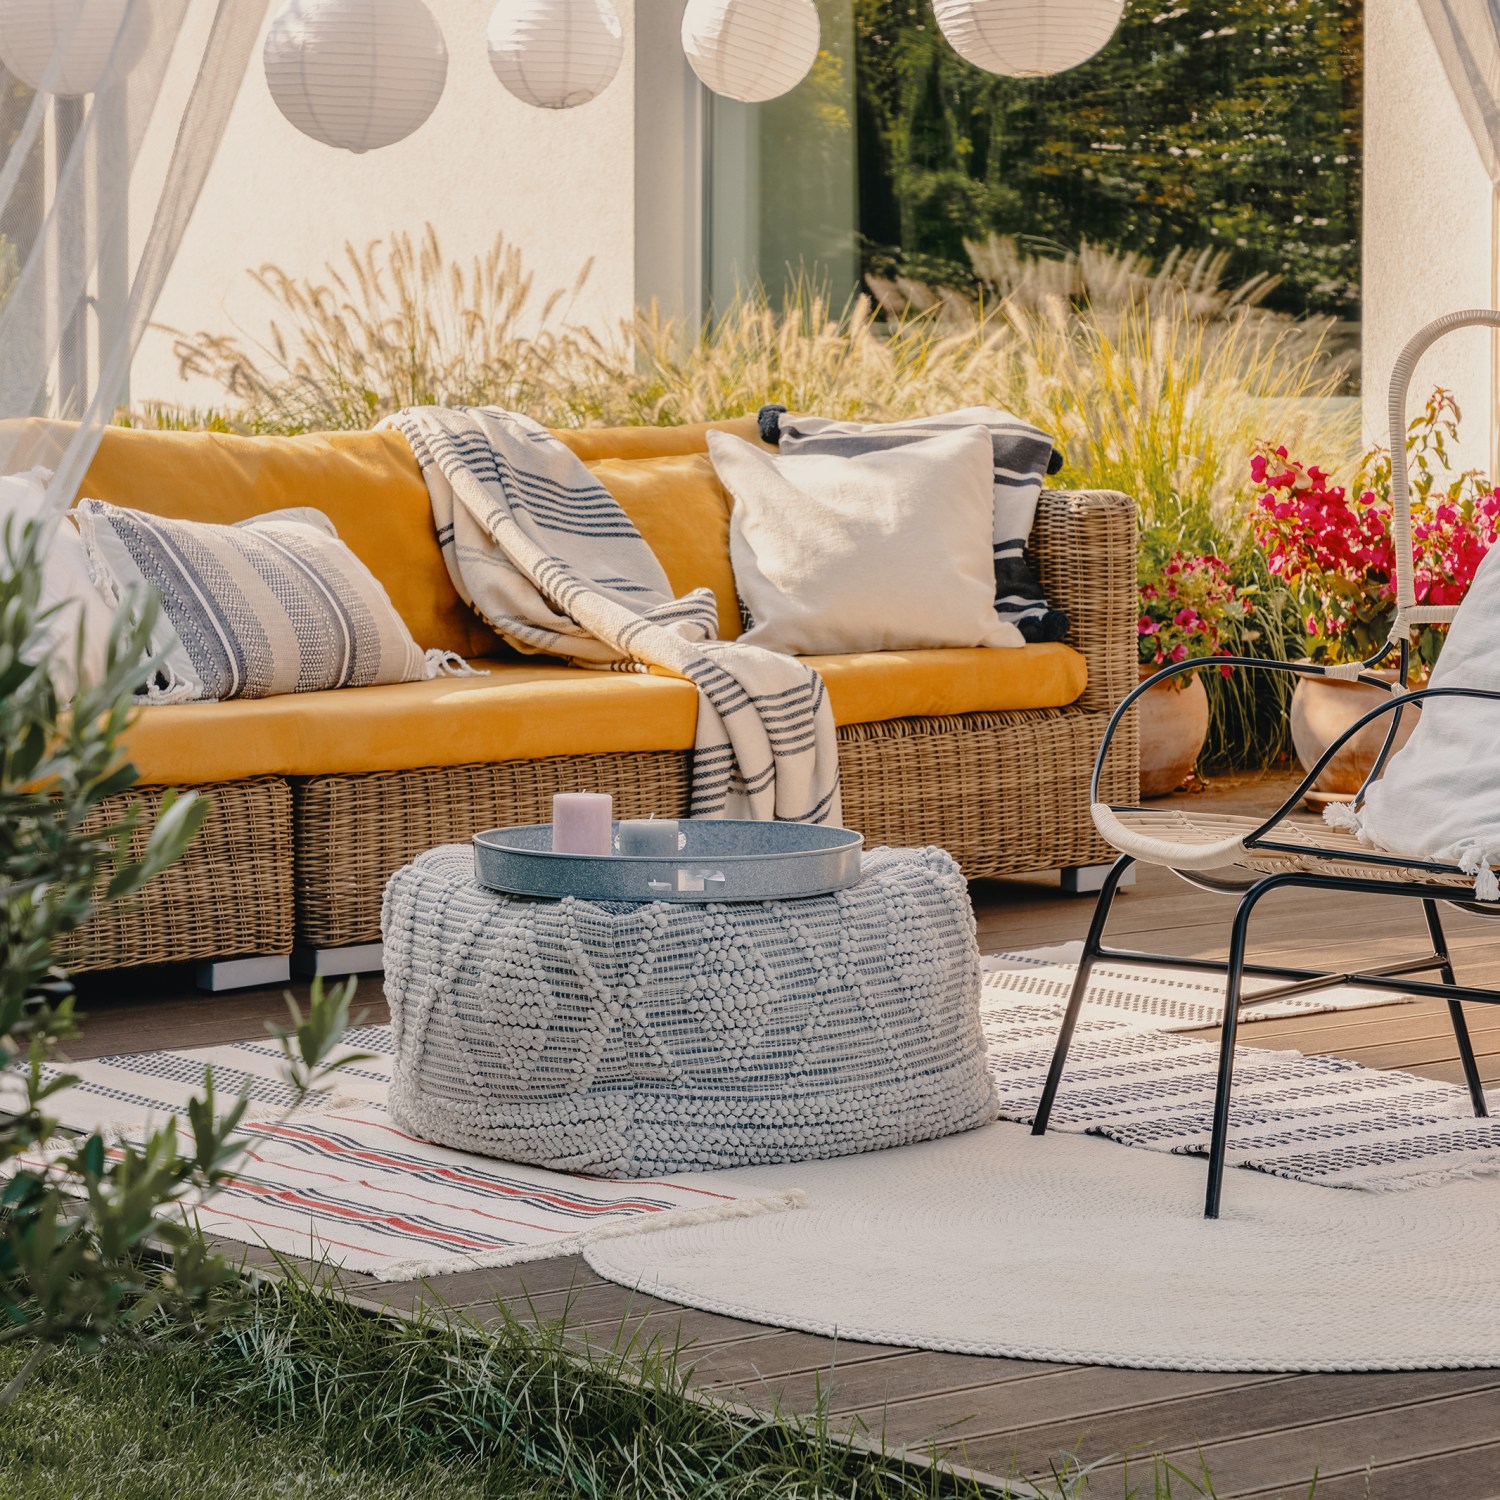
Small, creative touches for your open-air spaces that’ll pull you outside all summer long.
No DIY skills necessary for these outdoor projects. Did we mention they’re really, really easy?
Stay away from rubber mulch. And Bradford pears.
Yards are meant for fun times — not chores.
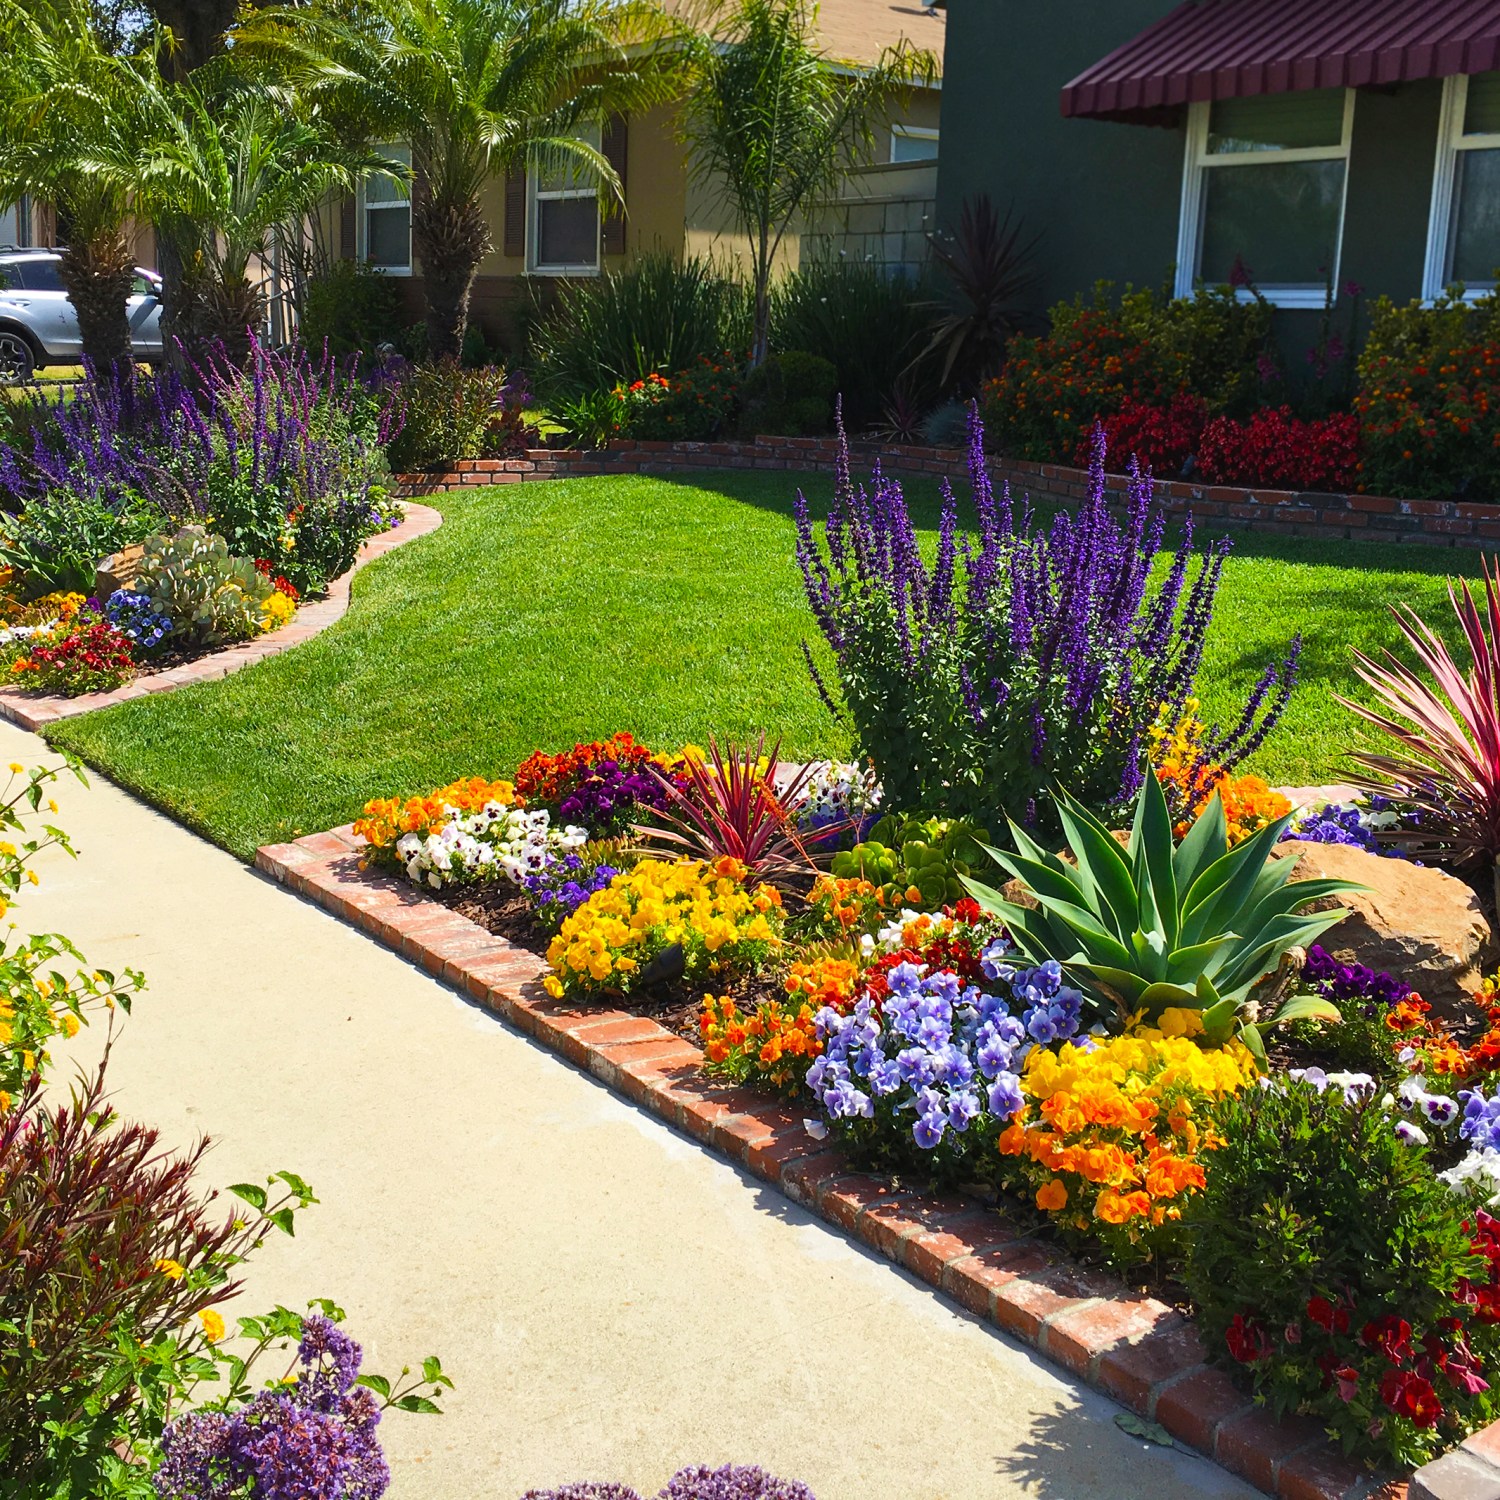
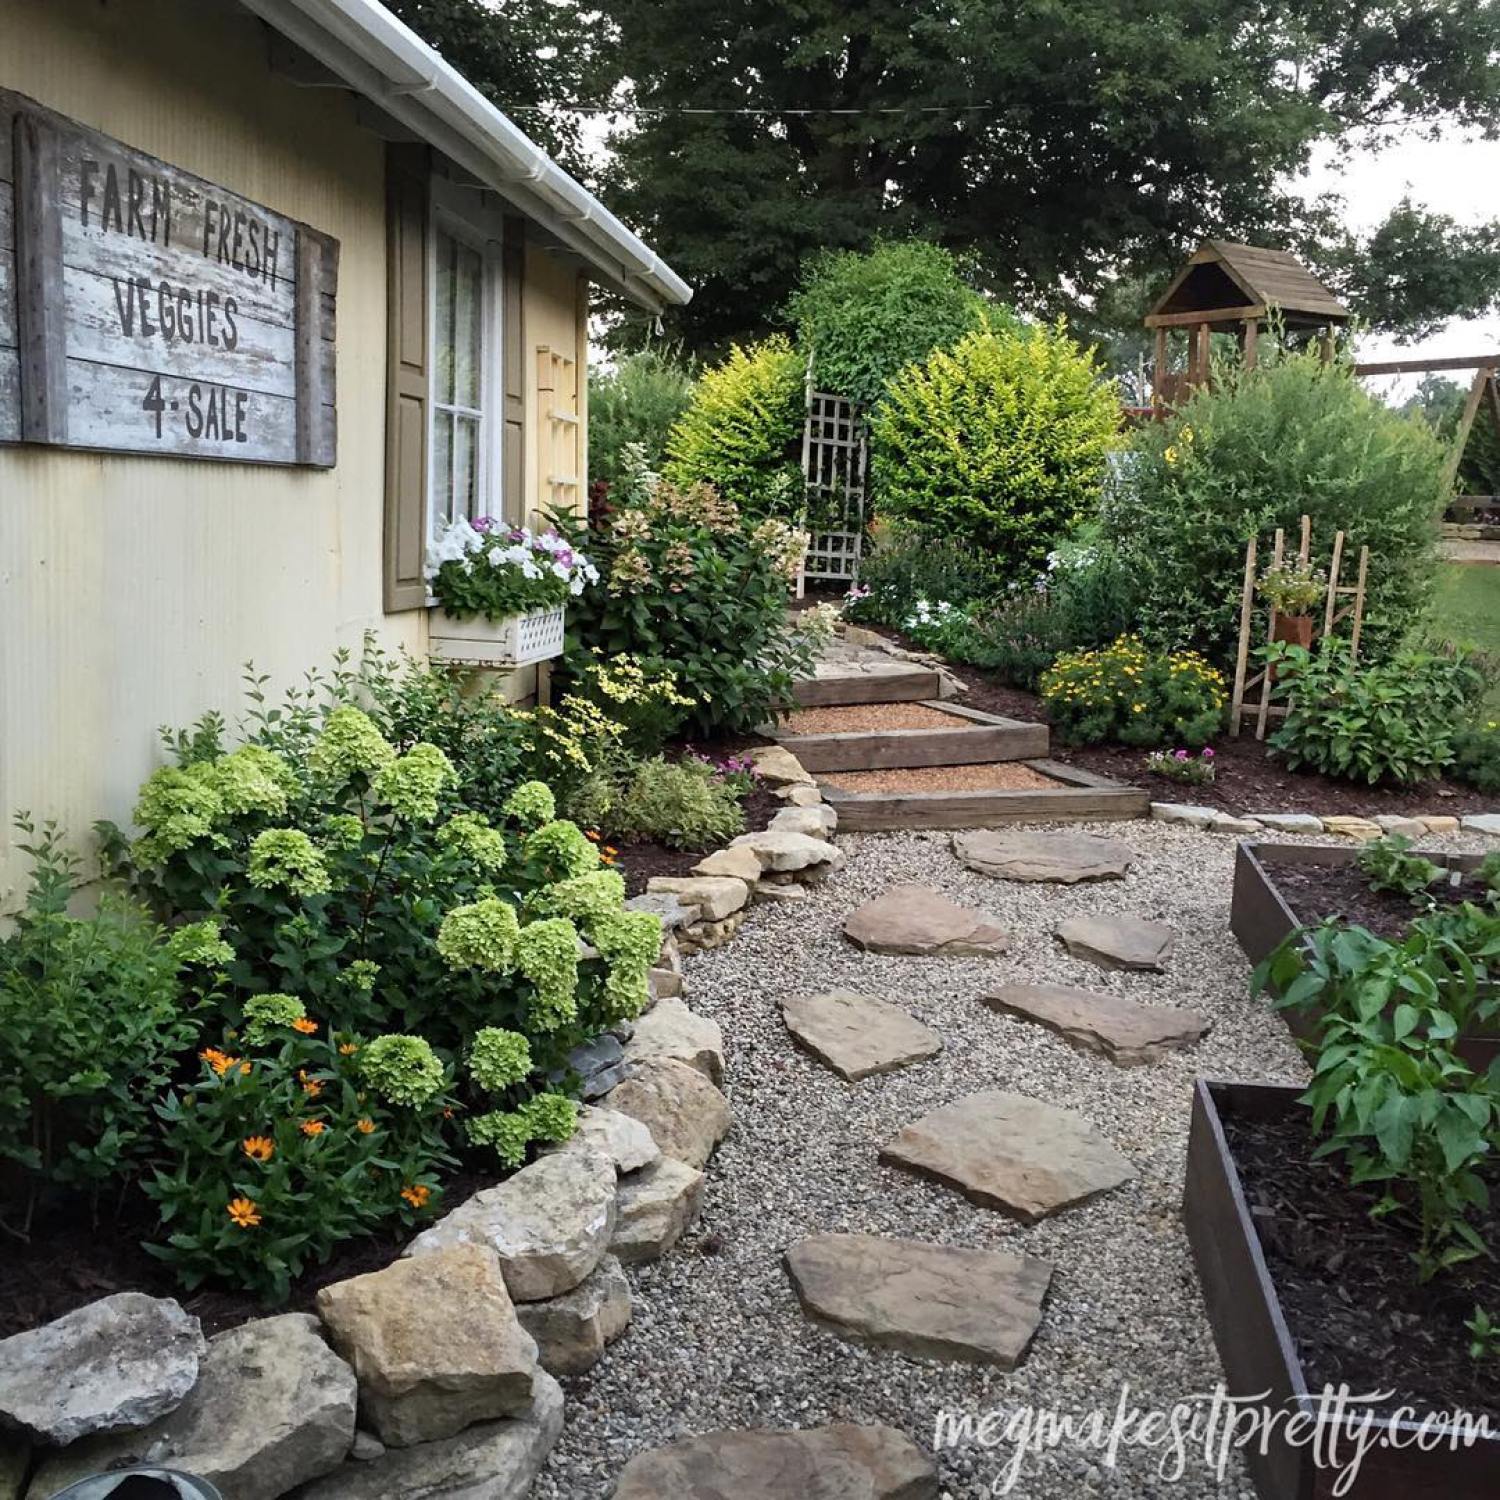
Here are a few tips and tricks for your front yard’s landscaping.
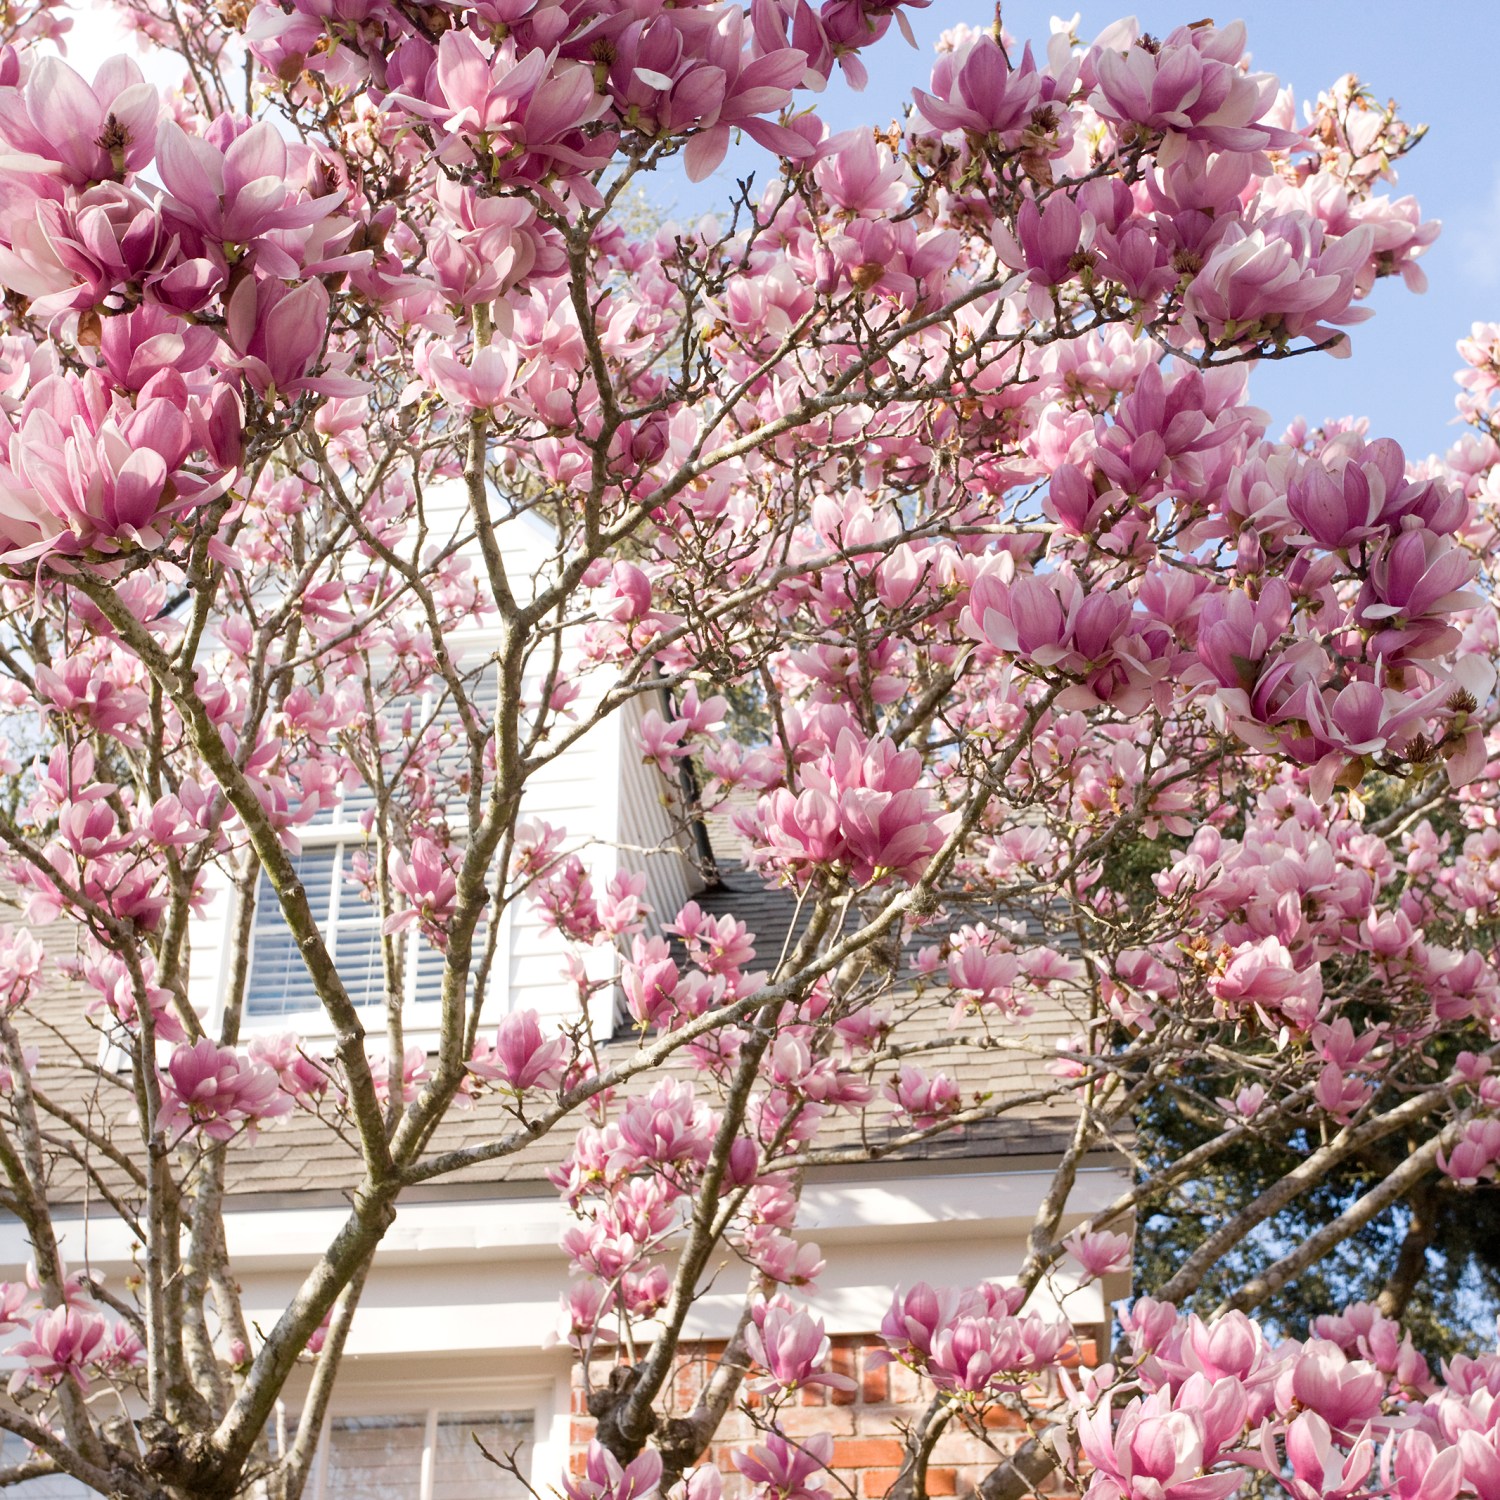
Easy-care trees with looks that stun.
No need for fancy DIY skills, a lot of money, or a ton of time to pull off these yard upgrades.
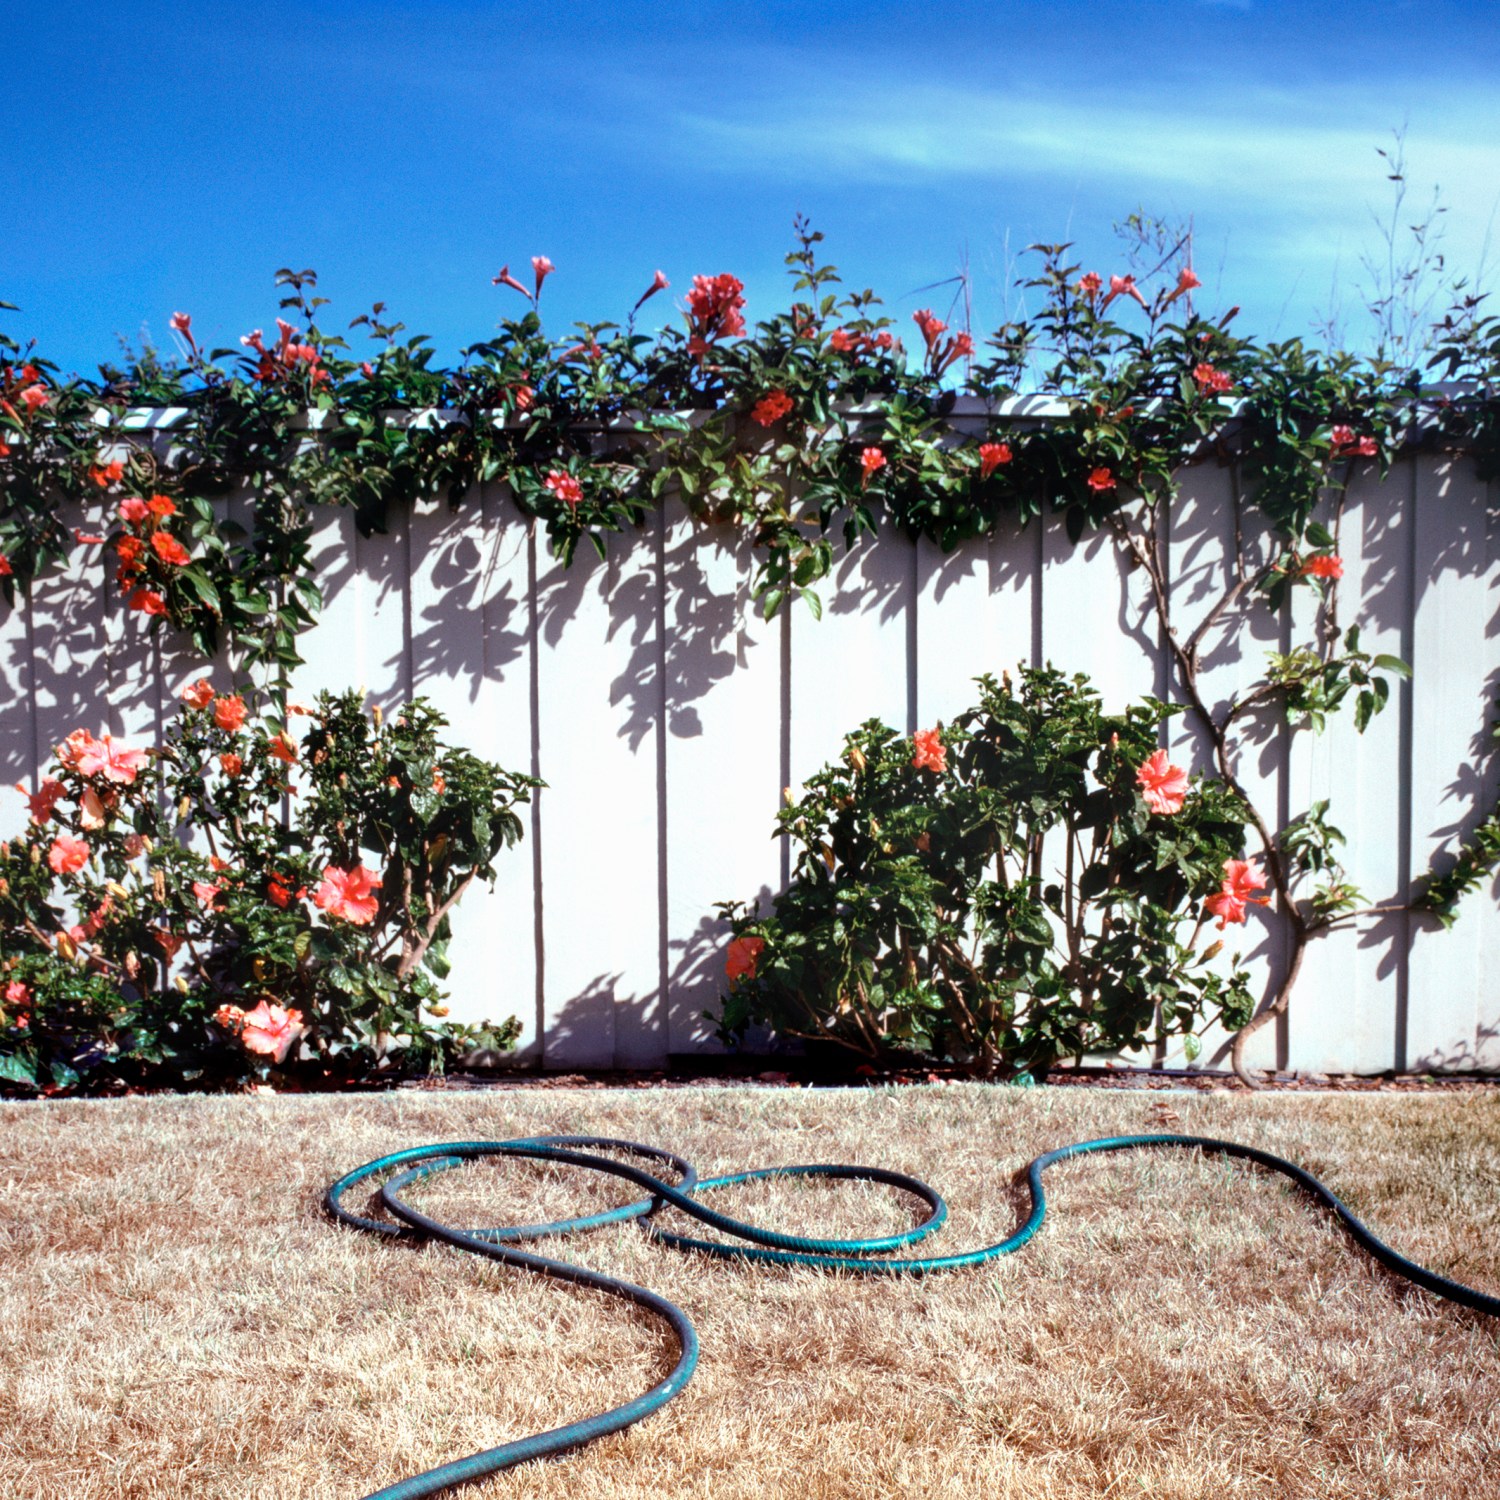
These invasive plants will hijack your yard. Low-maintenance, they are not.
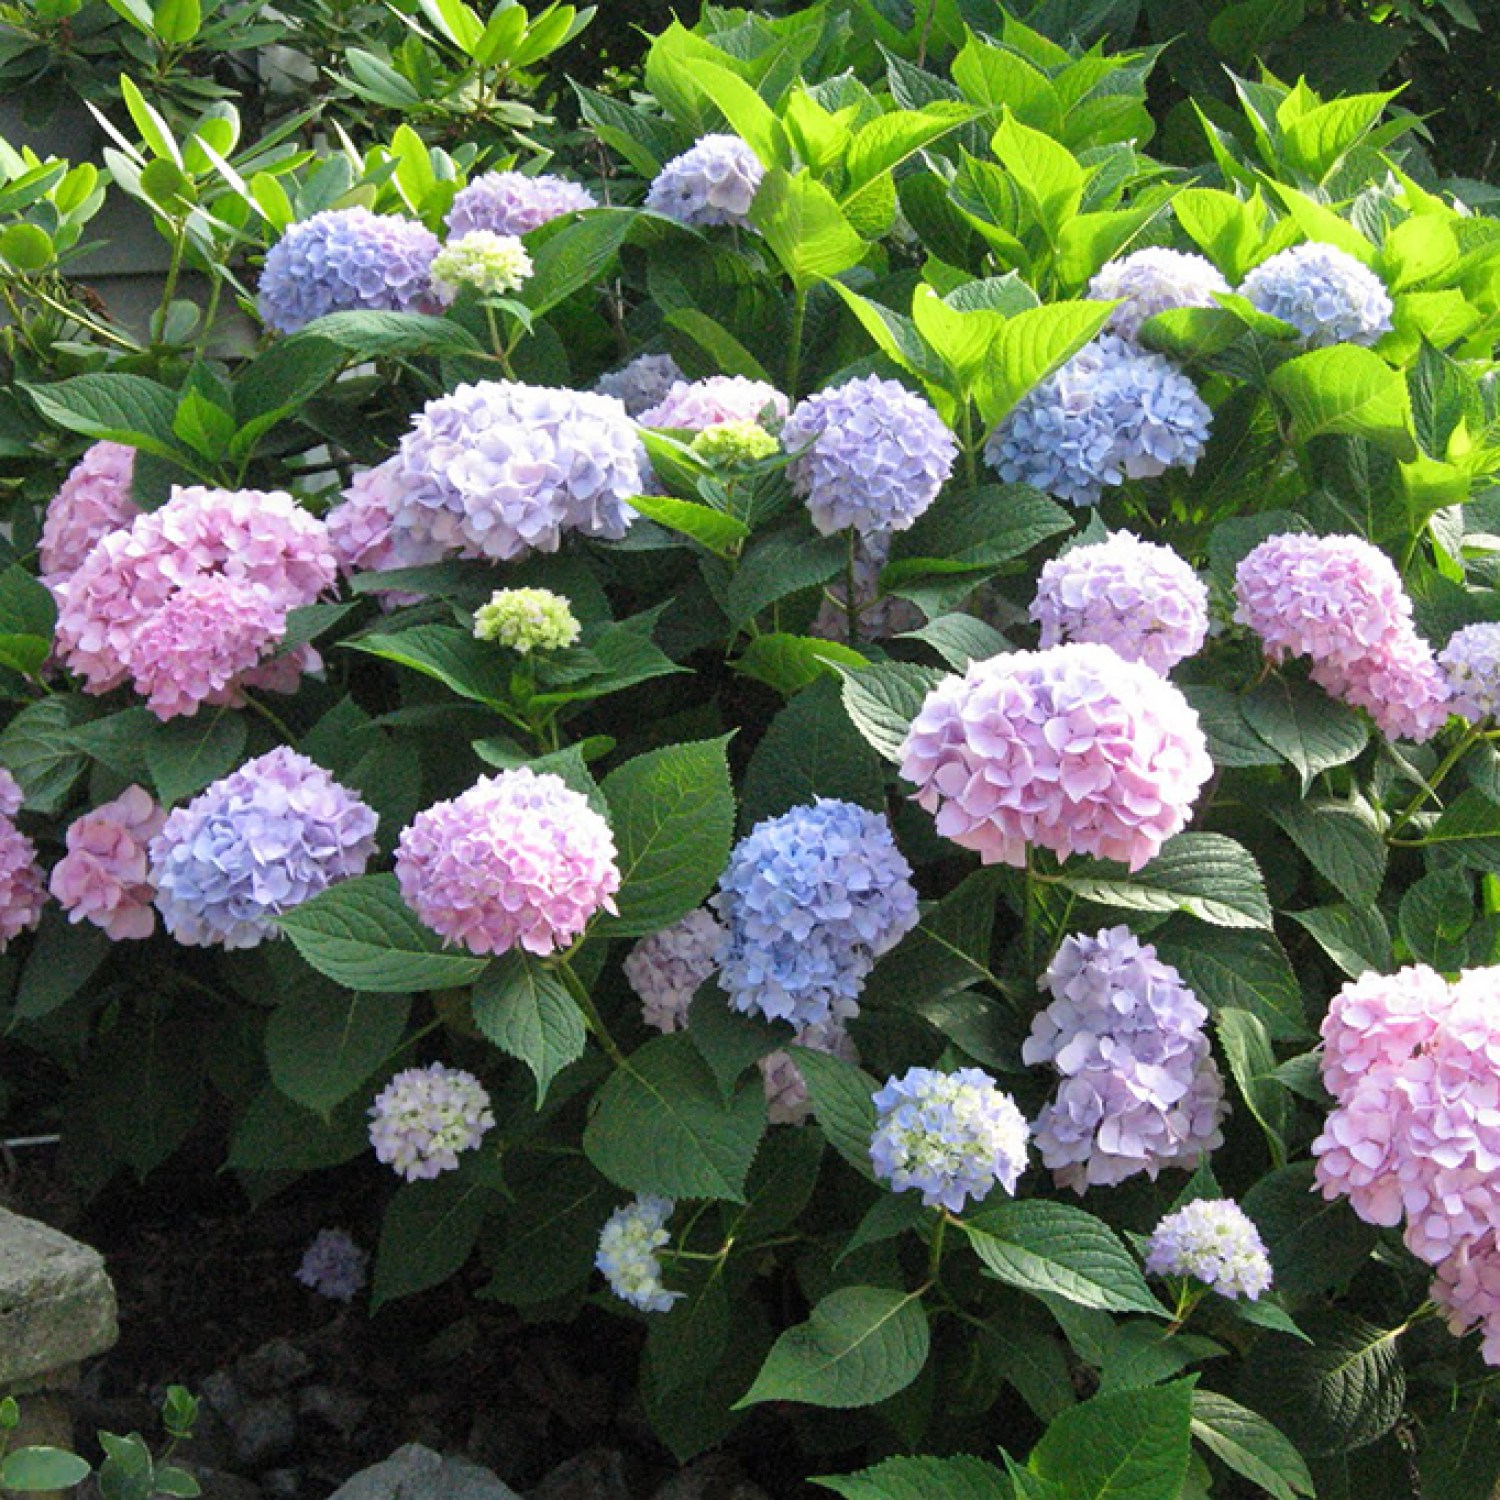
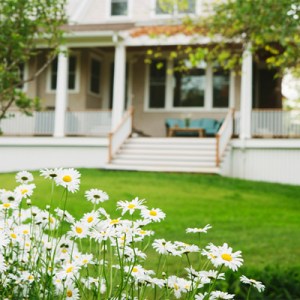
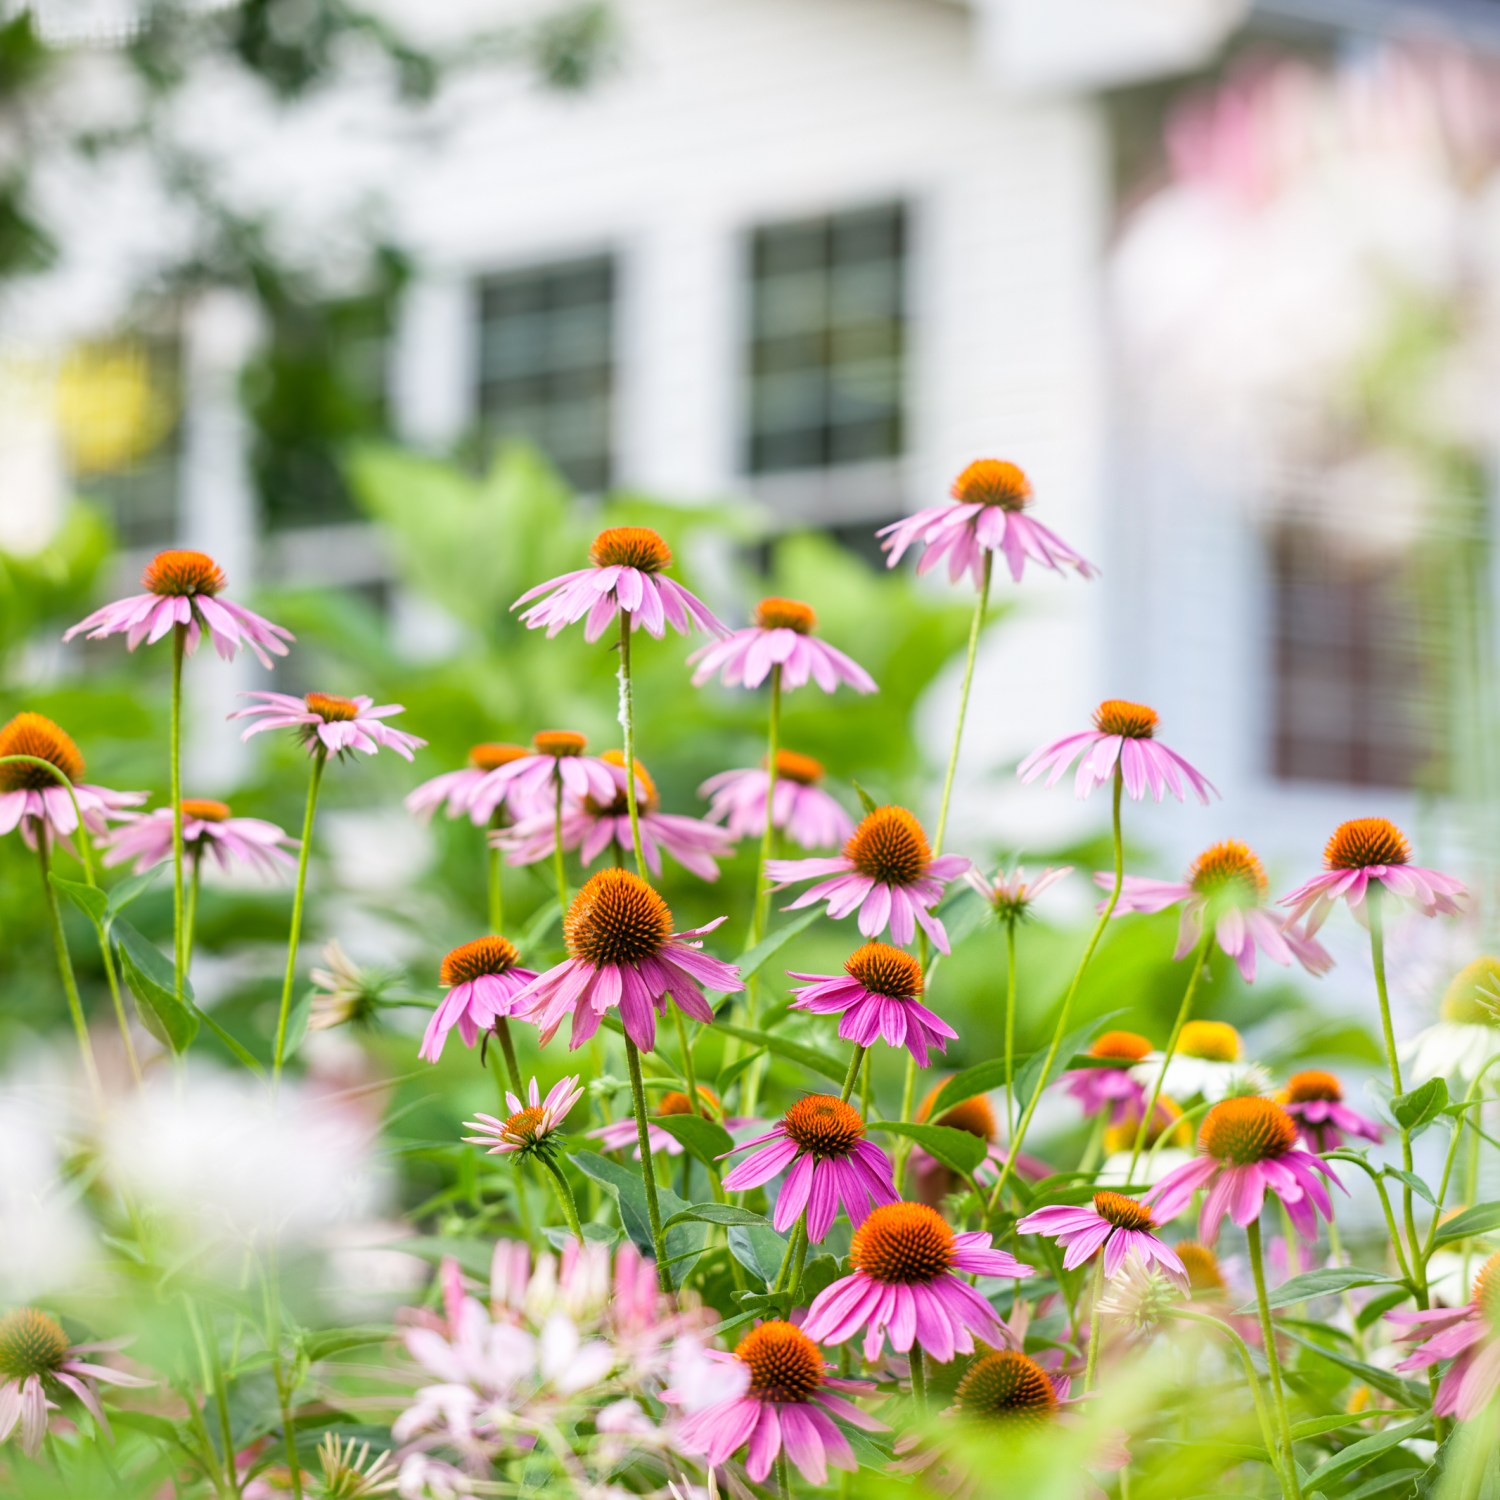
Good plants for curb appeal include the hydrangea, among many others.
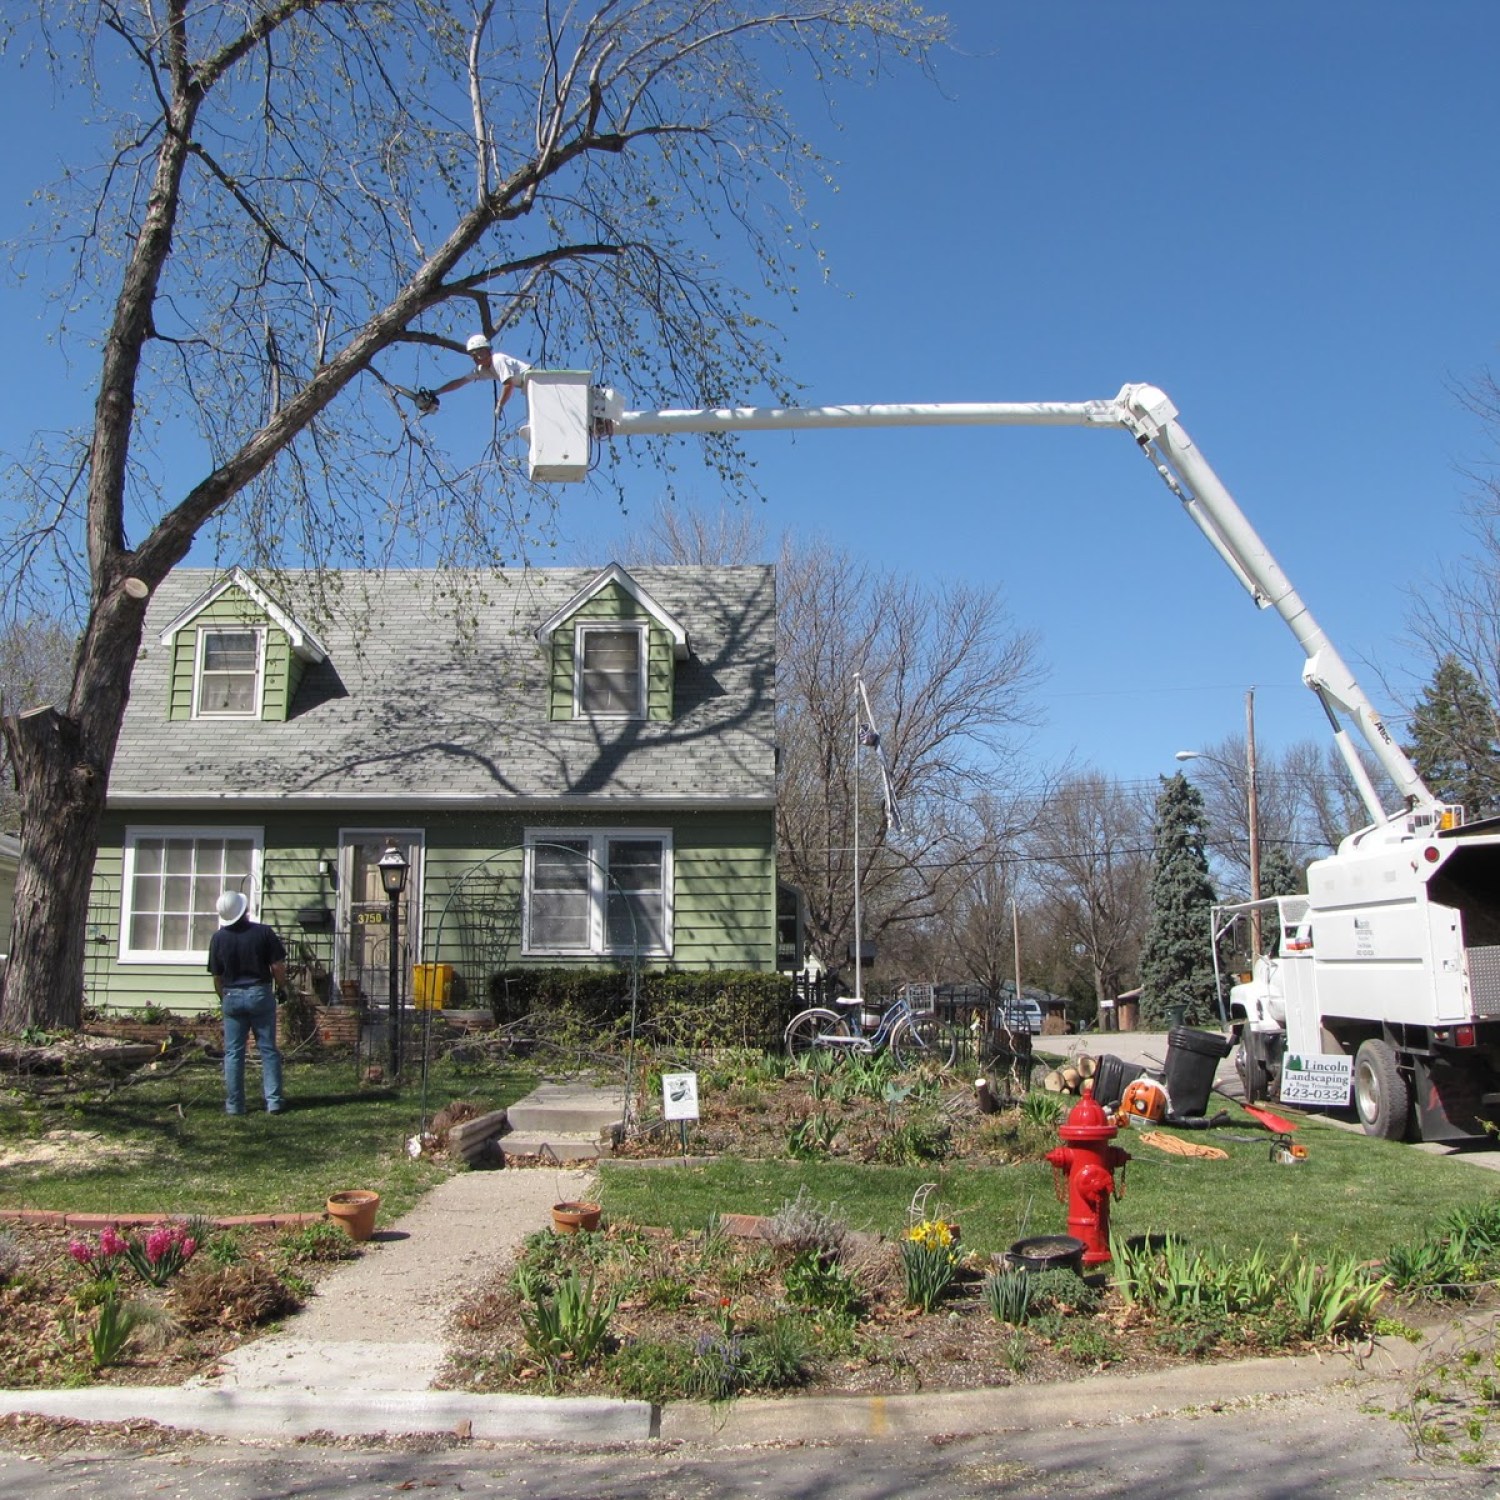
Some trees are more trouble than they’re worth. Before you head to a nursery, see our slideshow. Then, see even more trees readers hate.
If you’re ready to be a plant parent, this guide will help you start your own grassroots movement.
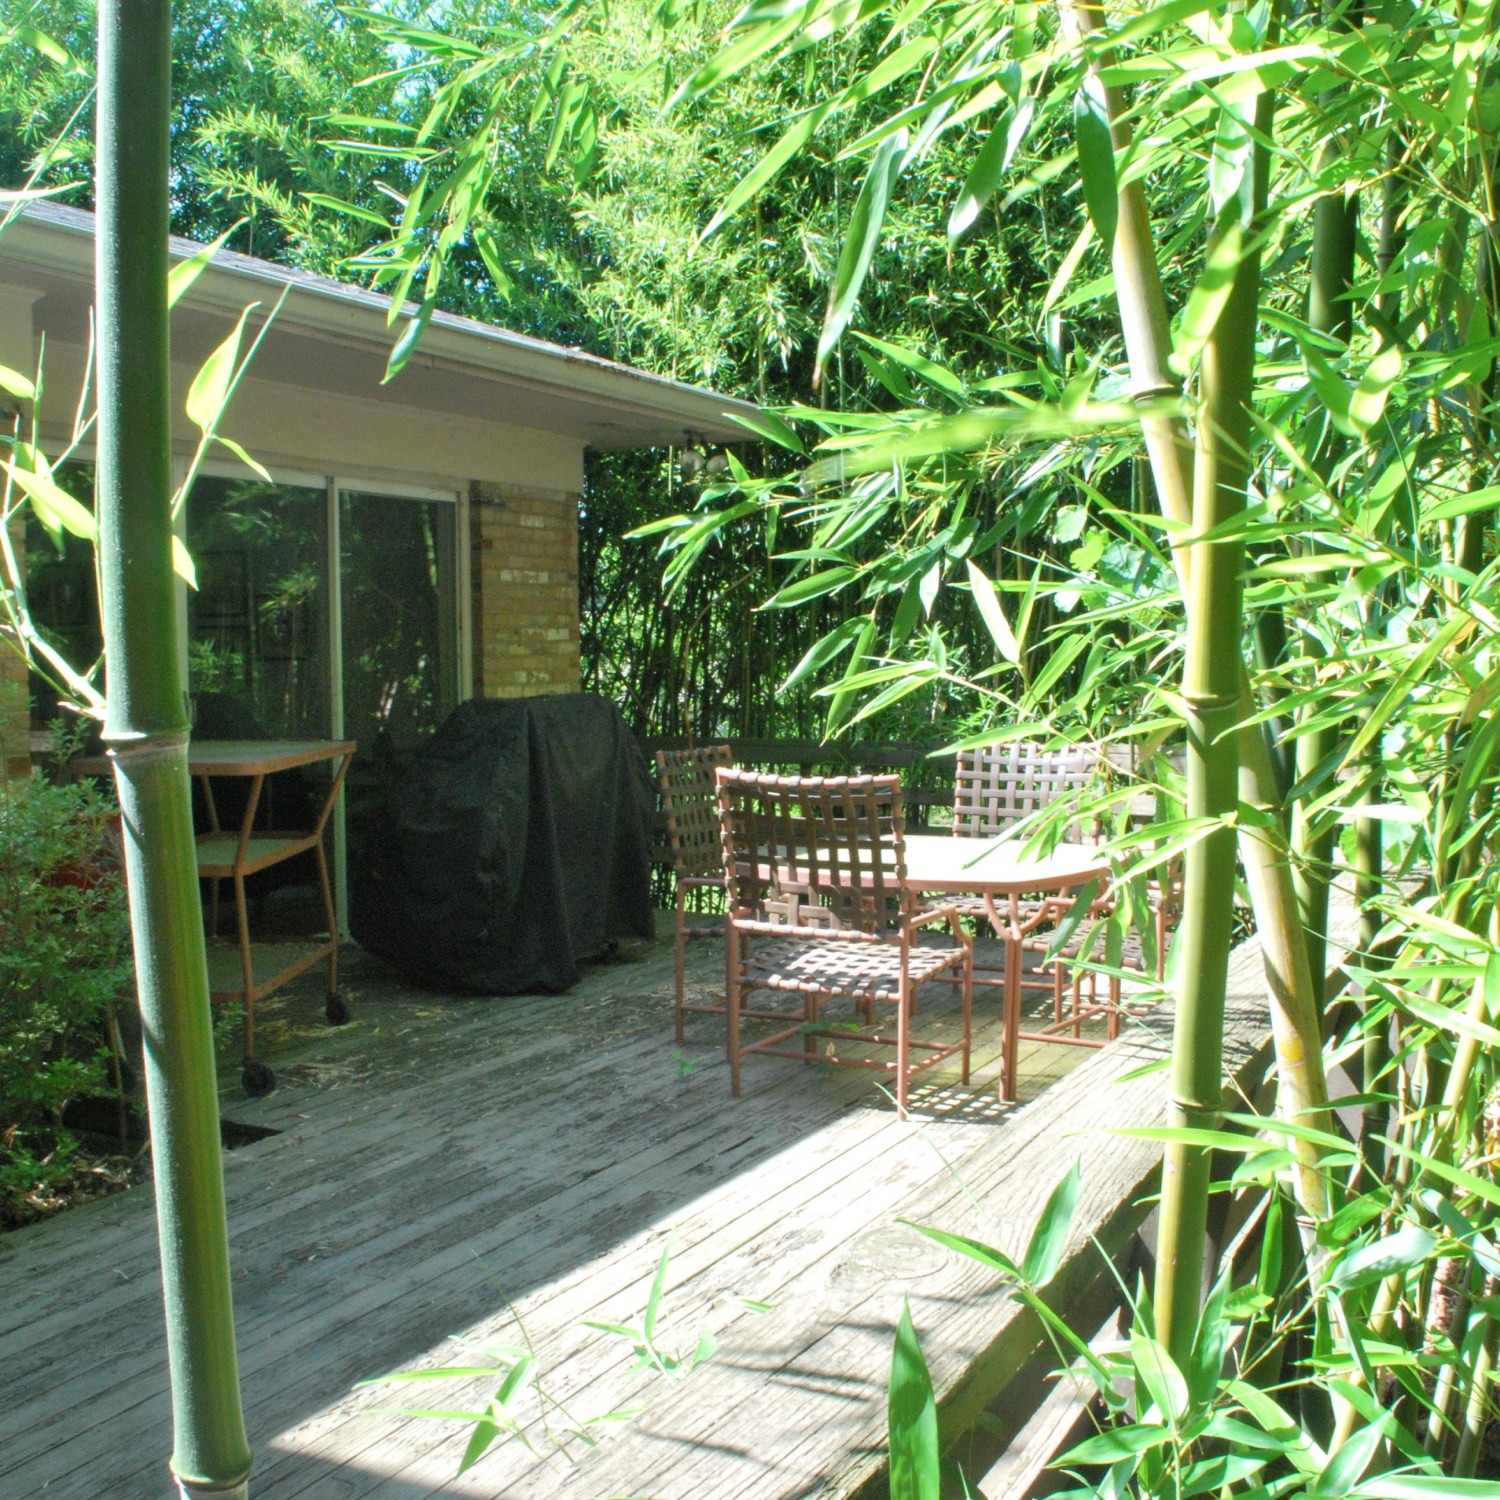
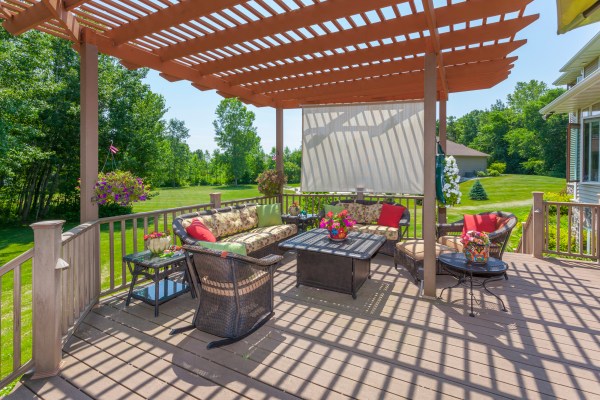
Whatever your budget and preferences are, find a match in these creative deck privacy options.
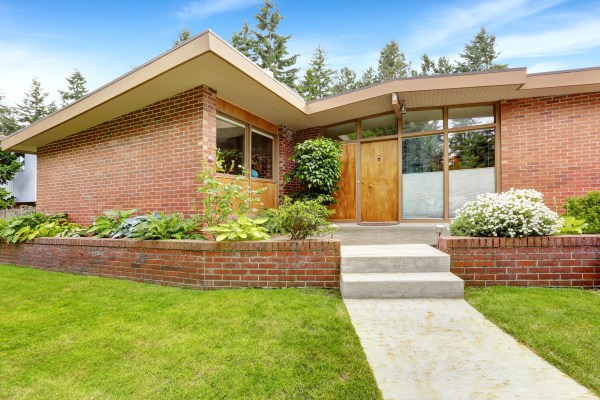
These 12 front yard landscaping ideas can elevate your home’s curb appeal and value, plus your enjoyment.
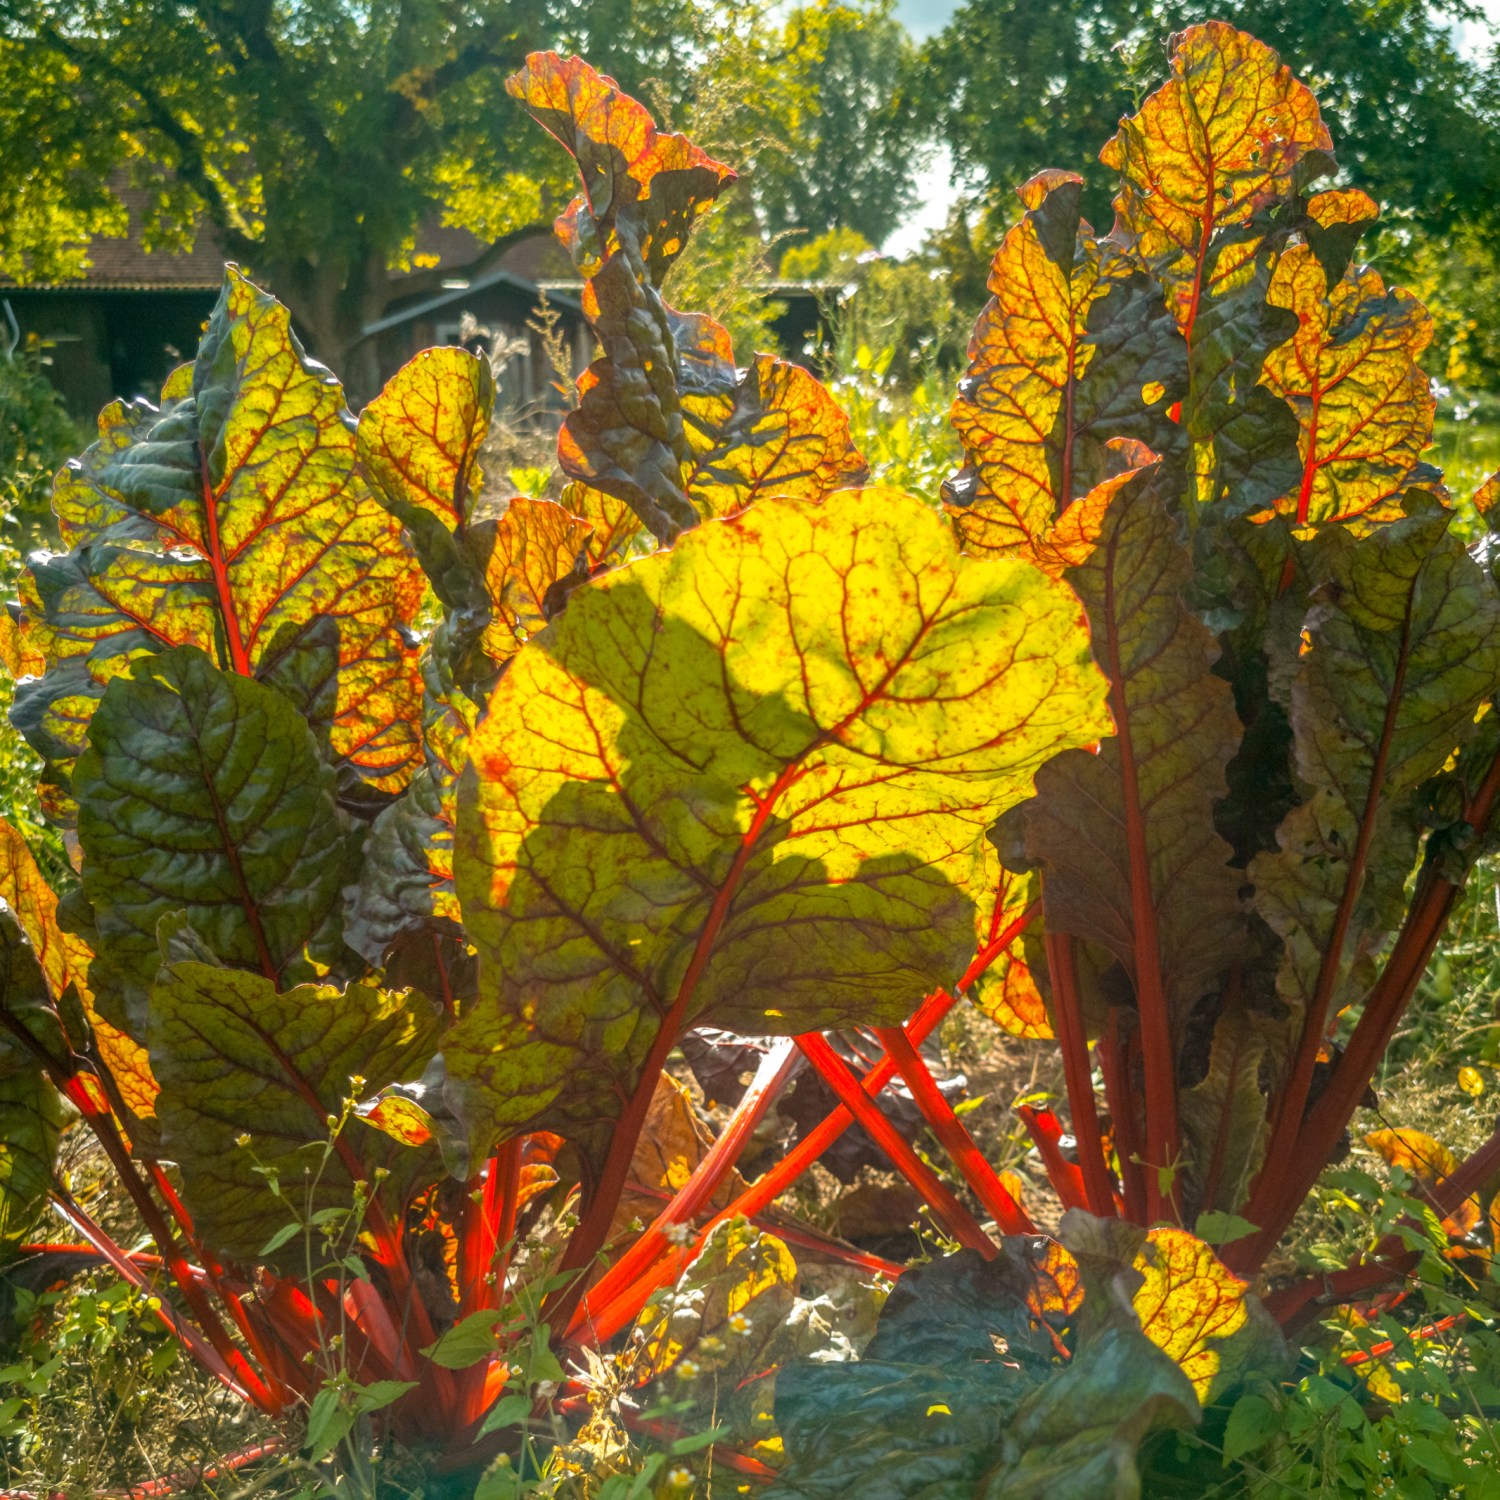
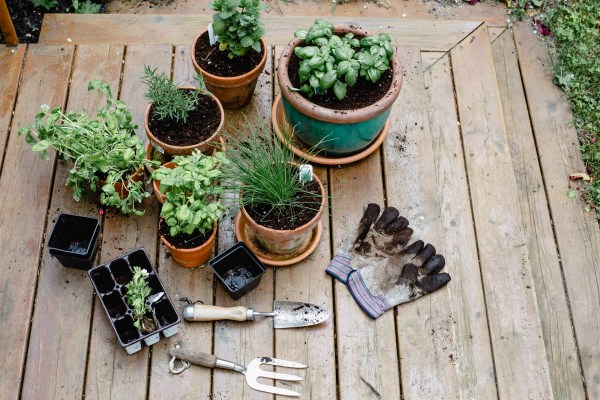
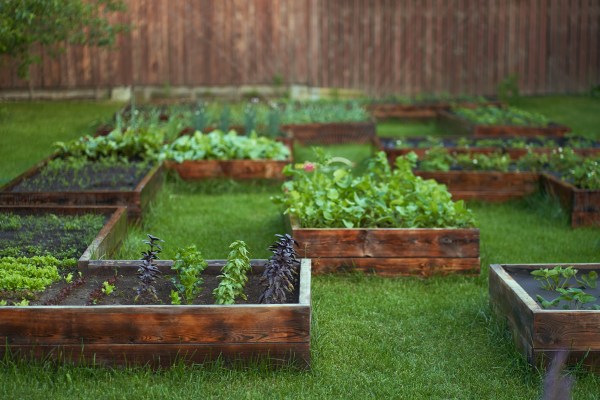
No experience needed to plant a veggie garden that offers savings, outdoor fun, health benefits — and food!
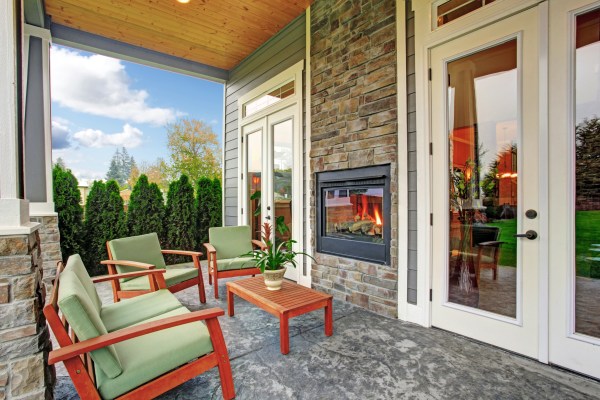
Check out these captivating outdoor fireplace ideas that will transform your outdoor space into a cozy haven.
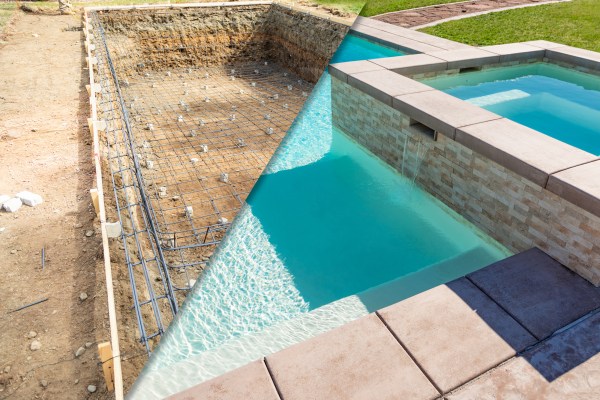
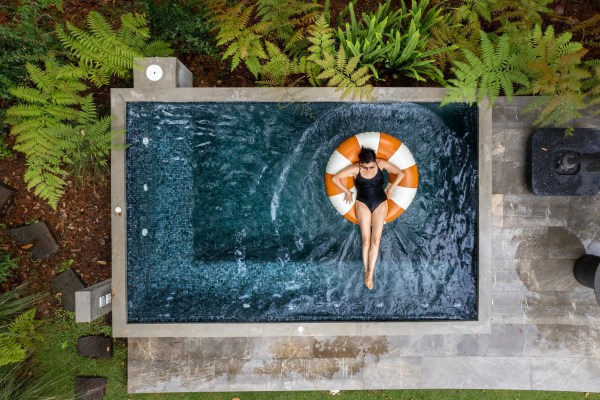
Dip into a plunge pool for less than a swimming pool would cost while still enjoying the perks.
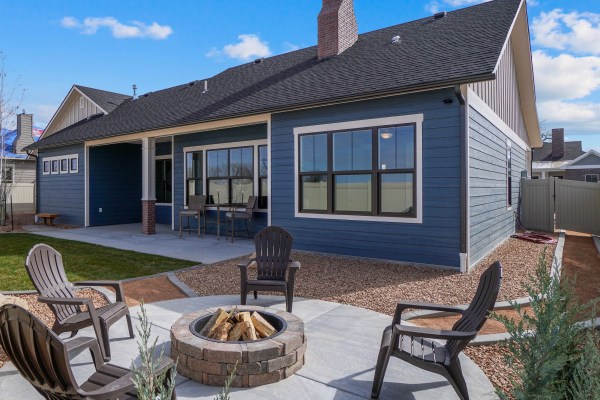
Concrete patios can give you a customized look, on top of being budget friendly.
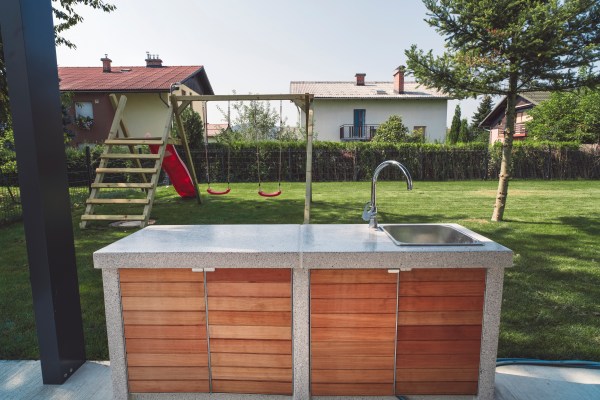
A weatherproof design and durable materials make for an affordable outdoor kitchen you’ll use most of the year.
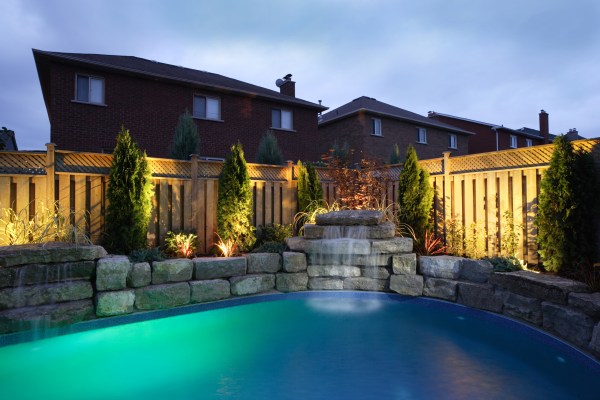
Use these landscaping ideas for an eye-catching pool space — at home!
Find out which options are right for you and your budget if you’re diving into in-ground pool cost.