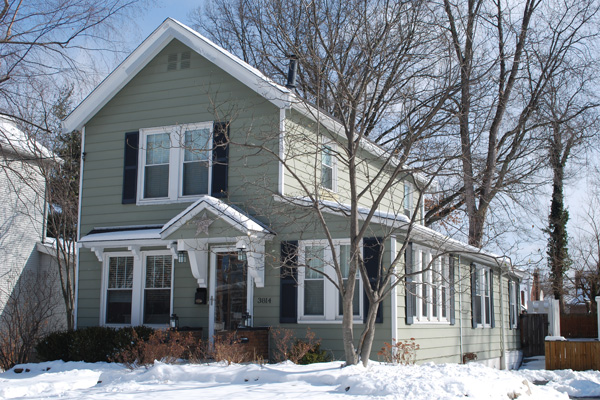
Preparing your house for winter may not top your to-do list right now. After all, most of us would rather not spend our down time doing home maintenance tasks when we could be doing, well, just about anything else. But cold weather, ice, and snow can do real damage to your home. Following these five cold weather tips will effectively winterize your home — and make your abode a lot more enjoyable when the thermometer dips.
#1 Insulate Windows
Winter drafts from air leaks can drive up your energy bill — and detract from the cozy vibe you want inside your home when it’s cold outside. But by reducing drafts you can lower your home’s energy costs by up to 20% per year, according to the U.S. Energy Department, while also making your living space more comfortable.
Here are five simple solutions (all under $8!) that will allow you to insulate your windows quickly when you winterize your home:
- V-seal weather stripping. Add this plastic weather stripping along the sides of the sashes. Windows can open and shut evenly with the V-seal in place. Weather stripping also works wonders on doors.
- Rope caulk. This soft, sticky stuff can be molded to fill the gap — and the caulk removes easily at the end of the cold season.
- Shrink film. Applied with double-sided tape, this clear plastic sheeting shrinks drum-tight when heated with a hair dryer. The film seals off drafts and captures an insulating buffer of air. Use rubbing alcohol to help release the tape in the spring to avoid stripping off any paint.
- Nail polish. If carefully applied, clear polish fills the crack almost invisibly. Once hardened, it will stabilize the glass until you can replace it in the spring.
- Draft snake. If the bottom of your window is letting in cold air, buy a foam-and-fabric draft snake kit. Cut the 36-inch foam tube provided to length and slip the washable cover over it. Then place the snake on the sill and shut the window on to seal the deal.
#2 Trim Tree Branches
The last thing you need is a winter storm loosing the wrath of a mighty tree that has branches angling over your roof. Not to mention, overhanging limbs can cause excess water to seep into cracks in your home’s roof or siding. That’s why you want to make sure any tree limbs or branches surrounding your home are at least three feet away from the house.
#3 Inspect Your Fireplace
A visual inspection, both inside and outside your home, can show you whether your wood-burning fireplace is in good shape (read: safe) for the burning season.
During an outdoor inspection, make sure:
- A chimney cap is present and in good condition.
- The cap has no bird nest or debris buildup.
- No tree limbs are above or near the chimney.
- The mortar and bricks on the chimney aren’t crumbling or missing.
- The chimney rises at least two feet above where it exits the roof.
- The chimney crown — the sloping cement shoulders at the top of the chimney — is beveled, which helps air flow.
- The flue liner is visible above the chimney crown.
- The chimney is plumb and not leaning to one side or the other.·
- The roof flashing is tight against the chimney.
Inside your home, confirm that:
- The flue damper opens, closes, and seals properly.
- There are no combustible materials, such as animal nests or other foreign objects, in the flue.
- The fireplace surround, hearth, and firebox have no cracked bricks or missing mortar.
If you spot any damage, order a professional fireplace and chimney inspection. An inspection costs, on average, between $79 and $500, depending on whether you’re ordering a level-one or level-two inspection.
Gas fireplaces require less maintenance, but you should still:
- Inspect the glass doors for cracks or latch issues.
- Check that the gas logs are positioned properly.
- Turn gas off at the shut-off valve and test the igniter.
- Ignite the fire and look for clogged burner holes. If you see clogs, turn off gas and clear obstructions with a pin or needle.
#4 Check the Roof
You certainly don’t want to find out you have a leaky roof after the first snow hits. A roof inspection can help you spot any potential issues.
Squeamish about heights? Don’t worry. You can thoroughly inspect the roof from the ground using a pair of binoculars.
Work your way around your house, looking for these defects:
- Cracked caulk or rust spots on flashing.
- Shingles that are buckling, curling, or blistering.
- Missing or broken shingles.
- Cracked and worn rubber boots around vent pipes.
- Masses of moss and lichen, which could signal the roof is decaying underneath. Black algae stains are just cosmetic.
If you’re comfortable working on a roof, roofing fixes, such as repairing shingles or calking flashing, are easy to do yourself. If you’re not, consult a specialized roof inspector. Be prepared to pay between $119 and $296 for a standard roof inspection.
#5 Clear Out Gutters and Downspouts
Clogged rain gutters or downspouts can damage your home’s foundation or cause ice dams, which can lead to expensive repairs. So, after the leaves have fallen, clean your gutters to remove leaves, twigs, and gunk. Also, make sure the gutters aren’t sagging and trapping water, tighten gutter hangers and downspout brackets, and replace any worn or damaged materials.
You May Also Like:
