How to remove old caulk? With patience — and plenty of it It's not hard to do, but if you rush it, you'll regret it. Plus, a little patience pays off by making the job much easier.
Caulk is a versatile material used to seal gaps and joints around various surfaces in your home, but over time, it can discolor, and become less effective. Removing old caulk is essential to maintaining a clean and well-sealed environment.
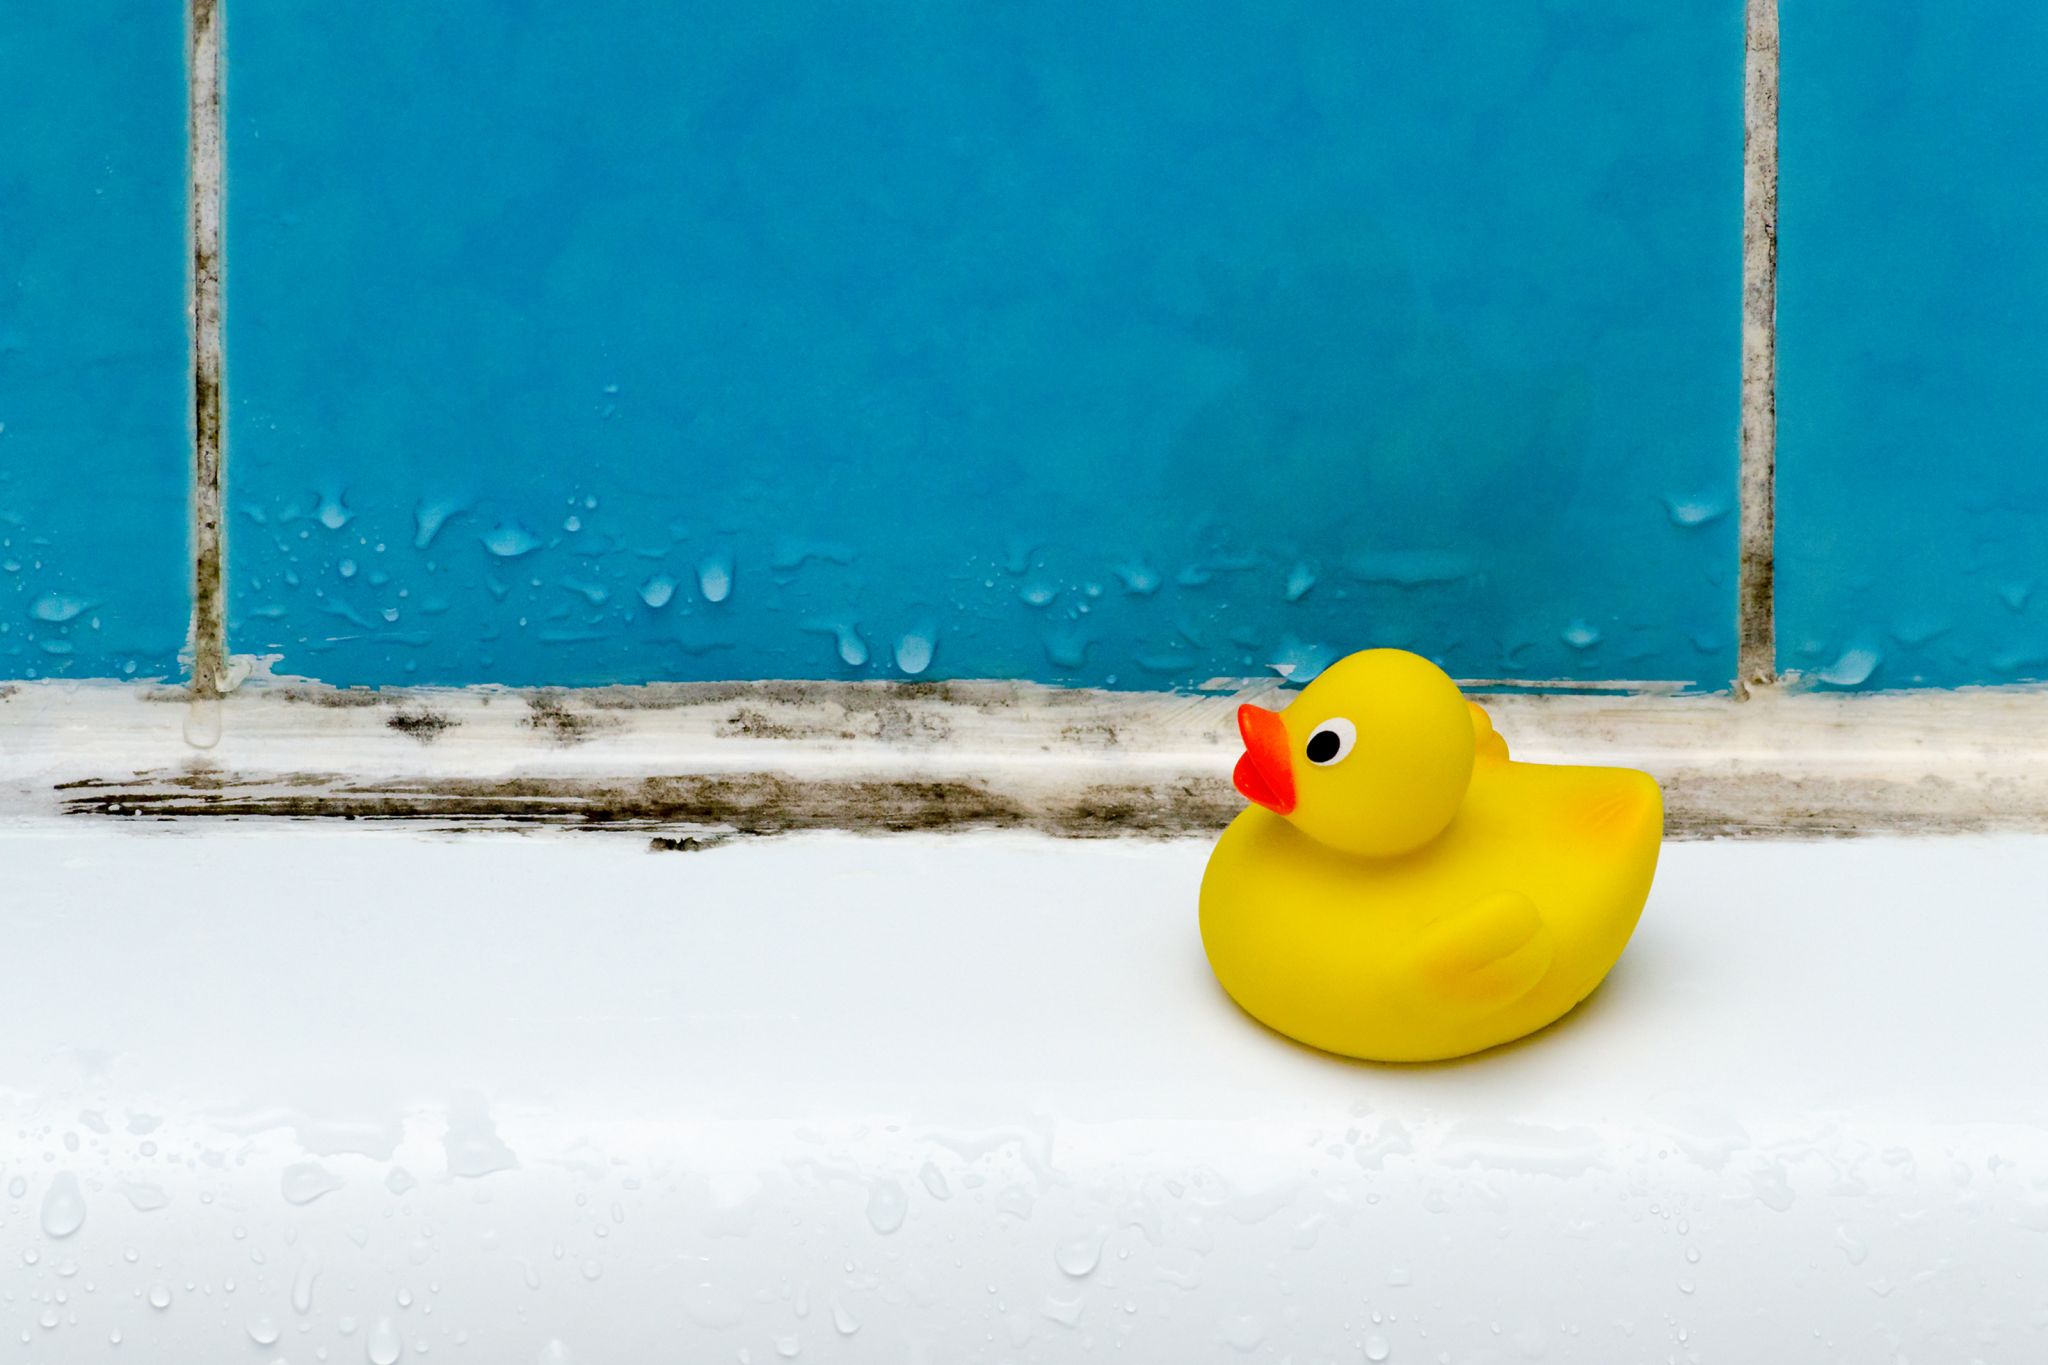
Homeowners can easily make mistakes in dealing with leaks from shower caulking. “Most of the time when there’s a significant stain in the ceiling, the source is usually the caulking in the bathroom above,” says Hendrik Vandepoll, master plumber and owner of Service Force Plumbing in Rockville, Md. But homeowners aren’t always clear on the location of the caulking that needs replacement. If you need help to identify the exact source of the leak, no worries. You can call in an expert even if you plan to do the work yourself, he adds.
“There are weak points where we usually find caulking leaks,” Vandepoll says. “Look at the two inside corners, along the base of the tub. The caulking there shrinks up and starts to leak. And a homeowner might also overlook the trim of the shower.” Other possible sources of trouble are the wax ring that’s leaking on the toilet or, in older homes, an attached metal soap dish.
How to Remove Caulk: Step-by-Step Guide
Let's review essential tips and step-by-step guidance on efficiently removing old caulk for homeowners who feel empowered to refresh their living spaces with precision.
Step #1 Apply Caulk Remover
The first step in removing old caulk is to soften it for easier removal.
Apply a caulk removal product like Goo Gone Caulk Remover or Crown Tuff Strip Ultimate Caulk Remover. Then, be patient. Very patient. The directions say to wait two or three hours, but the longer you wait, the easier the product will come off. Overnight is good. If it's a particularly tough job — such as very old, hardened caulk or multiple layers — wait 24 hours. These solutions are often readily available at hardware stores and are designed to break down the caulk, simplifying removal. Follow the product instructions carefully, as application methods may vary.
Step #2 Use a Caulk Removal Tool
Use a caulk remover tool to pry the caulk loose. (See video below.) Pros use a utility knife or blade, but don't be tempted to do that unless your hands are as steady as a surgeon's. Otherwise, you could damage the tub, sink, shower, or wall you're trying to improve.
Choose the tool that suits your preference and the type of surface you're working on. Be sure to use gentle, controlled movements to avoid damaging the surrounding surfaces. Most of the caulk should come off easily in long strips, although you might need to use needle-nose pliers or tweezers to pull out some bits.
By the way, did you know that the word "caulk" originated from boat builders, who needed something to seal their boats? Today, most manufacturers label home-use caulk as "sealant."
Step #3 Scrape Off Remaining Old Caulk
After applying the caulk remover and using a removal tool, you will notice that the old caulk starts to lift and separate from the surface. Using a small putty knife, toothbrush, and/or the hook end of a 5-in-1 painter's tool, scrape any remaining bits of caulk loose. (This step, too, requires a bit of persistence.)
Work methodically, moving along the caulk line and ensuring that all remnants are removed. Be diligent during this step, as rushing may result in incomplete caulk removal.
Step #4 Clean the Surface
With the old caulk successfully removed, it's time to clean the surface thoroughly. Do that using alcohol. Then, kill any mold or mildew with a mixture of one-third of a cup of bleach to one gallon of water. Allow the surface to completely air dry (again, be patient) before applying new caulk. Ensuring the surface is completely dry before proceeding with any new caulking promotes proper adhesion.
By following these four easy steps, you can effectively eliminate old caulk and prepare surfaces for a fresh application. Regular maintenance and proper caulking are essential to preserve the integrity of your home, prevent water damage, and maintain a clean and polished appearance. With the right tools and a bit of persistence, you can confidently tackle caulk removal and achieve professional-looking results.
Tip: How to Remove Caulk from Shower
If you plan to apply new caulk to a tiled shower or bathtub wall, deep clean the tile before removing the old caulk. Soap scum and other surface grime can keep the caulk from adhering properly. You don't want water to get behind the tile and into your wall, which can create a nasty mold and mildew problem.
Avoid Common Mistakes in Removing Caulk from Shower
Vandepoll offers these tips to remove shower caulking without making mistakes:
- Remove all the old caulk: “A lot of folks just caulk over the old caulk. Within a month, it’s already peeling apart.”
- Apply caulk only to a dry area: “Check that the joints are all dry. If there’s still moisture back there, it’s not going to cure properly.” A fan blowing on the area can help it dry faster.
- Wait to use the shower: “Wait 12 to 24 hours after you’ve applied the caulk. You don’t want to introduce any moisture.”
Whether you want to replace your shower caulking as a preventive measure or you’ve noticed a stain forming on the ceiling below, you’ll get better results by following pro tips and taking your time to do the job right.