The savings. The personal satisfaction. The increased resale value. Taking on your own kitchen remodel can deliver countless financial and emotional perks — if done right.
But done wrong, yikes! "Poor-quality workmanship . . . can easily decrease a home's value," says Bill Gassett, owner of Maximum Real Estate Exposure in Massachusetts.
Earn your bragging rights and keep your home's value intact (and rising) by avoiding these telltale signs of DIY gone wrong:
#1 Gaps Around Cabinetry
Why it happens: Because homes aren't perfectly level. And when you hang cabinets to be level (which you should), that leaves gaps next to the wall, says Julie Blake with Boston-based remodeling provider The Norfolk Companies.
How the pros do it: For a finished look, you have to go the extra mile, Blake says. Fill the gap with wood shims. (If you've ever wedged anything under a table leg to stop it from rocking, you've used a shim. The same technique works here, except you can actually buy ones that work better than a folded napkin.) Then cover the shims with the same molding used in the rest of the room.
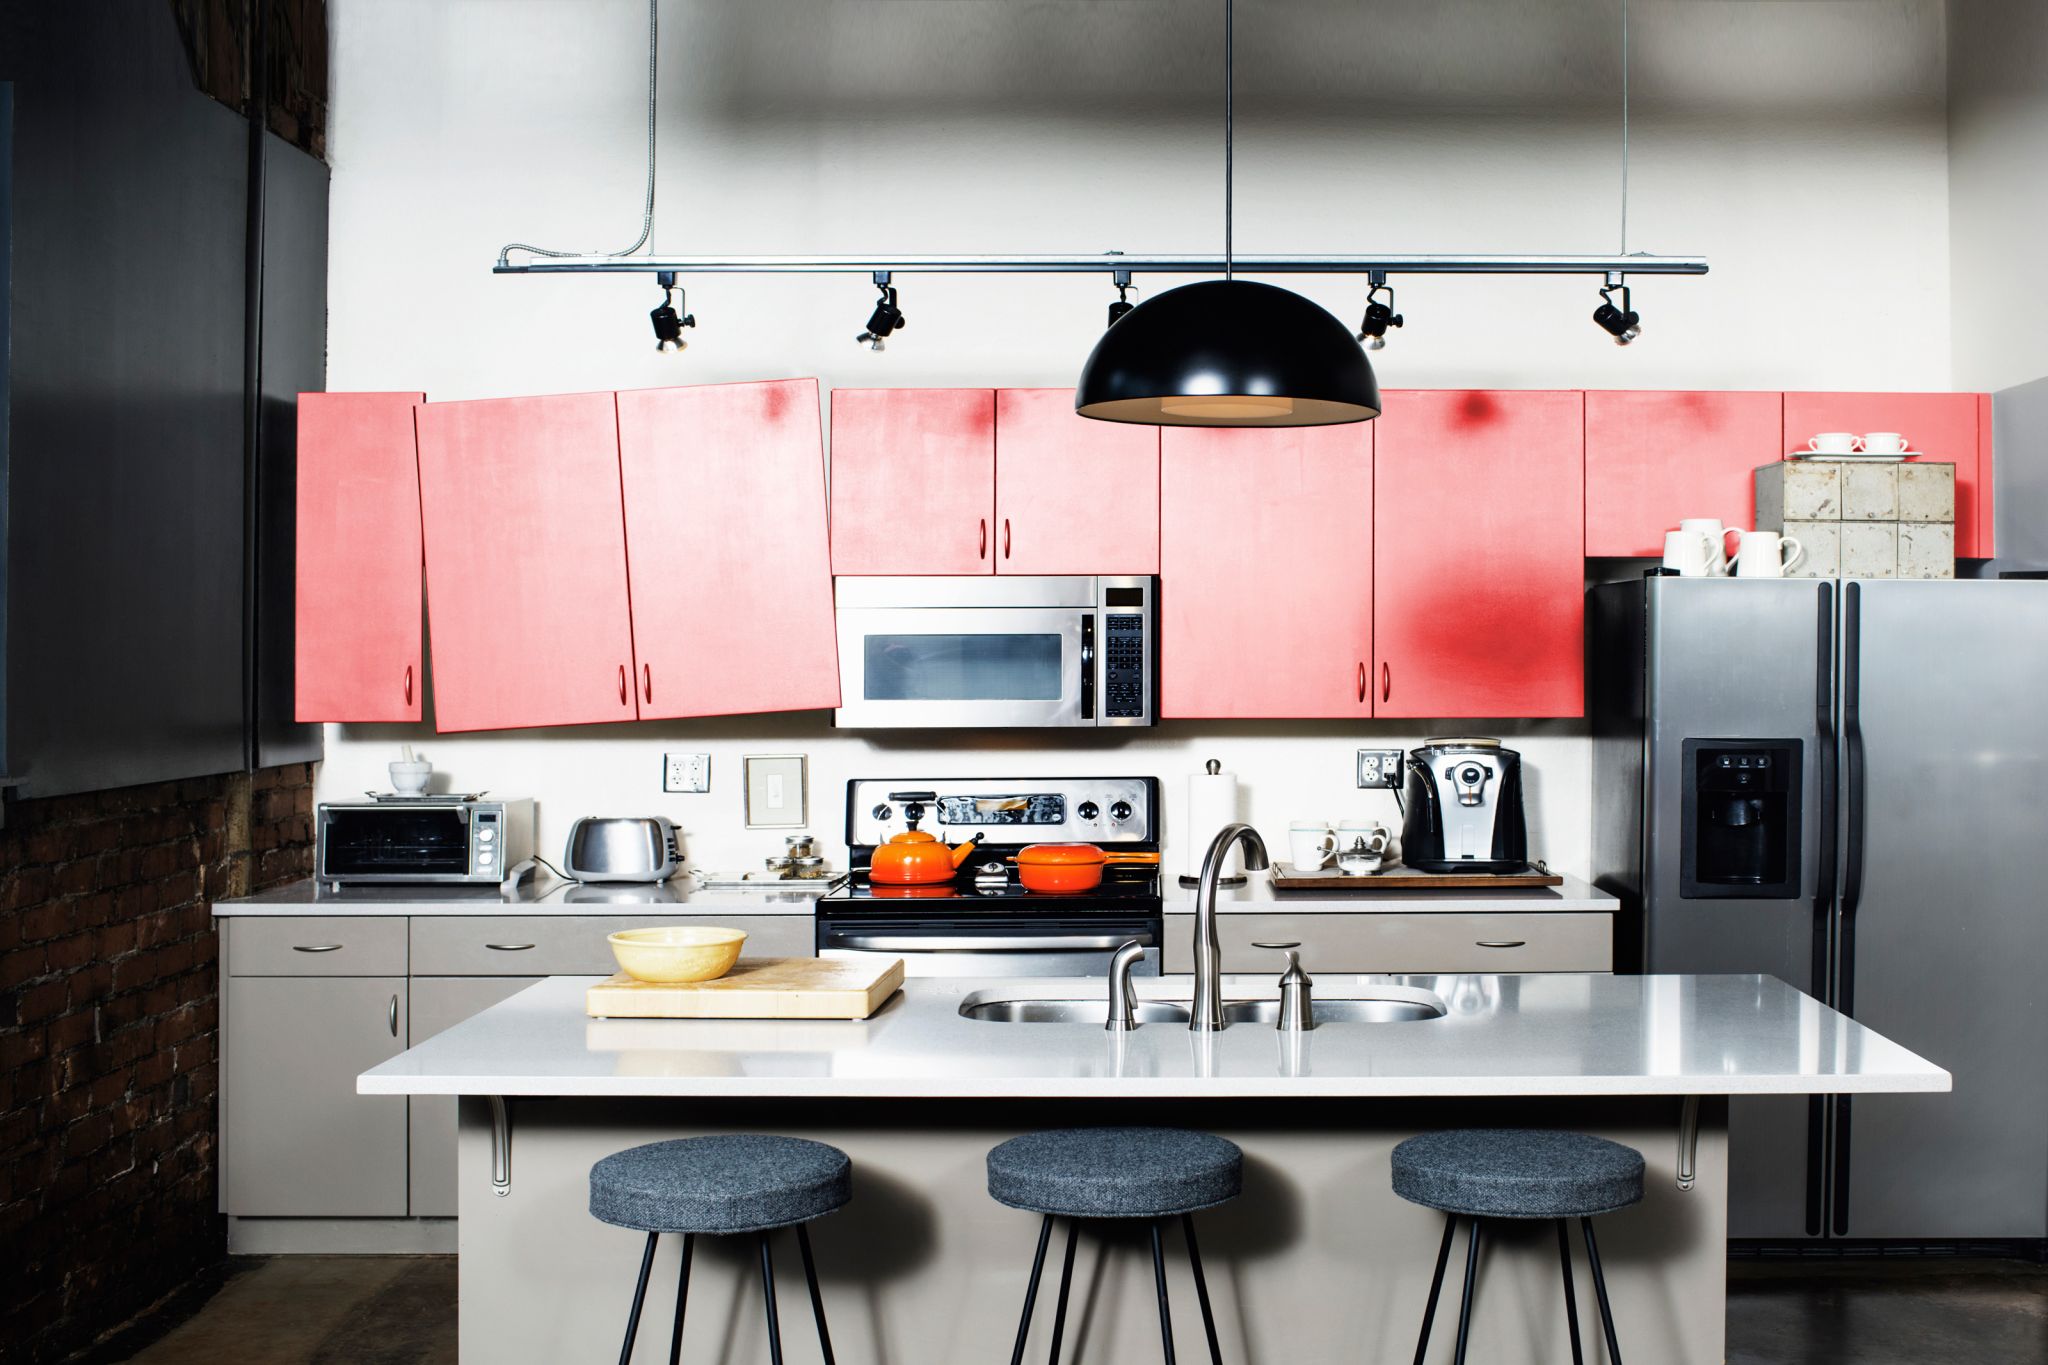
#2 Misplaced Light Fixtures
Why it happens: Whenever light fixtures don't line up over a sink or a kitchen island, that indicates a DIY job that wasn't well planned or budgeted, says Doug King, owner of Doug King Contracting in St. Petersburg, Fla. Amateurs often forget about lighting, or don't think about it soon enough to budget for it, then end up having to live with the old lighting.
How the pros do it: They plan the lighting at the same time they plan the design. And they know it's a not a cheap add-on to the project. They also budget for an electrician (or include the cost in their bid). To save money, you can opt to do the ceiling repair after the lights are moved, but it's best for your own safety to hire an electrician to do the wiring.
#3 Cracked Floor Tiles
Why it happens: Usually because the subfloor is uneven or the underlayment is wrong, Gassett says. If the subfloor is uneven, or has too much "give," it leaves room for the rigid tile to crack and shift.
How the pros do it: They test to make sure the subfloor is level, then secure it to the floor joists, and then (this is crucial) install the appropriate underlayment for your specific tile type, such as a liquid one in the case of concrete or porcelain tile. Your tile supplier can help you figure that out. The key is to do it. It helps cushion against any unevenness that may happen as you use the floor.
#4 Sloppy Paint
Why it happens: Because inexperienced painters usually try to take shortcuts. Uneven transitions, paint on light switches, thinly veiled cracks, dents, and bumps. All are marks of a paint job that lacked proper preparation and cleanup.
How the pros do it: They spend more time prepping than they do actually painting:
- Repairing wall surfaces
- Removing outlet covers
- Covering light fixtures with plastic wrap
- Use masking tape to cover hardware
- Using painter's tape along the ceiling and molding
To get clean lines around the ceiling and molding, remove painter's tape before water-based paint has dried completely, then go back and touch-up any smudges.
Related: They'll Think You Hired a Pro if You Use These 5 Painting Hacks
#5 Poorly Spaced Tile
Why it happens: There's a good chance the design wasn't fully planned prior to ordering materials or beginning installation. Grout-filled gaps and oddly pieced-together tiles, whether on the edge of a backsplash or in a corner of the floor, are dead giveaways of novice work, Gassett says.
How the pros do it: Use grid paper to make sure the design covers all bases: include all obstacles, whether they be electrical outlets or door frames. Then, use this model to lay out your tile design, starting in the center. Then double-check your calculations and do a test run in an inconspicuous spot.
#6 Gaps Between the Floor and the Wall
Why it happens: The baseboard or shoe molding probably wasn't removed before adding the new floor, making it impossible to not have a gap, even if it's just a tiny one.
How the pros do it: Always remove any molding. Install new flooring so that it gets as close to your walls or cabinetry as recommended by the manufacturer. Then install a baseboard or shoe molding to cover the wall and floor's meeting place.