
If you think it’s a cinch to replace your dull or dingy bathtub, here’s a reality check: Although you can purchase a basic model for as little as $200, you'll need a team of home-improvement pros to swap out tubs. This includes hiring a contractor, a plumber, and maybe a tile setter. Don’t forget there’s demolition removal, too.
Sounds expensive, right?
But that doesn’t mean you have to live with a yucky tub. There are a few low-cost ways you can give what you've got a much-needed pick-me-up.
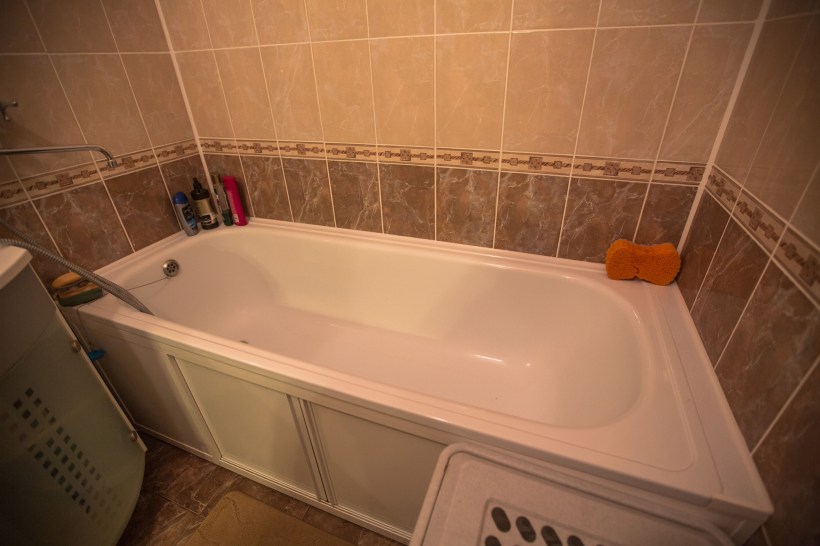
Boost a Boring Built-In
You can make a builder’s bathtub appear more spa-like by refacing the exposed side with bead board and decorative moulding.
Here’s the gist:
- Build a frame for the bead board using 2 by 4s.
- Attach the bead board to the frame using construction adhesive.
- Add a piece of rot-proof PVC board to the top of the frame to create a ledge over the edge of the tub.
- Add bed moulding and 5½” MDF baseboard as finishing touches.
- Seal all gaps with waterproof caulk.
You can check out this tutorial for all the details.
Here’s an estimated breakdown of the project materials and cost:
Lumber for wood frame: $5
PVC board: $26
Bed moulding: $7
Bead board: $15
MDF baseboard: $16
Construction adhesive: $4
Waterproof caulk: $5
Total cost: $78
The entire project can be completed in an afternoon, but you shouldn’t use the tub for at least 24 hours to give the glue time to set.
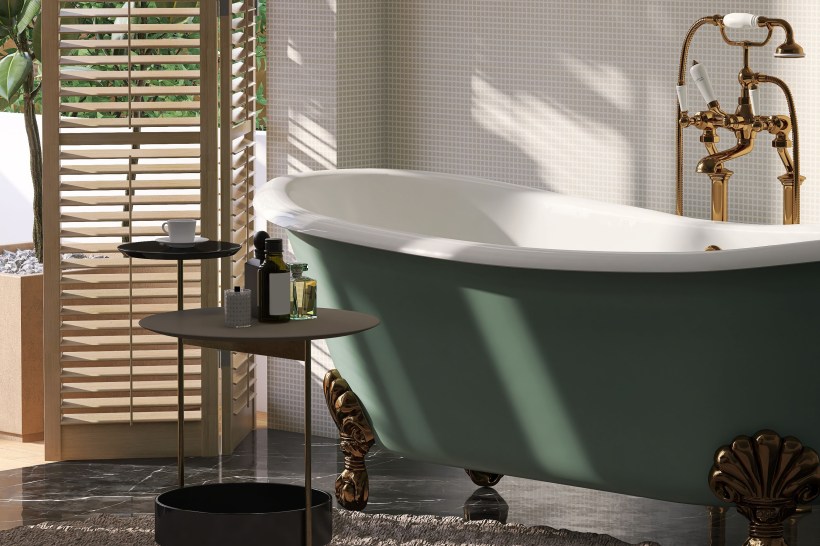
Rub-a-Dub: A Claw-Foot Tub
A brand-new claw-foot tub made of cast iron will set you back at least $1,500. So if you have an old one, updating the exterior with paint will save you a bunch.
You’ll want to use a paint with either a semi-gloss or glossy paint sheen so it repels moisture and is easy to clean. You can either paint it a solid color or opt to use a stencil to create an eye-catching pattern.
Make sure you lightly sand the outside of the tub, and follow up with a thorough cleaning before painting. If you end up exposing some of the metal after you sanded, you should touch up those spots with a spray primer so your topcoat sticks.
Project materials:
150-grit sandpaper: $6
Foam paint brush set: $7
Semi-gloss or gloss paint: $24
Total cost: $37
If you need to refinish the inside of the tub, see below.
Give a Grubby Tub a Facelift
If your tub is chipped and stained because the original finish has worn away, there are a few ways you can restore the tub to its original luster.
Call a Pro:
While different companies have their own proprietary methods for tub restoration, they all basically do the same thing: After prepping the tub’s surface, they coat it with a bonding agent, then apply a tough acrylic finish. New finishes come in a variety of colors and textures.
Tub finishes that can be professionally restored include porcelain, fiberglass, acrylic, and cultured marble.
The cost for a pro to do the job usually starts at around $500 for a standard-sized bathtub. The entire process -- including time to set -- takes two to three days.
FYI, the process is pretty toxic and until your tub completely cures, there will be a strong residual chemical odor.
DIY:
You can also refinish your tub yourself at a considerable savings. The DIYer who reglazed this tub was quoted $350 for a professional finish. Because that wasn’t in her budget, she knocked out the project herself with a DIY tub refinishing kit; you’ll find them at hardware stores and home improvement centers for about $69.

- First, clean the tub using an abrasive pad and a cleaning product. Clean twice, thoroughly rinsing after each cleaning.
- Sand using 400-grit wet/dry sandpaper. Rinse, dry with towels, then let dry completely for several more hours.
- Apply tub and tile enamel with a sponge brush. Afterward, the tub should cure for 3 days.
FYI, this stuff is pretty toxic, so you’ll need to wear a mask and open up the windows.
Here’s a breakdown of project costs:
Wet/dry sandpaper: $9
Tub refinishing kit: $69
Small paint tray & foam rollers: $7
New drain and trip lever: $30
Cleaning products and scrub pads: $11
Total cost: $126
Keep in mind it’s tricky for a DIYer to achieve a smooth finish on the first try.
Bathtub Liners
Liners are a great way to cover up a blah bathtub. They're usually made from PVC or acrylic and are installed right over fixtures. Here are a few things to keep in mind when exploring this solution:
- This is not a project you can DIY. But there are many companies and home improvement stores that offer professional installation.
- Prices start at about $850 for a standard bathtub. That’s because each liner needs to be customized to fit over your tub and fixtures.
- Since it’s a cover-up made from heavy-gauge plastic, your tub may feel a tad smaller.
- If water gets trapped between the liner and your tub, you’ll have a serious mold and mildew problem on your hands.
- It feels and looks like plastic.
Related: