
When you’re dreaming about buying a home, you imagine everything being exactly how you want it from the start. You don't dream about outdated cabinets, bad flooring, or popcorn ceilings.
So when you actually start looking for a home, finding homes that are less than perfect can be a bit of a reality check. Unless you have a pretty penny to spend on exactly what you want, chances are you're not going to start out with your dream kitchen. But that’s no reason not to pull the trigger on a new house.
Related: Easy Ways to Personalize a Cookie-Cutter Home
While house hunting, keeping an open mind and imagining what a space could become is key. Sure, it might not be perfect right off the bat, but most aren’t! This is where I come in. I’m your DIY Fairy Godmother — just substitute sawdust for sparkles and a drill for a wand. I’m here to show you what can become of those less-than-ideal spaces with a little hard work and creativity.
Here are a few of my favorites. Keep in mind that all of these spaces are DIYed and most have tutorials for everything you see.
Kitchens
In my opinion, the kitchen is far and away the most important room in the house. It’s where you’ll invest most of your time and, to be honest, most of your money. We’ve all seen what a difference finishes and design details can make in a kitchen. Things like cabinet color and countertop materials are huge.
1. Improved functionality. I’m beyond obsessed with Gwen from The Makerista’s kitchen renovation. It’s like all the hopes and dreams of the world manifest themselves in one perfect space. But it didn’t start out like that. It started out with outdated oak cabinets and a tile countertop.

Gwen completely gutted the space and updated it with new tile that her husband installed, a mirrored backsplash, and trendsetting new cabinets.

2. Dated no more. Blogger Julia’s kitchen was full of oak cabinetry and not much else. Over the course of two years, Julia completely overhauled it using IKEA cabinetry and DIY concrete countertops.

After the renovation, it doesn’t even look like the same house.

You’ve got to see the whole space on Chris Loves Julia. It’s going to blow your mind!
3. Maximized size. Blogger Corey’s kitchen was nothing spectacular. The one thing it had going for it was size. But there were loads of things that were dragging down the style, like that giant wall.

Now check it out after the reno:

Amazing, right?! The faux brick wall and new flooring are doing wonders! And did you realize the ceilings were that high from the first picture? Check out the entire series on Sawdust2Stitches.
4. Vintage TLC. If you’re lucky enough to find a cottage built in 1938, don’t let a bad kitchen derail you. Vintage homes are full of personality that just can't be replicated. Sometimes they just need a little TLC. Here’s what the kitchen looked like over the years:

Here’s what it looks like now:

See the full reveal on Not Just A Housewife.
5. Cabinet rescue. Don’t feel bad about falling in love with a house that has a little bit of a beige situation.

Elisha overhauled her kitchen in two months and — wait for it — built her own cabinetry!

She’s obviously a master carpenter. See every tutorial on how to duplicate this for your own home on Pneumatic Addict. But for those of us who are a little less skilled, try repainting your kitchen cabinets.
Living Rooms
Let’s talk living rooms, shall we? Creating a space that you love is all part of the home-owning process, so roll up your sleeves and get ready to party.
6. Mix of light and dark. Judging by the before shot of this room, there were two requirements for buying this home. A tetanus shot and guts. Loads of guts.

Check it out now:

See all of the tutorials for recreating this space in your own home on Vintage Revivals.
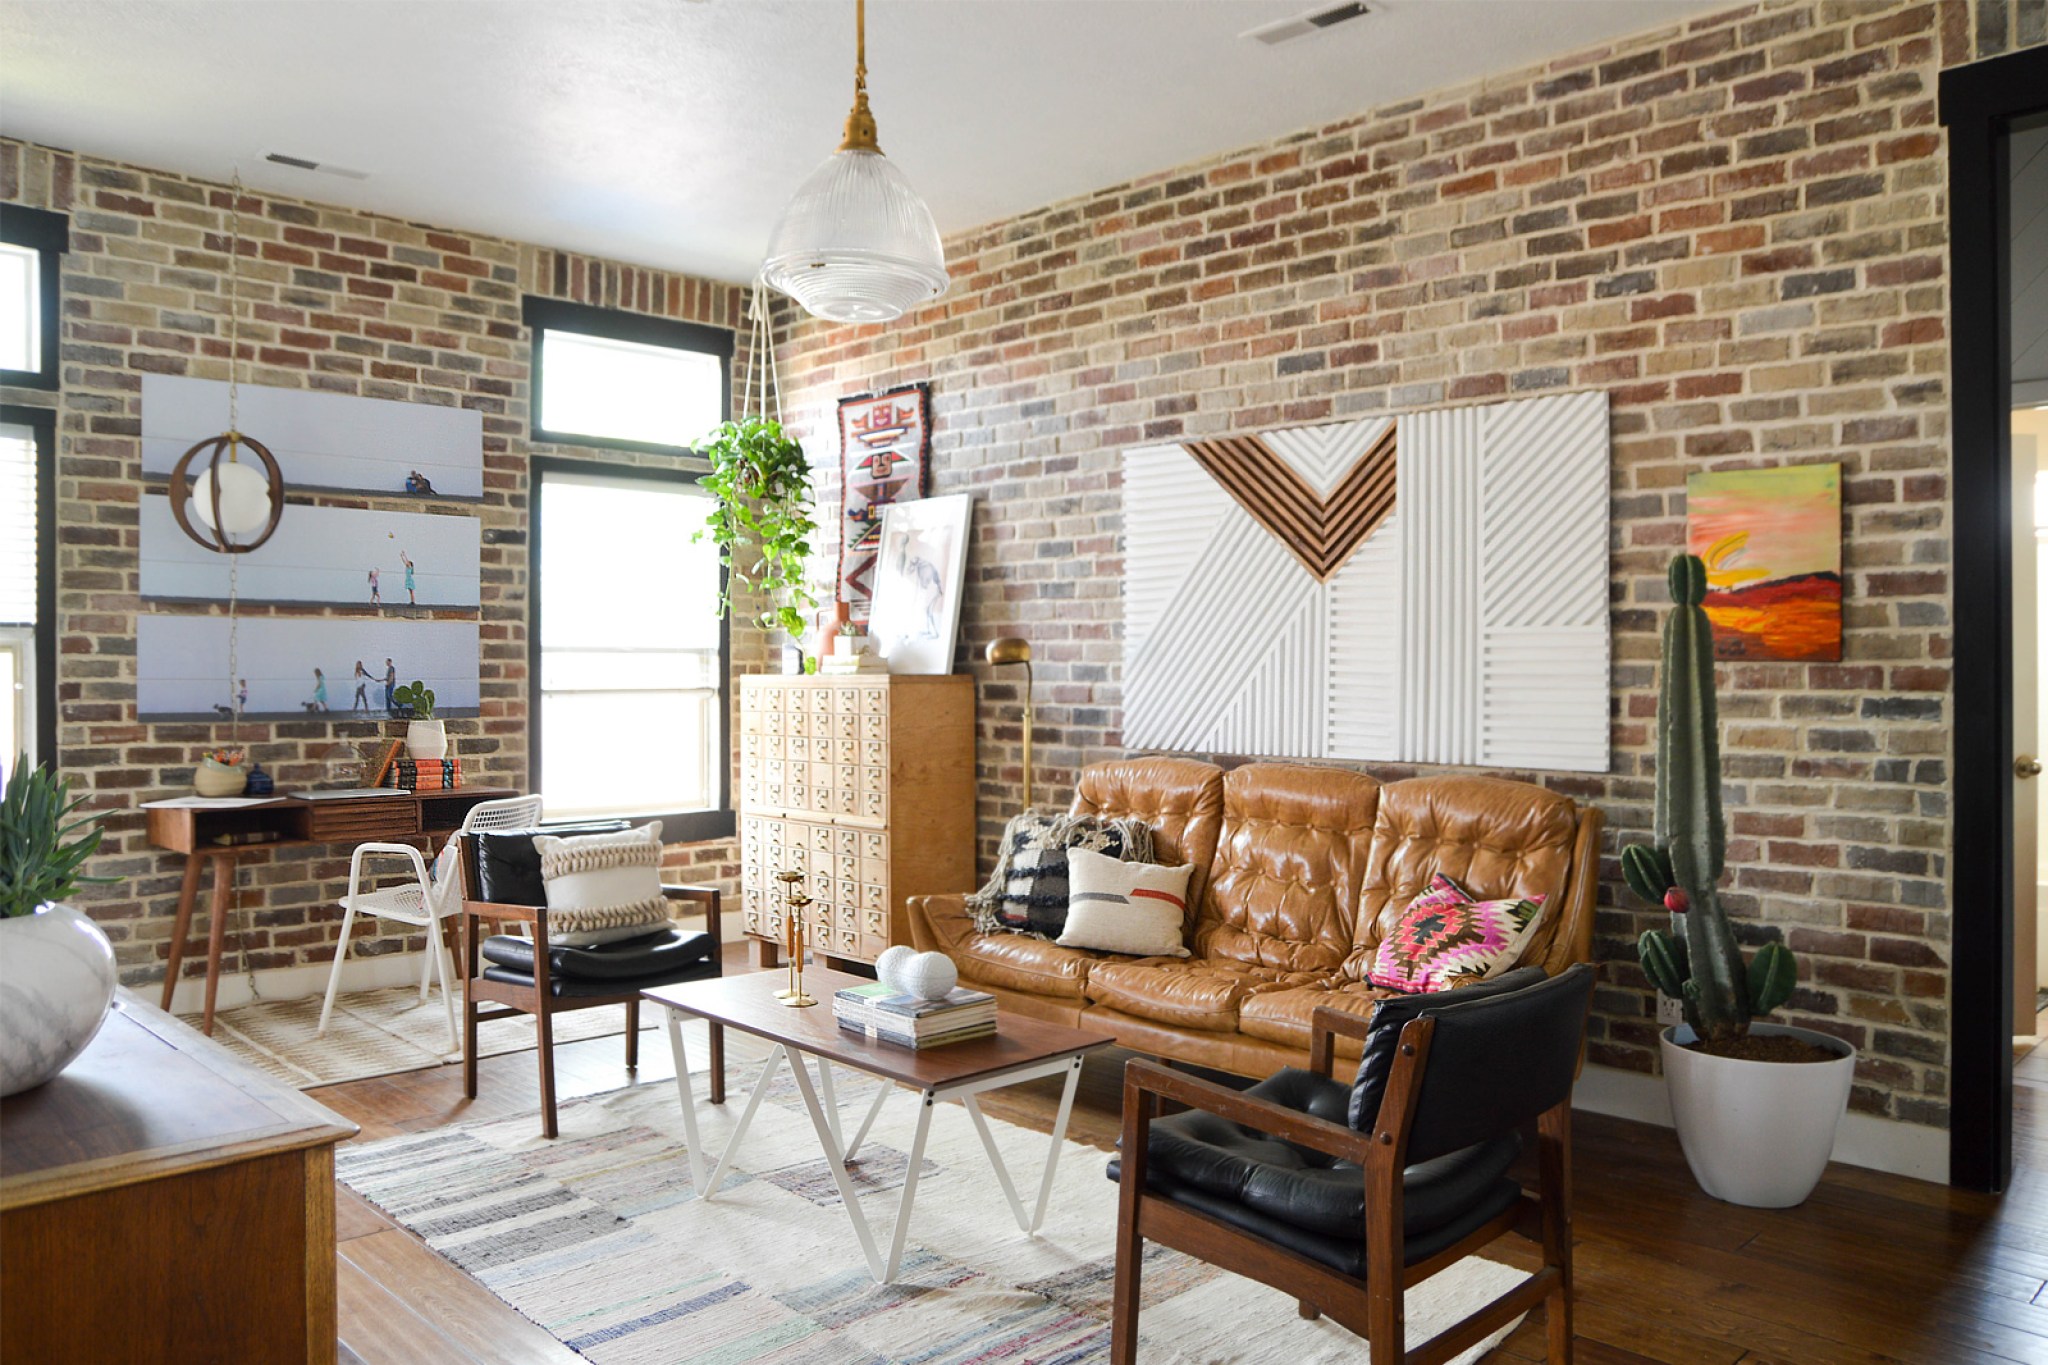
7. Layered living. Sometimes you just have to start fresh, which is what Lindsay from The White Buffalo Styling Co. did. If you can’t or don't want to make the existing situation work, rip it out and start over.

If you can’t or don't want to make the existing situation work, rip it out and start over.

Bedrooms
And who can forget about the bedrooms? Um, no one!
8. Tiny changes, big impact. Have you seen this magic from Almost Makes Perfect?

A new paint job and ceiling fan are further proof that you don’t have to spend thousands to make a huge impact.

9. Bolder and wiser. Who knows? Maybe you love color and pattern, in which case this might be the master bedroom for you! Here's what this master bedroom looked like before:

And here's what it looked like after:

Everything from the tumbling block wall, to the sliding barn door and giant rug is DIYed. You can find all of the tutorials on Vintage Revivals.
Laundry Room
10. From dull to distinctive. Last but not least, let’s talk laundry rooms. Man oh man, they can just suck the life out of you, right? Especially when they look like this:

But with a little love and elbow grease (and tile), you can transform it into something like this:

Updating the flooring and using a sheet of plywood to build the countertop are some of my favorite projects from this space. See the how to on Vintage Revivals.
Feeling inspired yet? Now get out there and find your dream house.
Related: 10 Design Trends to Transform Your House into a Dream Home