Closing time. When you're heading into the closing process, it's time for the last hurrah — and hurrahs are in order.
If you’re here, that means you’ve found a buyer and negotiated home repairs, and you're ready to move out — and on. But before you can make this sale official (and get paid!), you still have to cross off a few items on your list. Here, we’ve laid out what you need to know for a successful settlement.
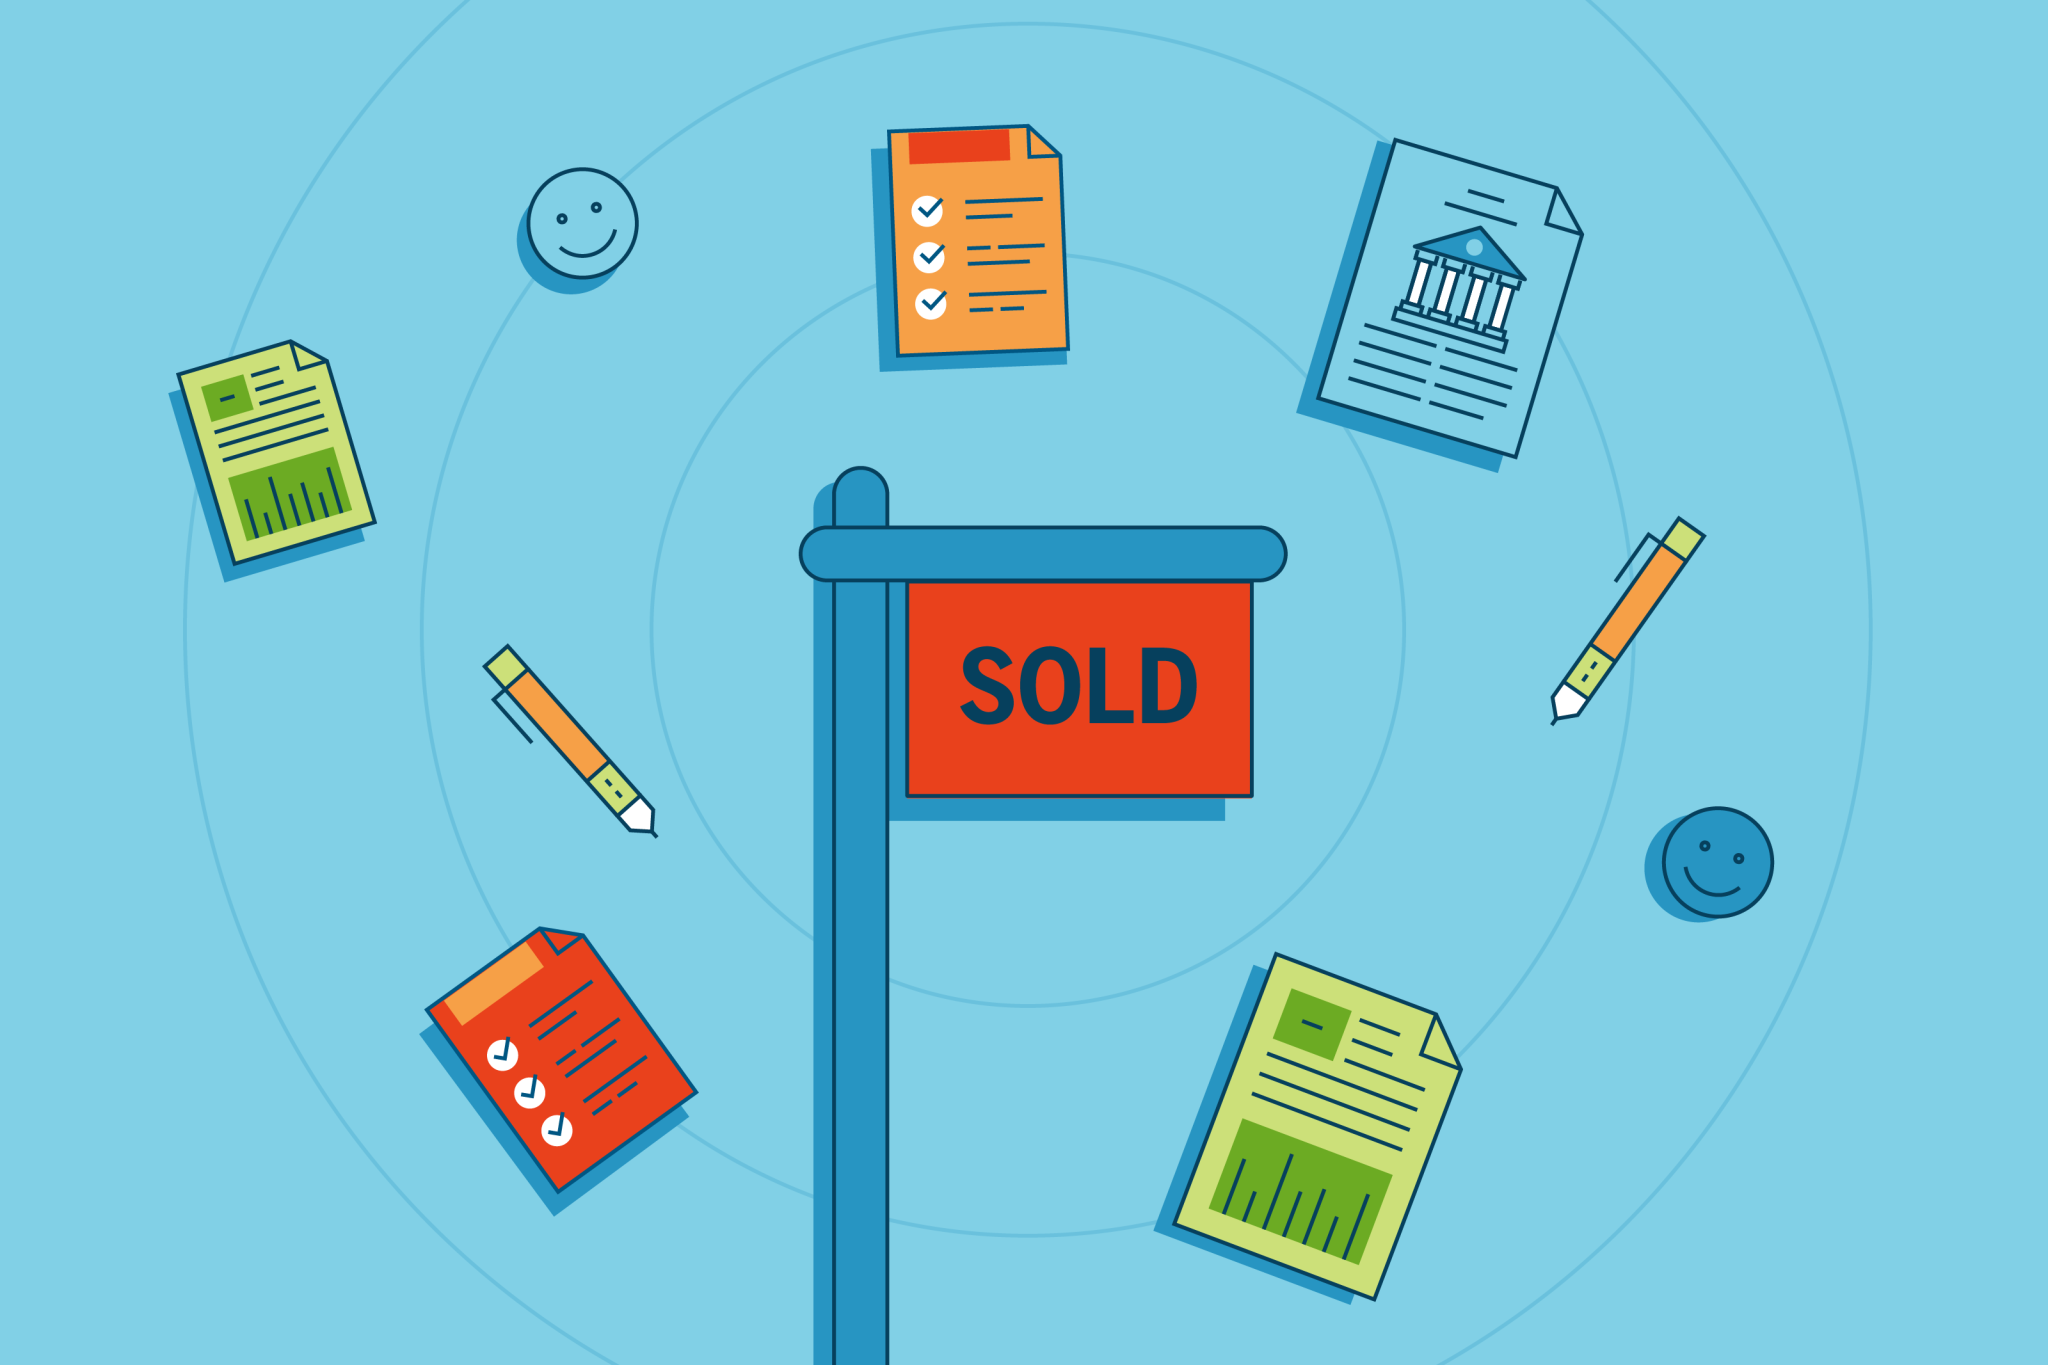
Closing Is the Final Step
At closing, or settlement, both parties sign the final ownership and insurance paperwork, and the buyer becomes the legal owner of the home.
Typically, closing occurs about four to six weeks after you signed a purchase and sale agreement. During this window, an escrow agent holds the buyer’s purchasing funds in escrow until all contingencies, like the home inspection contingency and appraisal contingency, are met.
Your agent will answer questions and offer support through closing. Here’s what to expect from the process, start to finish.
Before You Close, You’ll Have a Final Walk-Through
Most sales contracts give the buyer one last chance to do a walk-through of the home within 24 hours of settlement. At the walk-through, they can check the condition of the property and agreed-upon repairs.
In most cases, no problems arise at this stage of the transaction. (If something is amiss, your agent can help you work through it.) The final walk-through mostly gives buyers peace of mind, knowing that you, the seller, have adhered to the conditions of the sales contract and met commitments for home inspection-related repairs.
Related Topic: Sell a Home: Step-by-Step
Follow These Steps to Prepare for the Final Walk-Through
To help the walk-through go smoothly, take these six steps ahead of time:
Step #1: Clean the house. Your home should be spotless for the final walk-through. Assuming the buyer is taking ownership on closing day, you should have fully moved out at this point. But moving can be messy. After purging, packing, and moving, you may want to do one more deep cleaning.
Step #2: Leave owner’s manuals and warranties. Make the buyer’s life easier by providing all manuals and warranties you have for home appliances. Print physical copies and put these documents in one place for the new owner. If you have receipts for repairs from contractors, leave them with the manuals.
Step #3: Provide a vendor list. Give the buyer contact information for home contractors or maintenance companies you’ve used in the past. These vendors are familiar with your home, and the new owner will appreciate having a list of servicers with a record of taking care of their new home.
Step #4: Check for forgotten items. Do one more check throughout the home to make sure you’re not leaving anything behind. One exception: You may want to leave unused or leftover paint cans in the colors currently used in the home, but confirm with the buyer first.
Step #5: Turn off water shutoff valves. The last thing you want before closing is a flood. With the buyer’s permission, turn off your house’s main shutoff valve 24 hours before closing.
Step #6: Lock up. Until settlement is complete, you’re legally responsible for the home, meaning you’d be liable if there was a break-in before closing. So, the day before settlement, make sure to close window coverings and lock the entry doors. If a house looks unlived in, burglars interpret it as a welcome sign. It’s a good idea to leave a porch light on or to set an interior light to turn on and off with a timer.
If the final walk-through reveals an issue with the house, don’t panic. The standard protocol is for the buyer’s agent to immediately alert the listing agent that there’s a problem. Then, both parties work together to solve it. Typically, an issue will delay the closing and prompt more negotiation. For example, the sales price might be reduced. In other words, you'll have options, and your agent can help you choose one.
Up Next: The 'Closing Disclosure'
Let’s assume the final walk-through is smooth sailing. (Woo-hoo!) What happens next?
You’ll get info about your closing costs from the title company.
Meanwhile, the buyer’s mortgage lender must provide the buyer with a closing disclosure, or CD, three business days before settlement. This is a formal statement of the buyer’s final loan terms and closing costs. As the loan borrower, the buyer has a review period of three business days to look for significant discrepancies between their CD and loan estimate, or LE, a document buyers receive when they apply for a loan. The LE outlines the approximate fees the buyer would need to pay.
In most cases, there are no major differences between the CD and LE. However, if certain costs differ by 10% or more between the estimate and the disclosure, the mortgage lender has to review the buyer’s loan for cost differences. This review usually delays closing until the issue is resolved.
Expect to See These People at the Closing
The closing typically takes place at the title company, attorney’s office, or the real estate office of the buyer’s or seller’s agent (unless you live in a state that allows for electronic closings with remote notaries. In that case, the involved parties can opt to sign documents digitally.)
The list of legally mandated will depend on your state, but usually you’ll be joined by:
- Your agent
- The buyer
- The buyer's agent
- A title company representative
- The loan officer
- Any real estate attorneys involved with the transaction
Remember to Budget for Closing Costs
Closing costs can vary widely by location, but you’ll generally pay closing costs of 5% to 10% of the home’s sales price. So, on a $300,000 home, you can expect to pay from $15,000 to $30,000 in closing costs. In most cases, these costs are deducted from your proceeds at closing.
Closing costs for sellers typically include:
- The commission for the listing agent and buyer’s agent
- Transfer taxes or recording fees
- Loan payoff costs
- Unpaid homeowner association dues
- Homeowner association dues included up to the settlement date
- Prorated property taxes
- Escrow, title, or attorney fees
Be Sure to Bring These Items to Closing
At the closing you should have:
- A government-issued photo ID
- A copy of the ratified sales contract
- House keys, garage remotes, mailbox keys, gate keys, and any pool keys
- A cashier’s check, or proof of wire transfer, if your closing costs are not being deducted from the sales price
Don’t Forget to Dot These I’s and Cross These T’s
Before you rush off to pick out paint samples for your new place, remember to do these two steps that sellers often overlook.
Transfer utilities. Don’t want to pay for the new owner’s utility bills? Coordinate with the buyer so that utilities — including not only gas and electric but also water and cable — are transferred to the buyer on
Change your address. You obviously want to get your mail at your new home. Set up a forwarding address so that parties involved in the sale can reach you about any post-closing matters. You can file a change of address with the U.S. Postal Service here.
Finally: Celebrate!
At last, you've officially sold your home. Congratulations! Give yourself a pat on the back — and start settling into your new phase of life.
You may also like: