As anybody who's been inspired by HGTV can tell you, DIY home projects on TV look amaaaazing.
But DIY renovations in real life: kiiiinda the toughest thing ever. And, yet, these rookie craftsmen did beautiful, jaw-dropping work that will totally inspire you. Check out these easy DIY projects for your home:
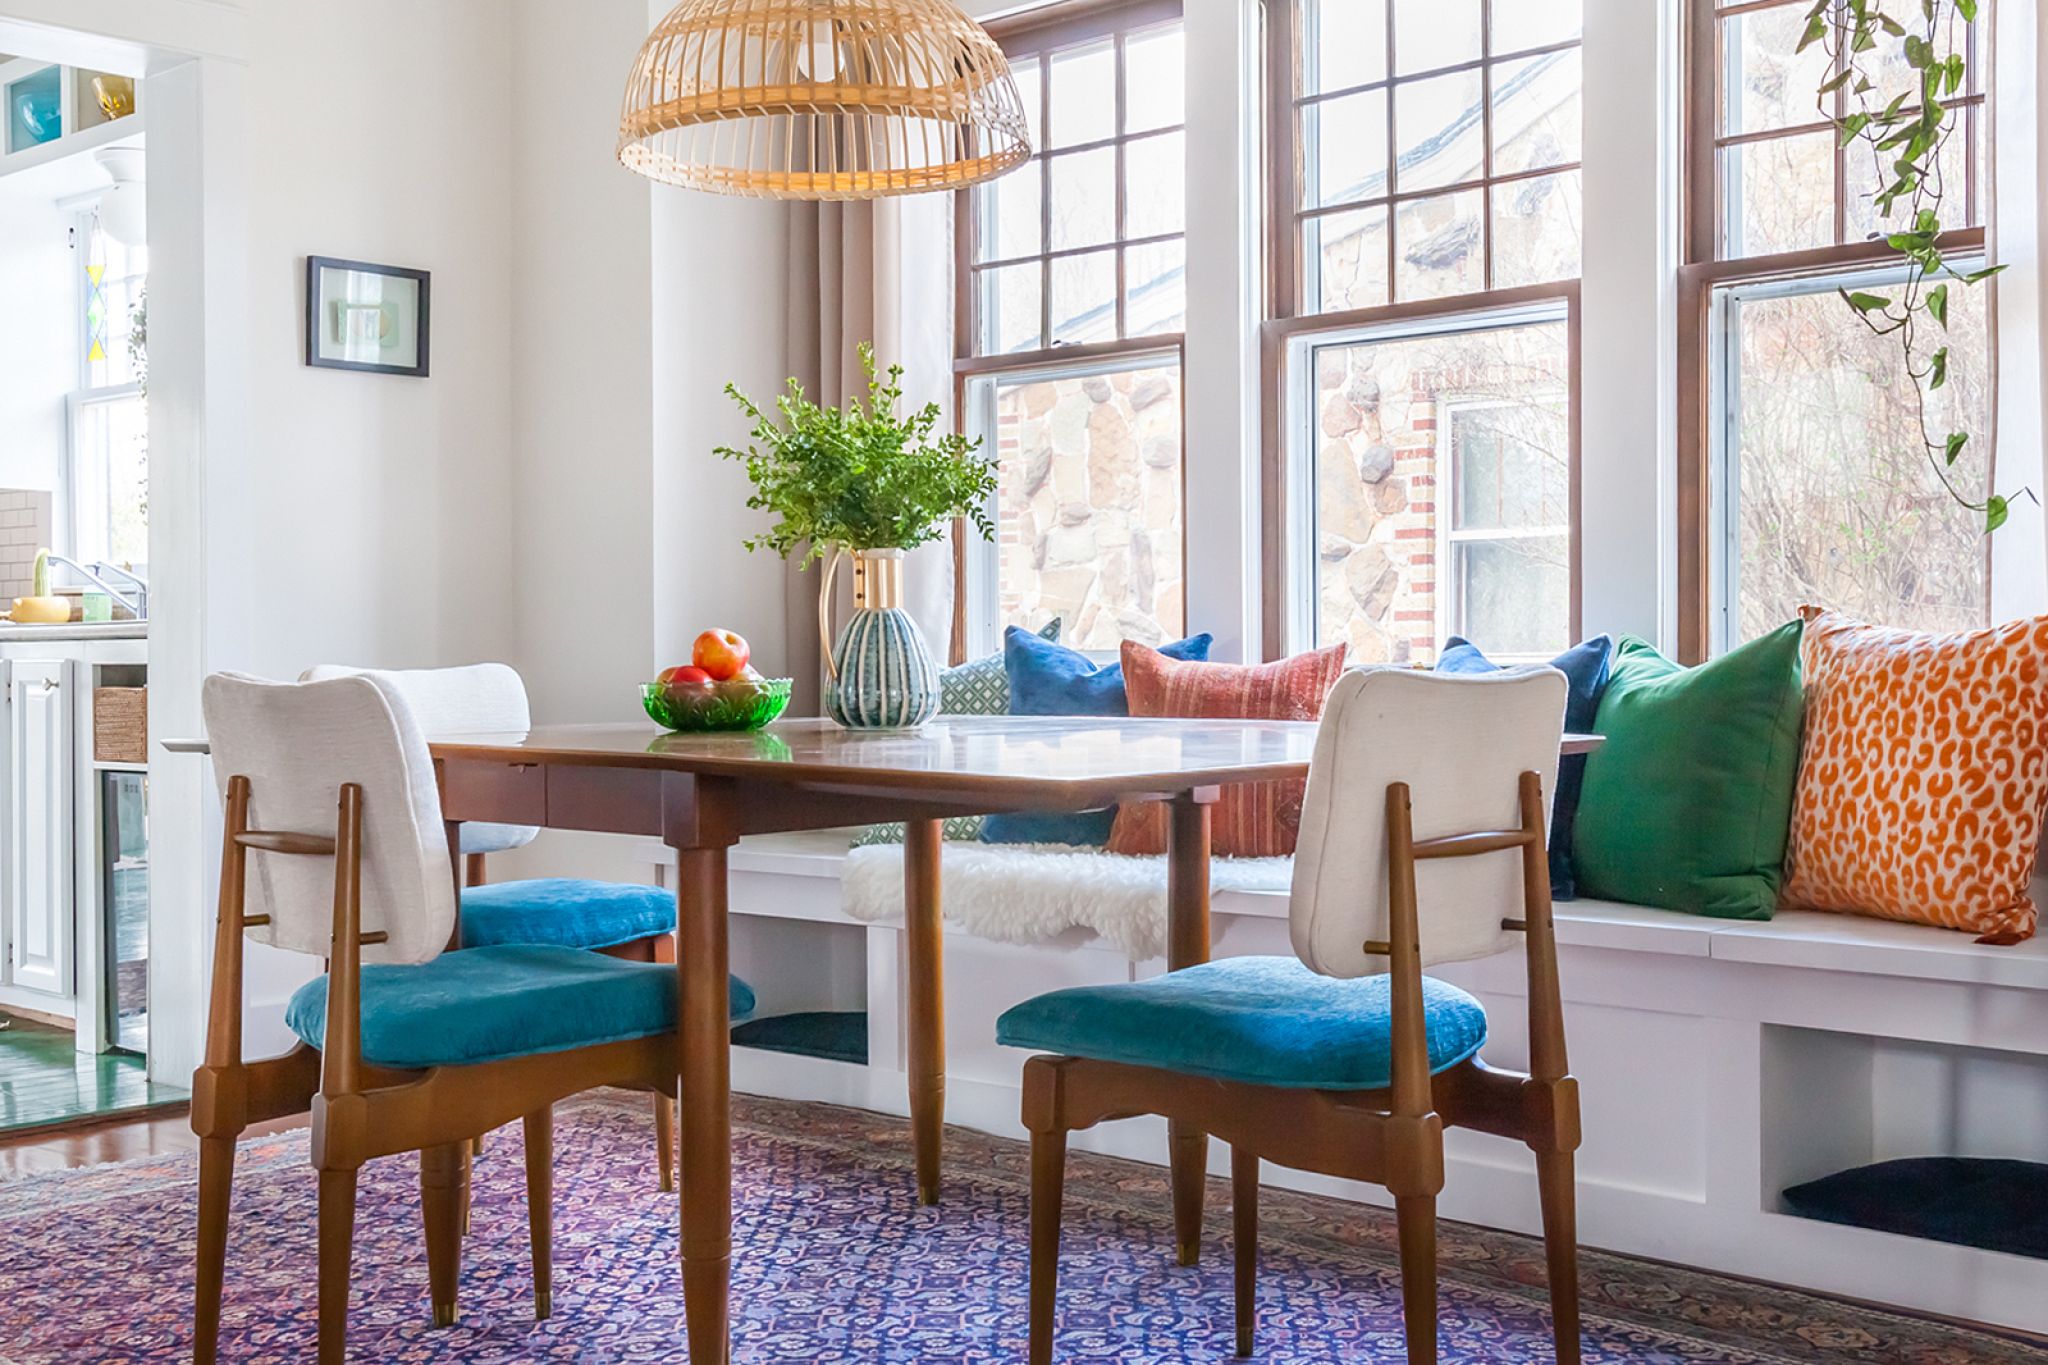
#1 Pinterest-Worthy DIY Window Seat
An empty recess in a room is a ripe spot for a DIY project, as home improvement blogger Britt Kingery can tell you.
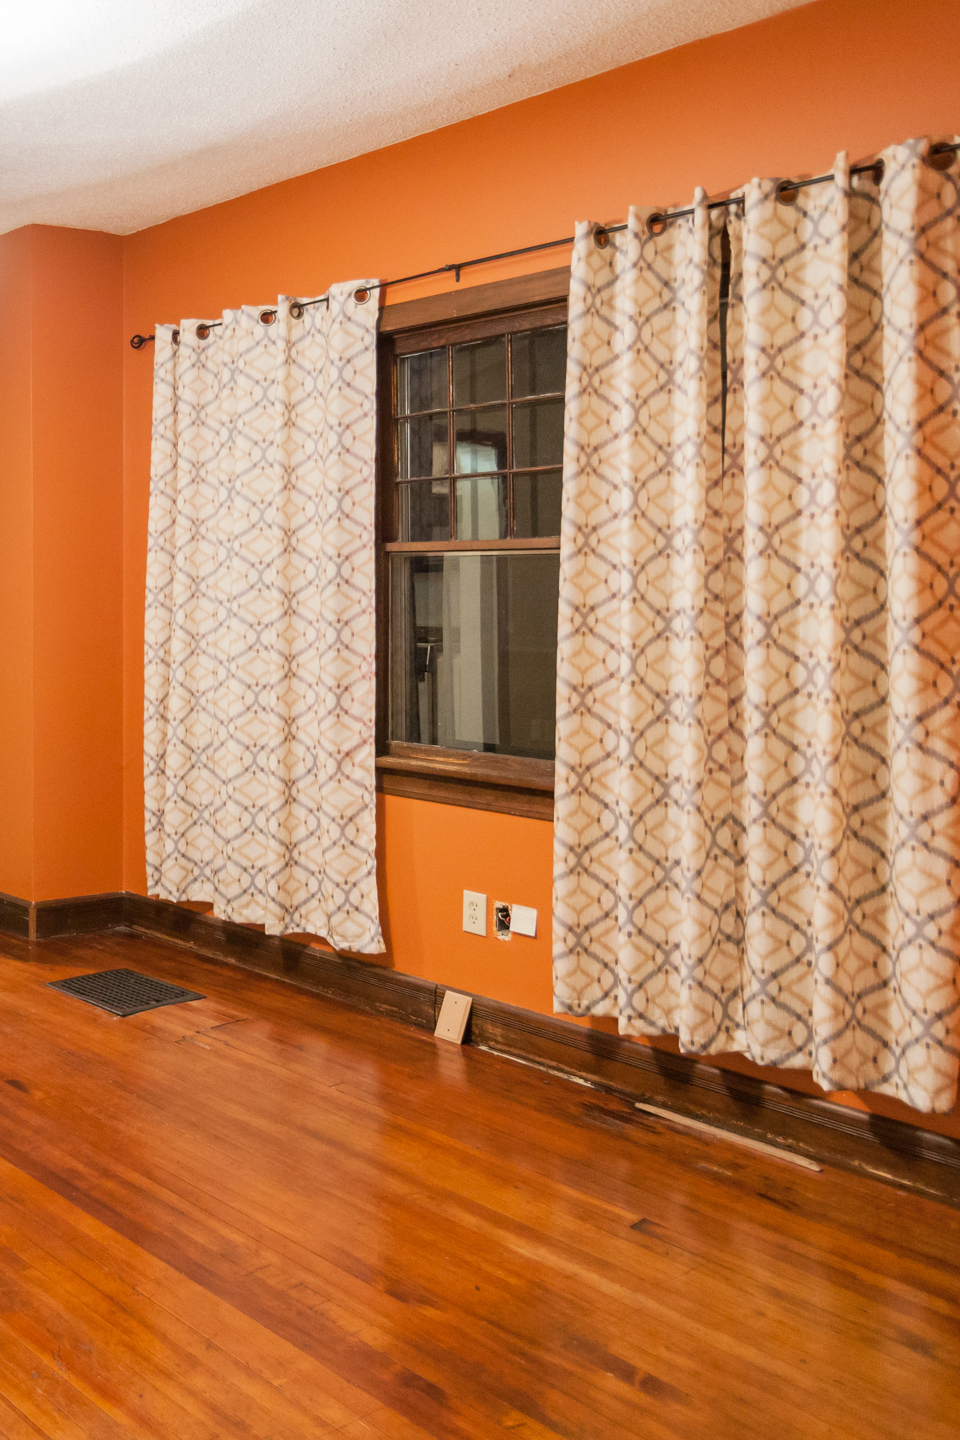
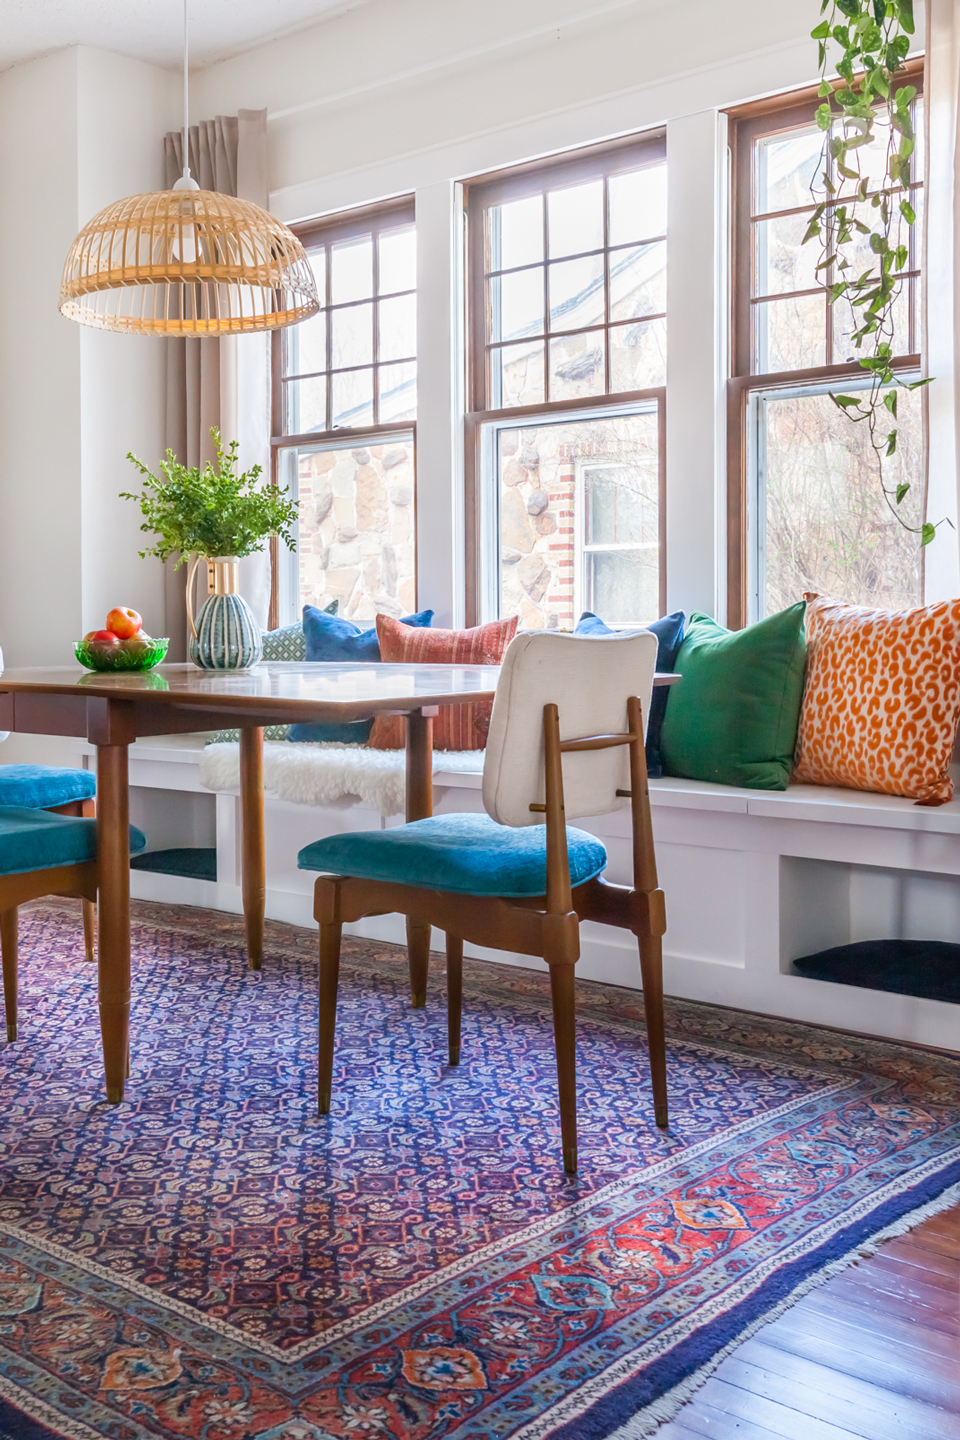
Image: Brittany Kingery
She and her husband, Justin, built a window seat so ridiculously Pinterest-worthy you'll want to make one for yourself (like, right now).
It's a roomy 10-foot beauty, so you can seat a houseful of guests without dragging chairs all over the place. And (bonus!) there's storage underneath for stashing lots of stuff out of sight.
You can custom-create your own for about $250 if you've got a few essential DIY tools.
Or you can do an Ikea hack to get the same result. Just attach one of their long, horizontal storage systems to your walls. Then add cushions and preformed molding for the same custom look.
The big reveal doesn't happen overnight, and a renovation almost always looks worse before it looks better.
Britt Kingery, home improvement blogger
#2 Miracle Makeover With Just Paint, Stain (and Patience)
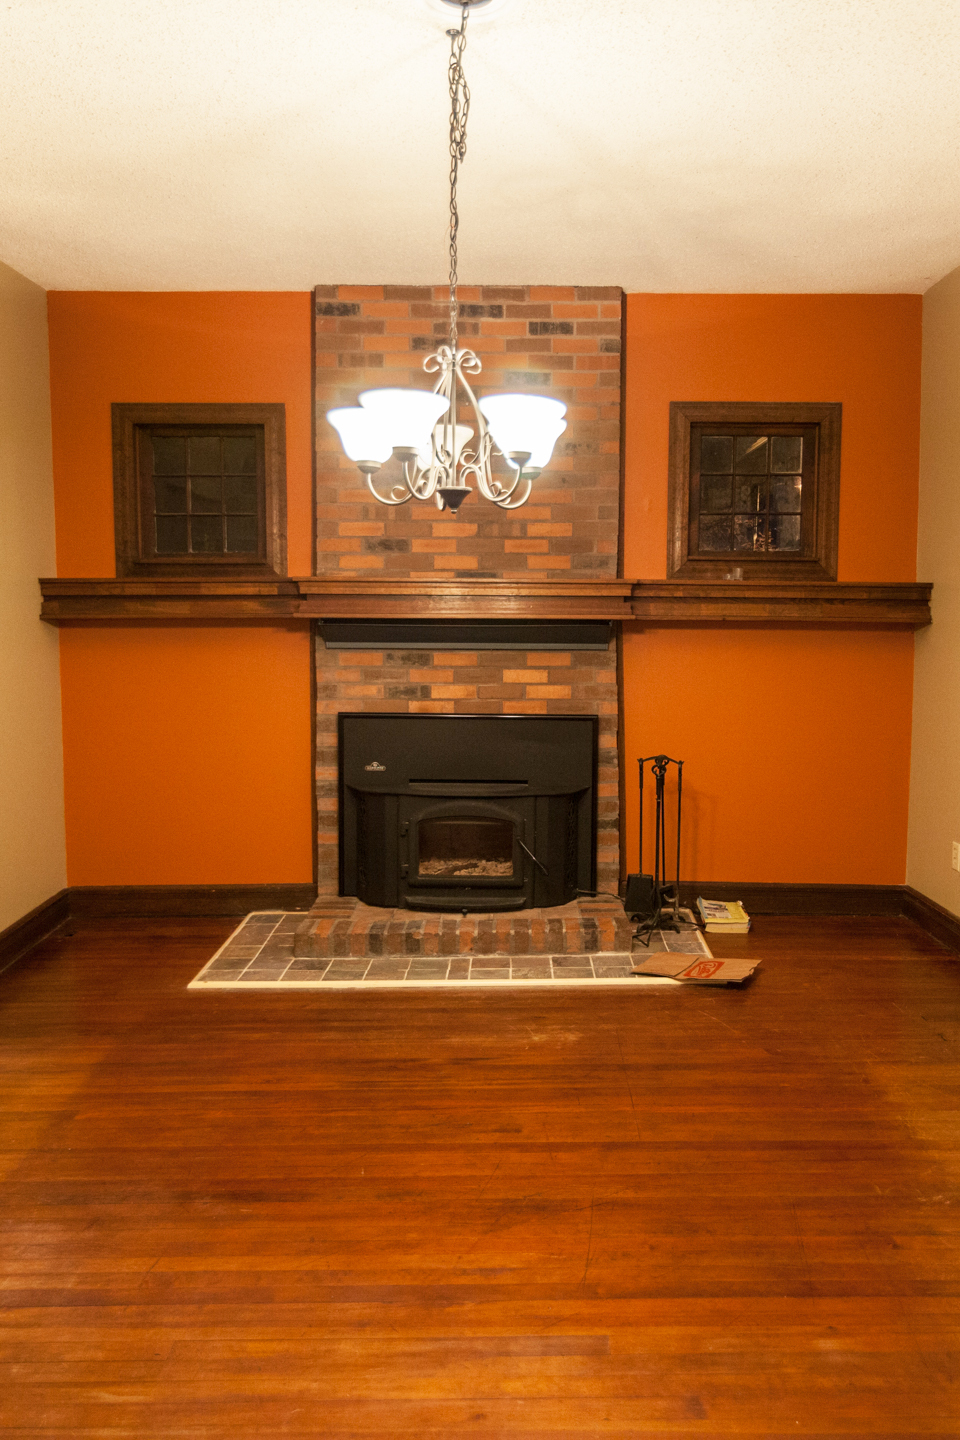
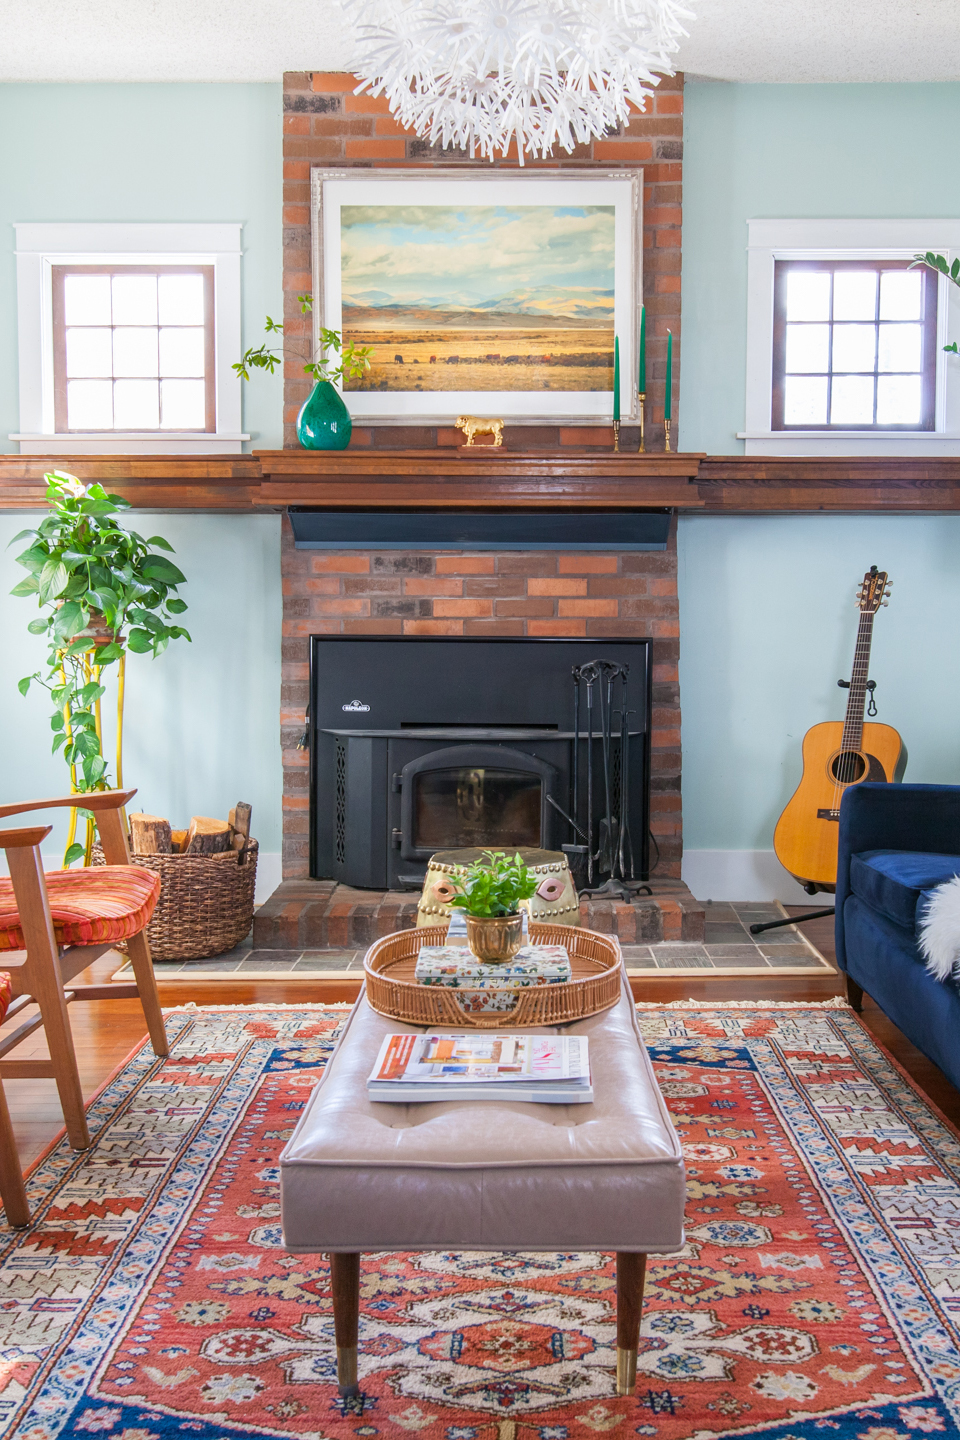
Image: Brittany Kingery
"The Brady Bunch"-orange wall and abused floors in the before photo are homely enough to strike you blind.
But what a miracle paint, sanding, and stain can do! Lighter shades on the walls, trim, and floor reflect natural light, making the space so much brighter. And for very little money (about $150).
The key to such an amazing transformation, Kingery says, is to be a tortoise, not a hare.
Sanding, taping, patching holes, and waiting on stain, paint or polyurethane to dry takes care and patience if you want professional-looking results.
“The big reveal doesn't happen overnight, and a renovation almost always looks worse before it looks better."
#3 Instant Open Floor Plan
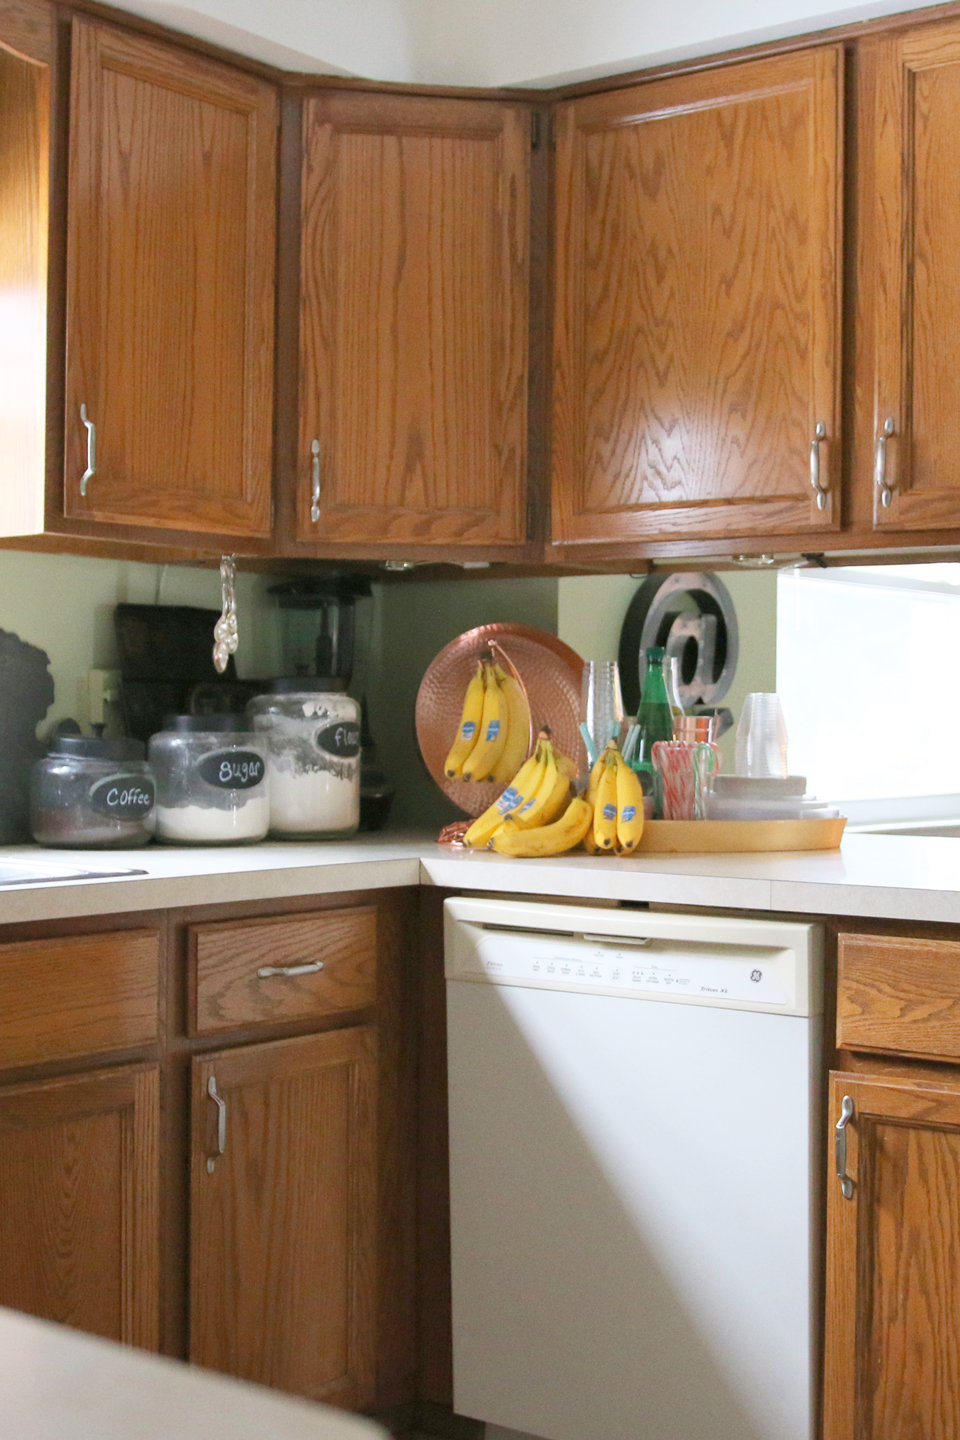

Cramped, dark kitchens are so very 1981.
Sarah Lemp of the "All Things With Purpose" blog turned her dated kitchen into an open, light-filled space that feels and functions like a larger room.
The cost? $300. Yep. For less than the cost of a set of countertop canisters at Williams Sonoma, Lemp worked magic.
The biggest fix? She just removed a set of overhead cabinets that blocked light and the view into the dining area, making an instant open floor plan.
Then she turned to paint, the budget remodeler's friend. She used a soft griege (designer-speak for grayish beige) for the walls of the kitchen and dining area.
She painted the remaining upper cabinets white, and the bottom ones dark gray.
“I love the look of white cabinets, but figured a darker color was more kid-friendly," she says.
Lemp skipped the requisite subway tile backsplash and went with peel-and-stick shiplap instead. “It was easier and cheaper," she says.
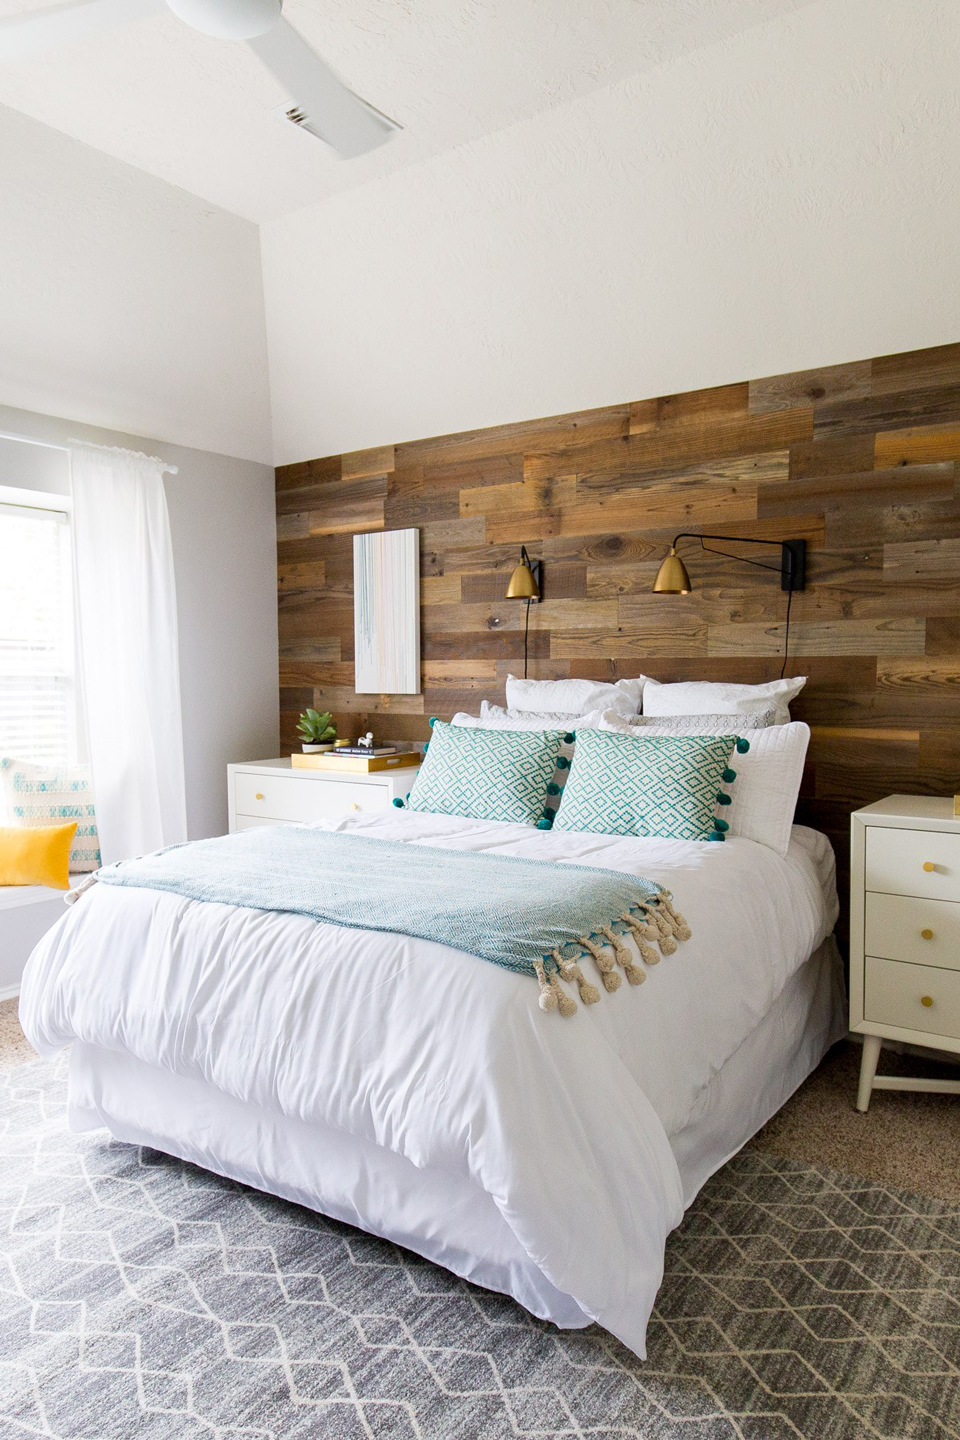
#4 Brighter Bedroom With Paint and Wood
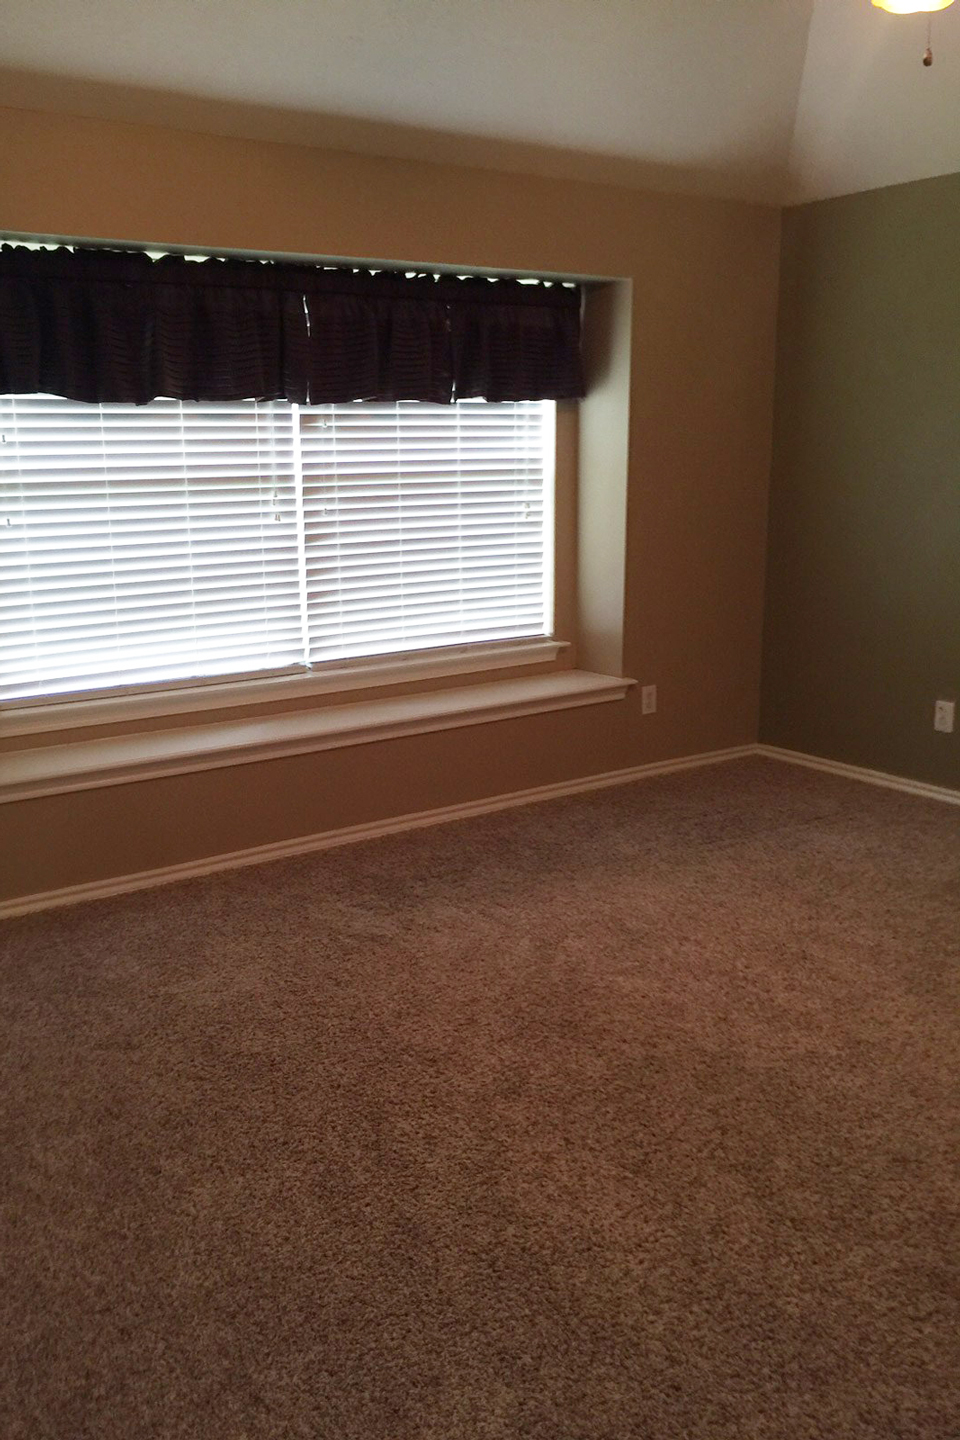
This may be an ugly room, but we're not sure because it's so dark all we can see are cheap blinds and a poofy valance that hasn't been fashionable since the Olsen twins were toddlers.
It needed major help.
Ashley Rose and Jared Smith of the blog "Sugar and Cloth" pulled off a weekend makeover by painting the walls a lighter color and replacing the window treatments with wispy, white drapes that practically pull sunlight into the room.
A pair of wall-mounted reading lamps added a second layer of light, because a lonely overhead fixture can't light the whole room all by itself.
And that wall behind the bed? It's strips of reclaimed wood with an adhesive backing. Peel, stick, and you're done. No nails. No glue. And just one tool: a level to make sure you stick the wood strips in a straight line. Awesome.
#5 An Easy-Peasy Backyard Patio
Dirt's ugly. It's also a pain, turning into mud when it rains, dust when it doesn't, and sneaking into your house on the feet of dogs and kids.
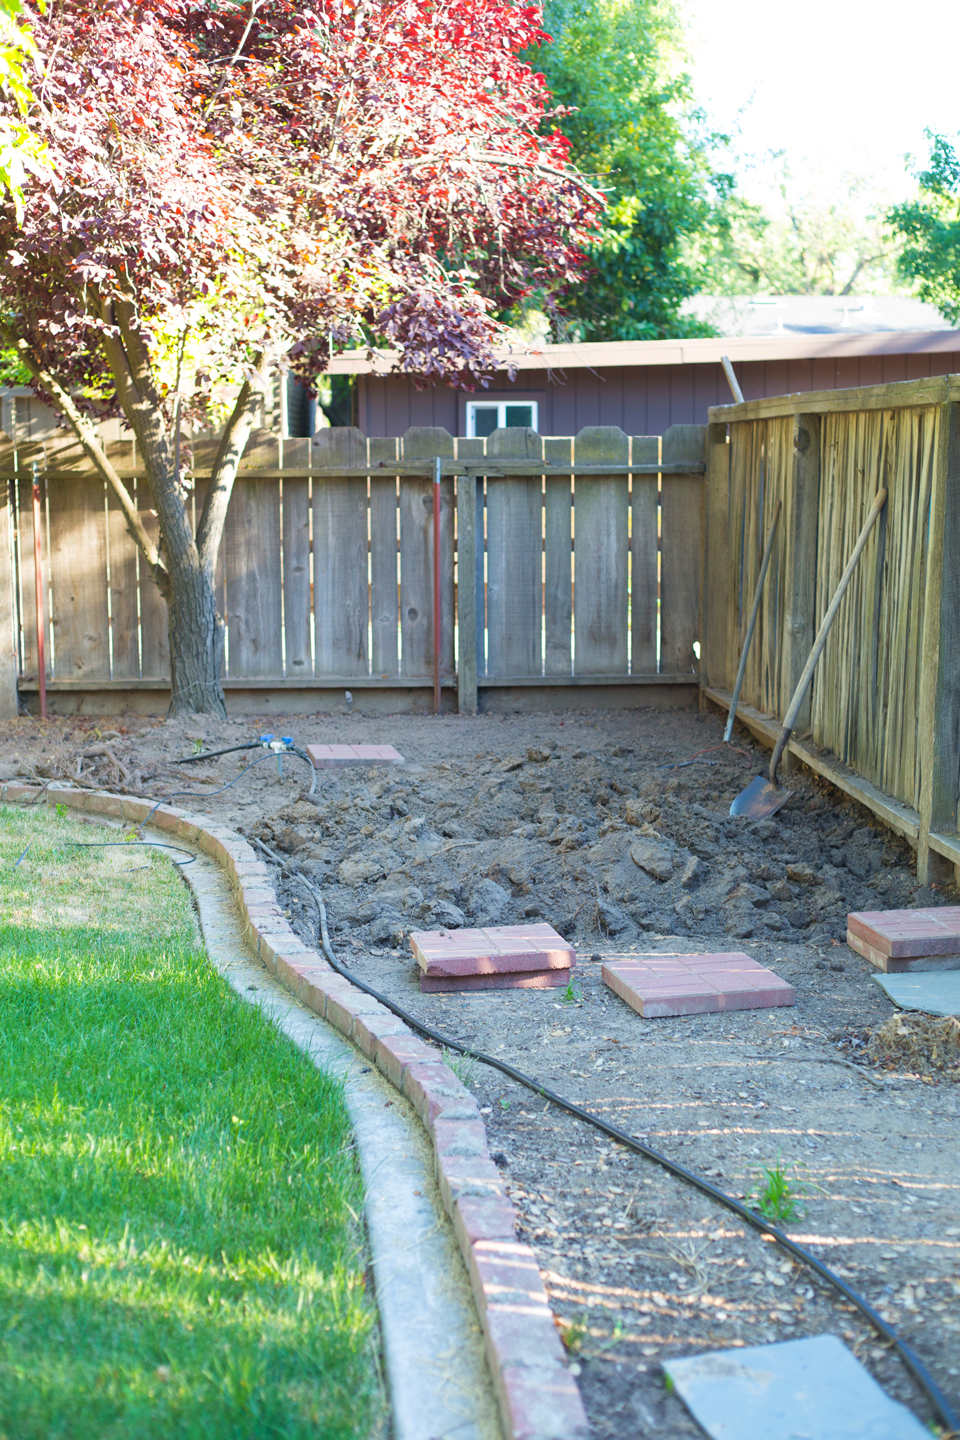
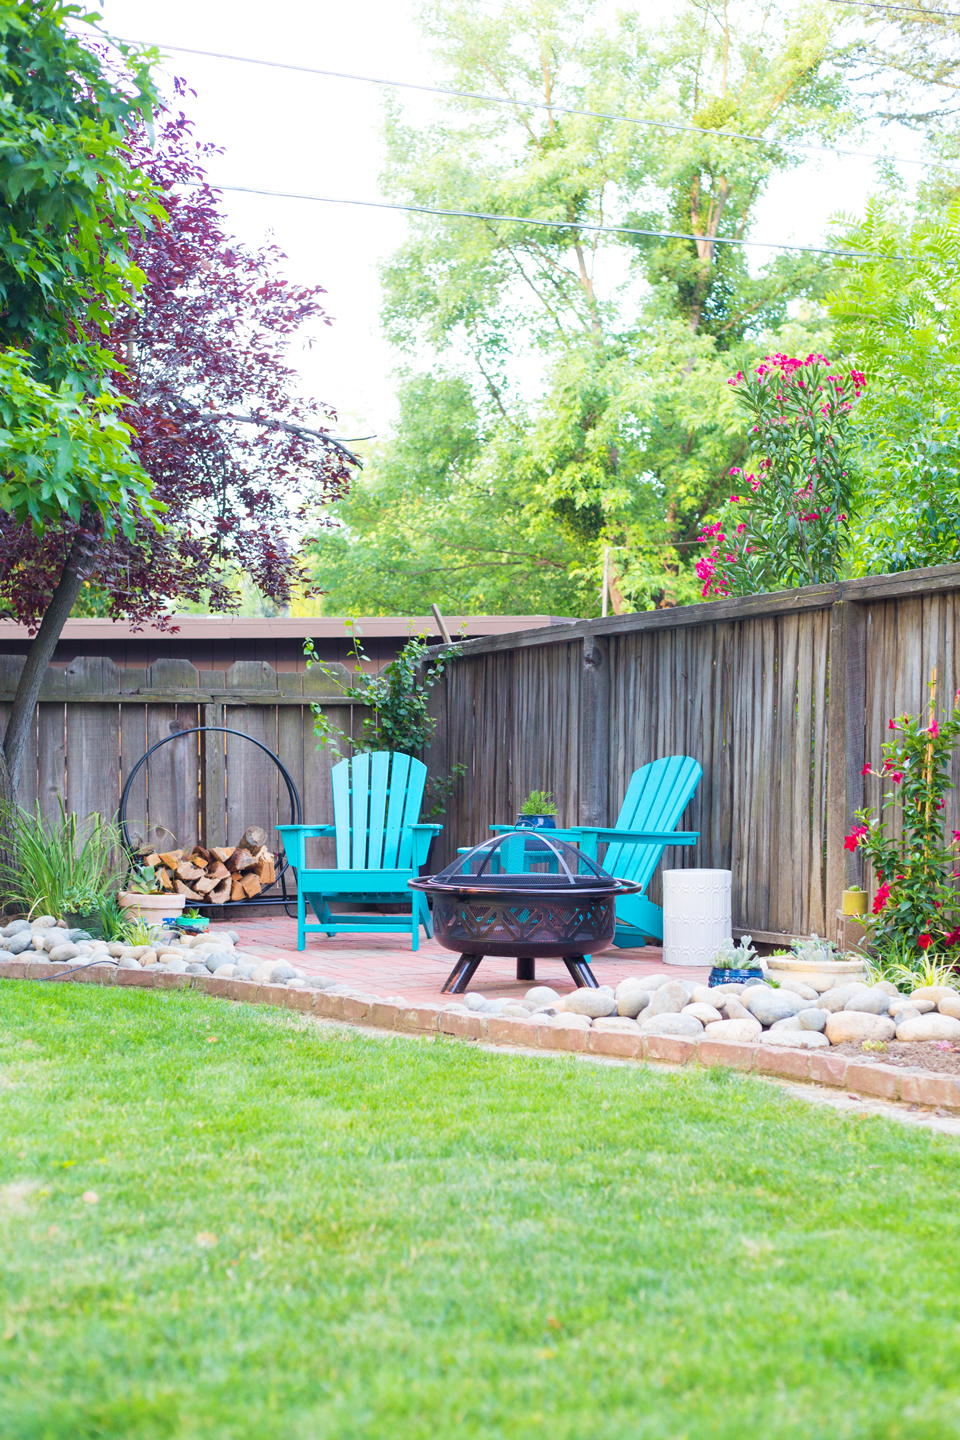
Covering it with a paver patio is a great fix. Chelsea Foy of the blog "Lovely Indeed" built this one in a neglected flower bed in just 10 hours.
She used patio stones molded to look like several individual bricks, because leveling one large stone is tons easier than leveling a bunch of bricks.
Those arcs of large river rocks just off the patio make a natural-looking transition between the factory-perfect pavers and the rest of the yard. They'll also give you less lawn to mow or flowers to tend.
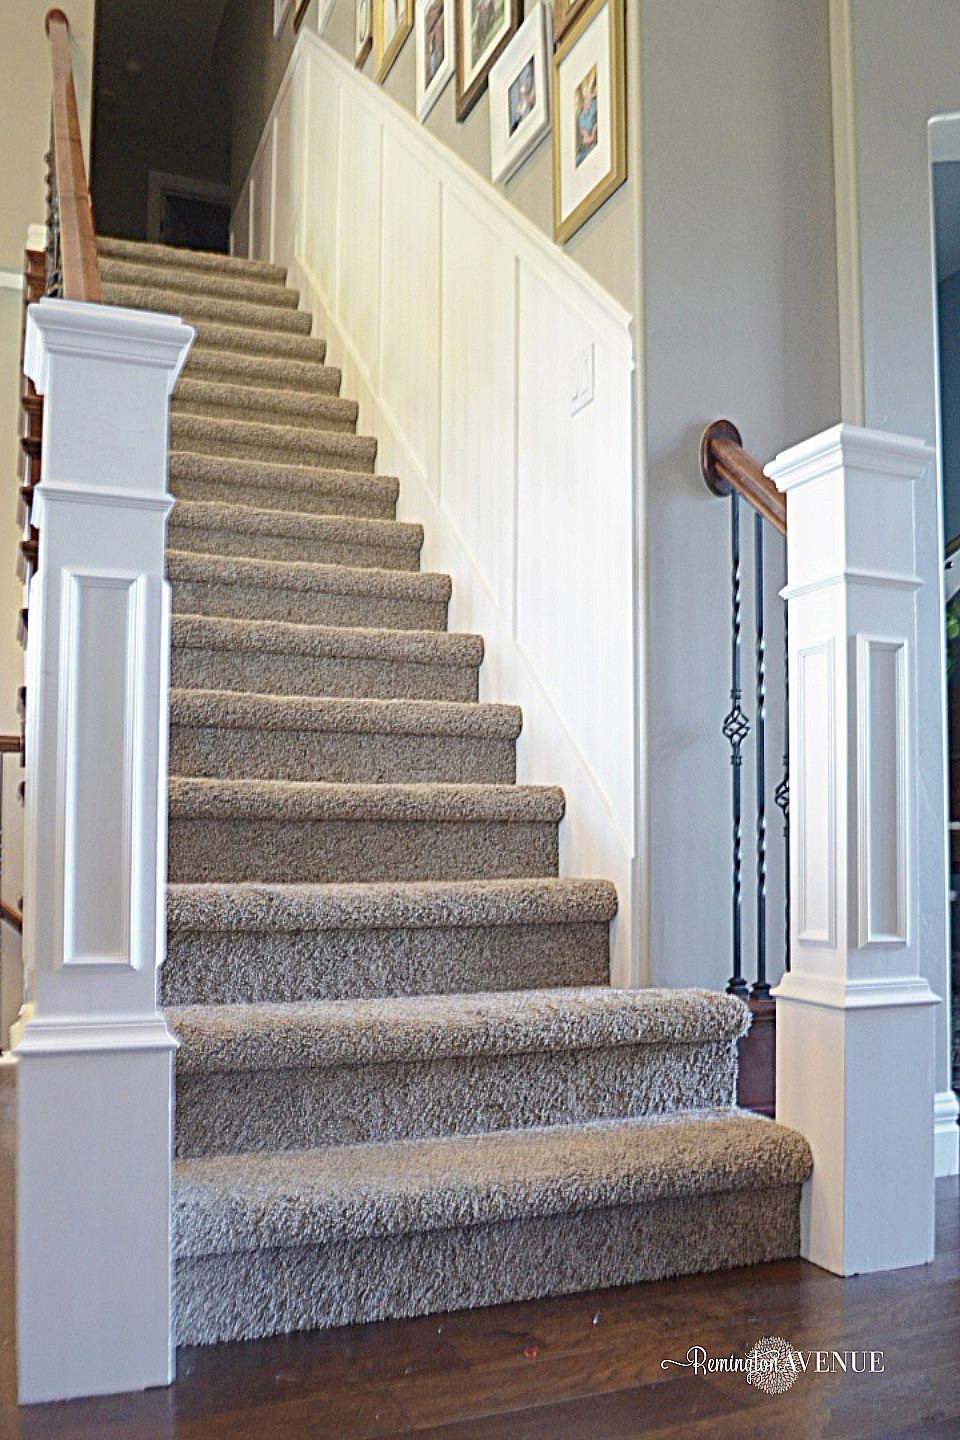
#6 Fancy Wall Molding for a Bargain Price
Wall molding makes a room look so custom, so finished, so much better than boring old drywall. But it costs around $25 a square foot just for the materials.

Mysha Barton of the blog "Remington Avenue" pulled it off along her stairs for just $30 — total.
The secret? She used MDF (medium density fiberboard, aka fake wood) to keep it cheap, and didn't mount it in the traditional way with board panels on the wall.
Instead, she put thinner "chair rail molding" directly on the wall, and painted everything white, including the wall to get that rich look of molding.
The toughest part was cutting all those angles, Barton says.
She got it done with a miter box and a handsaw. "My advice is to use scrap wood to practice your angled cuts before taking on your expensive molding pieces."
Barton did this project in just eight hours with three small children in the house, so even if 10th-grade geometry made you cry, you can do this.
#7 A Space-Saving Workbench

A DIY workbench is a gateway project, one that can lead you to harder projects and possibly, a home improvement addiction. Make this workbench your very first project and you'll have room to do scads of projects — money-saving ones.
It'll fit in a small space because it's actually a door mounted on door hinges, so you can fold it flat against the wall when you're not using it. Be sure to buy a solid wood door, not a hollow one, so it's sturdy enough to stand up to years of projects.