

Bathroom remodel. Those words can strike fear in the heart of any homeowner. It’s easy to be haunted by the horror stories of people recounting their bathroom remodels.
Mold! Missing subfloor! Five times over budget! Gosh, those stories can be enough to make even the most motivated DIYer ask if they should replace something or just try to live with it. But guess what? I’m here to tell you that you can do a bathroom renovation that looks amazing — on a $500 budget!
Where Our DIY Bathroom Renovation Began
When we moved into our house, our bathroom looked like this:

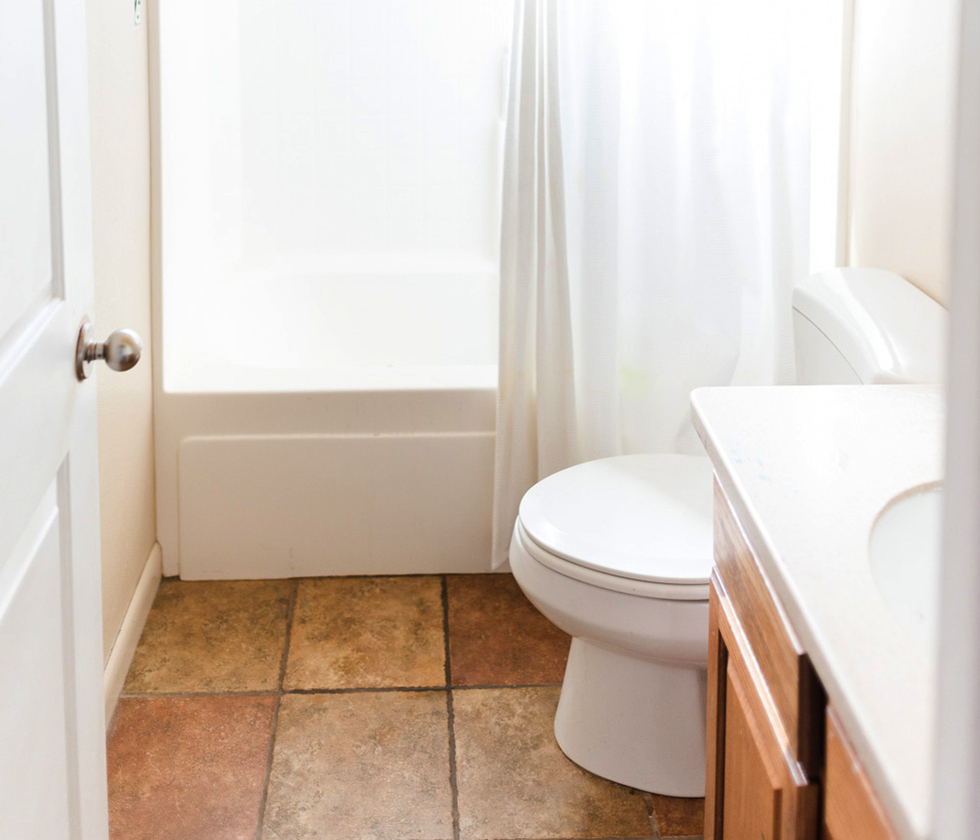
Eight years later, when we had outgrown this cute starter home and were ready to move, our bathroom looked like this:

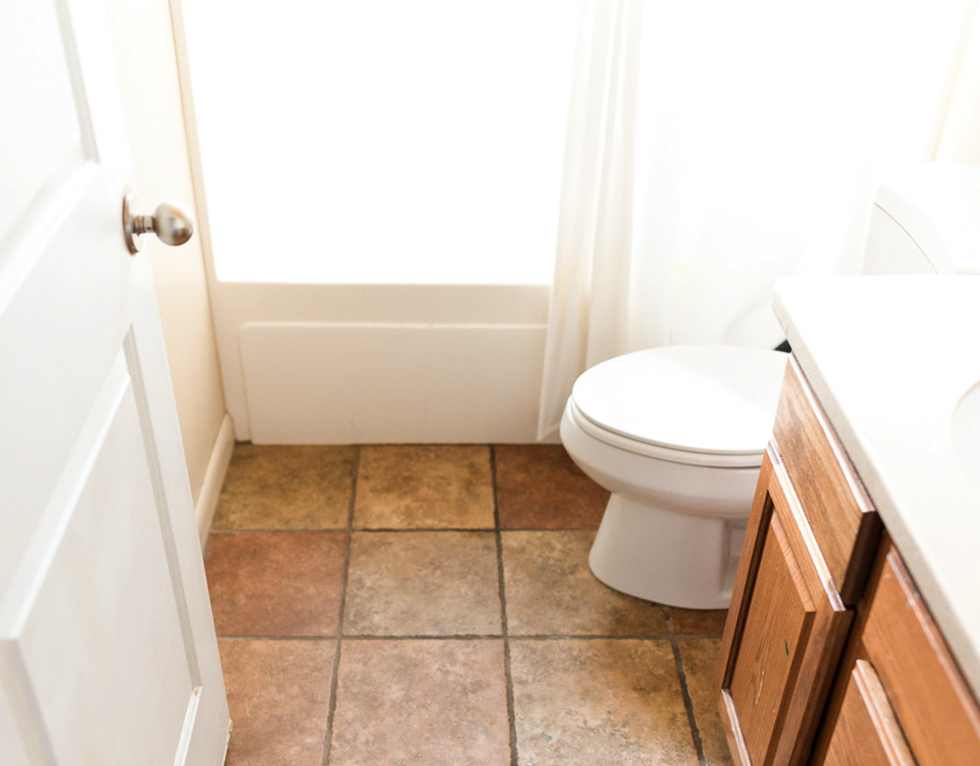
Yes, that is the same picture. Because NOTHING HAD CHANGED. I hated that bathroom when we moved in, and I continued hating it the entire time we lived there. In my mind, a bathroom renovation cost tens of thousands of dollars, so we put it off until we were updating our house to increase its resale value. That’s when we learned how affordable the update could be.
So if you’re in that place where you have a bathroom that needs updating but you don’t have gobs of cash to put into it, I’m here to tell you exactly how we pulled off this budget renovation. You do not have to live like I did!
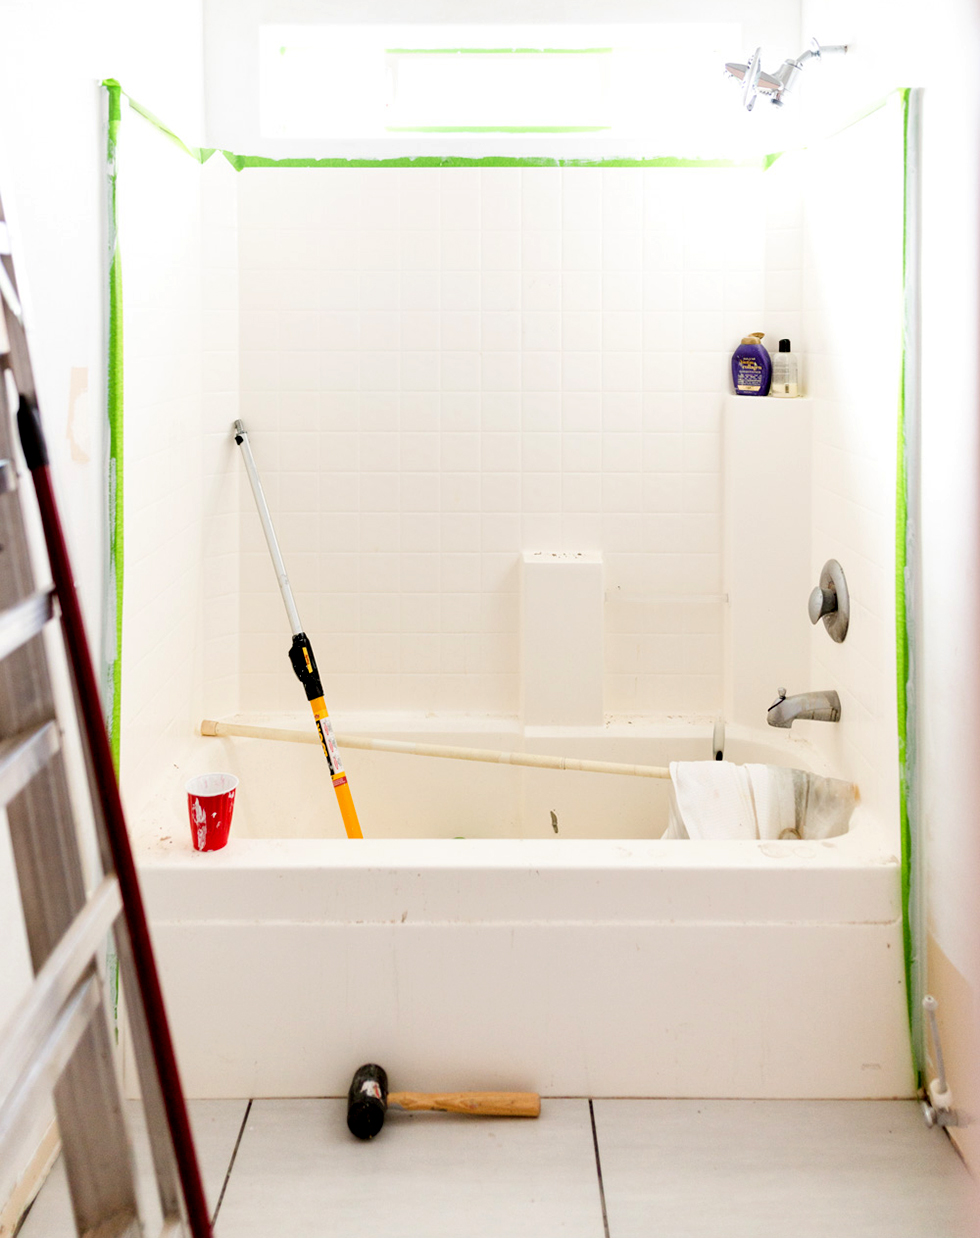
Bathroom renovations can be EXTREMELY budget-friendly. The first step to a budget reno is salvaging everything you can. Would I have loved to rip out the shower and replace it with something custom during the remodel? Of course! But it wasn’t in the budget, so the shower stayed.
DIY Bathroom Renovation Step 1: Demo and Flooring
Bathrooms are typically pretty small, which means that you won’t need a lot of floor tile. When we were updating the floor, we used leftover tile from our kitchen flooring. You can also look online or at a local flooring store for remnant batches of tile.

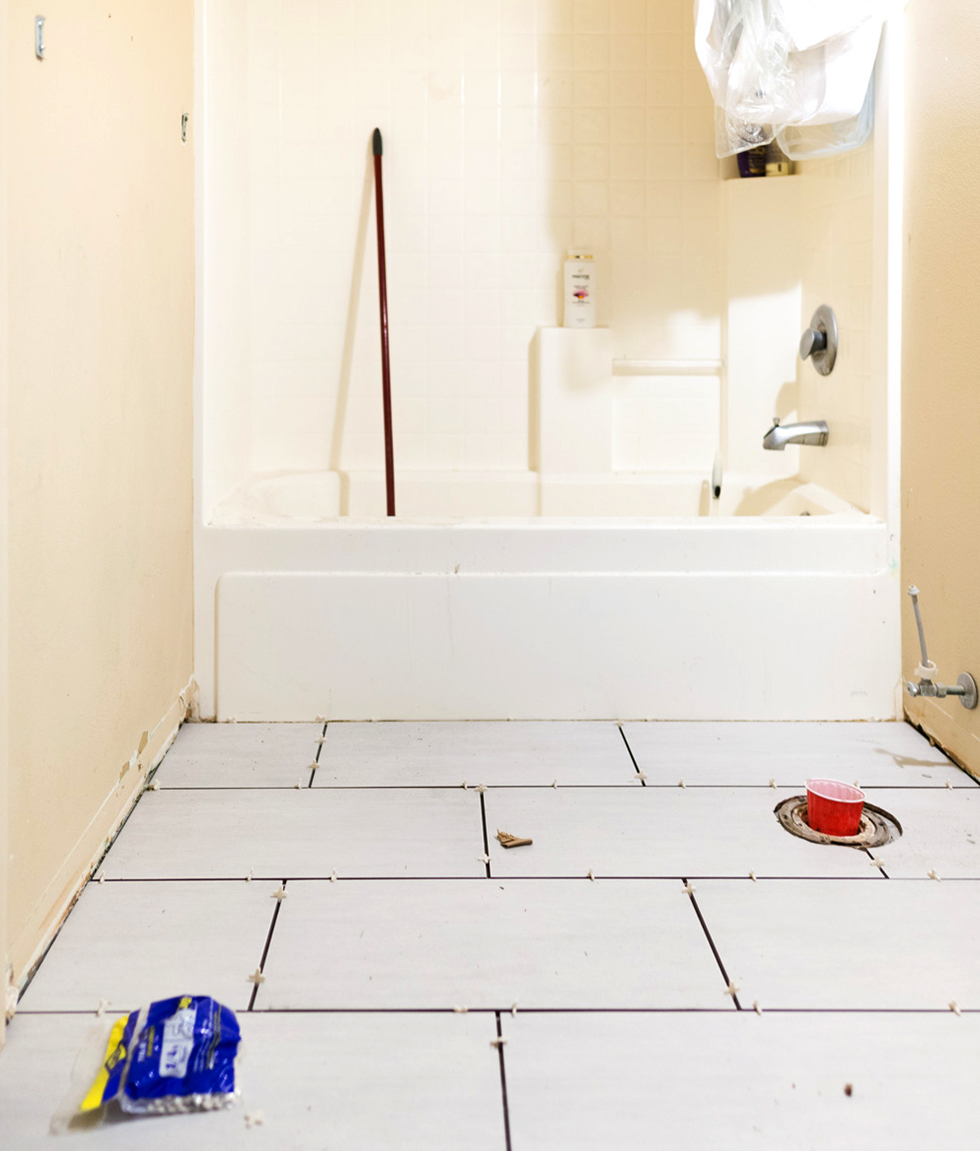
Before you go shopping, make sure you know your square footage, plus at least 10% more for cuts and mistakes. That extra will be your safety net!

DIY Bathroom Renovation Step 2: Wall Treatments
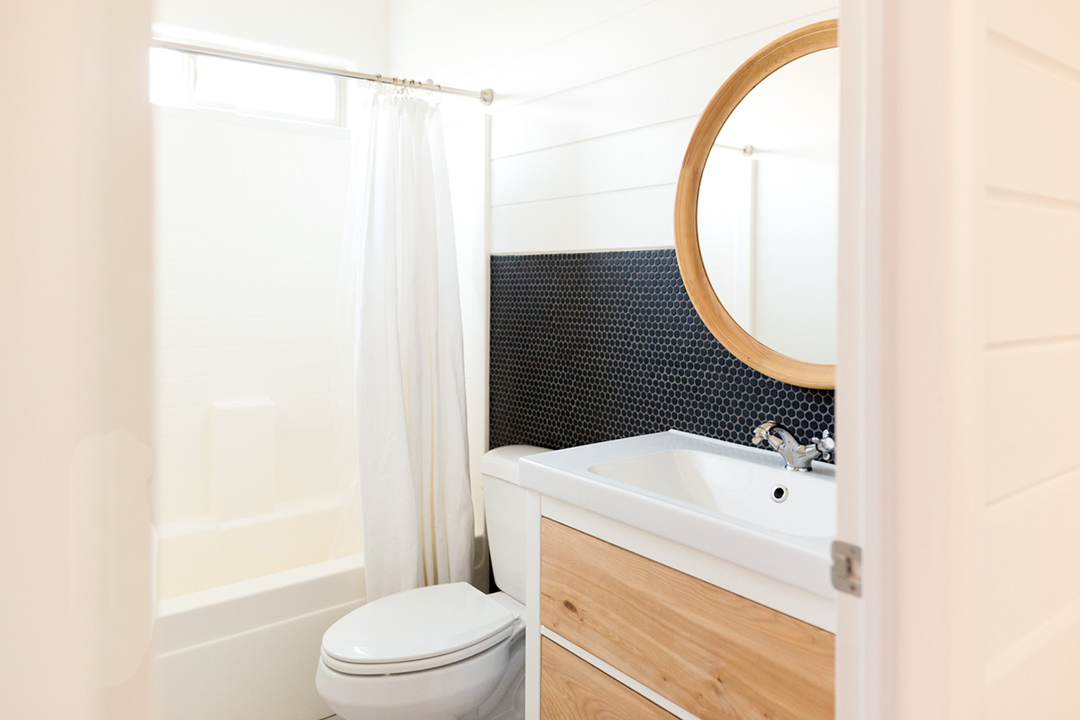
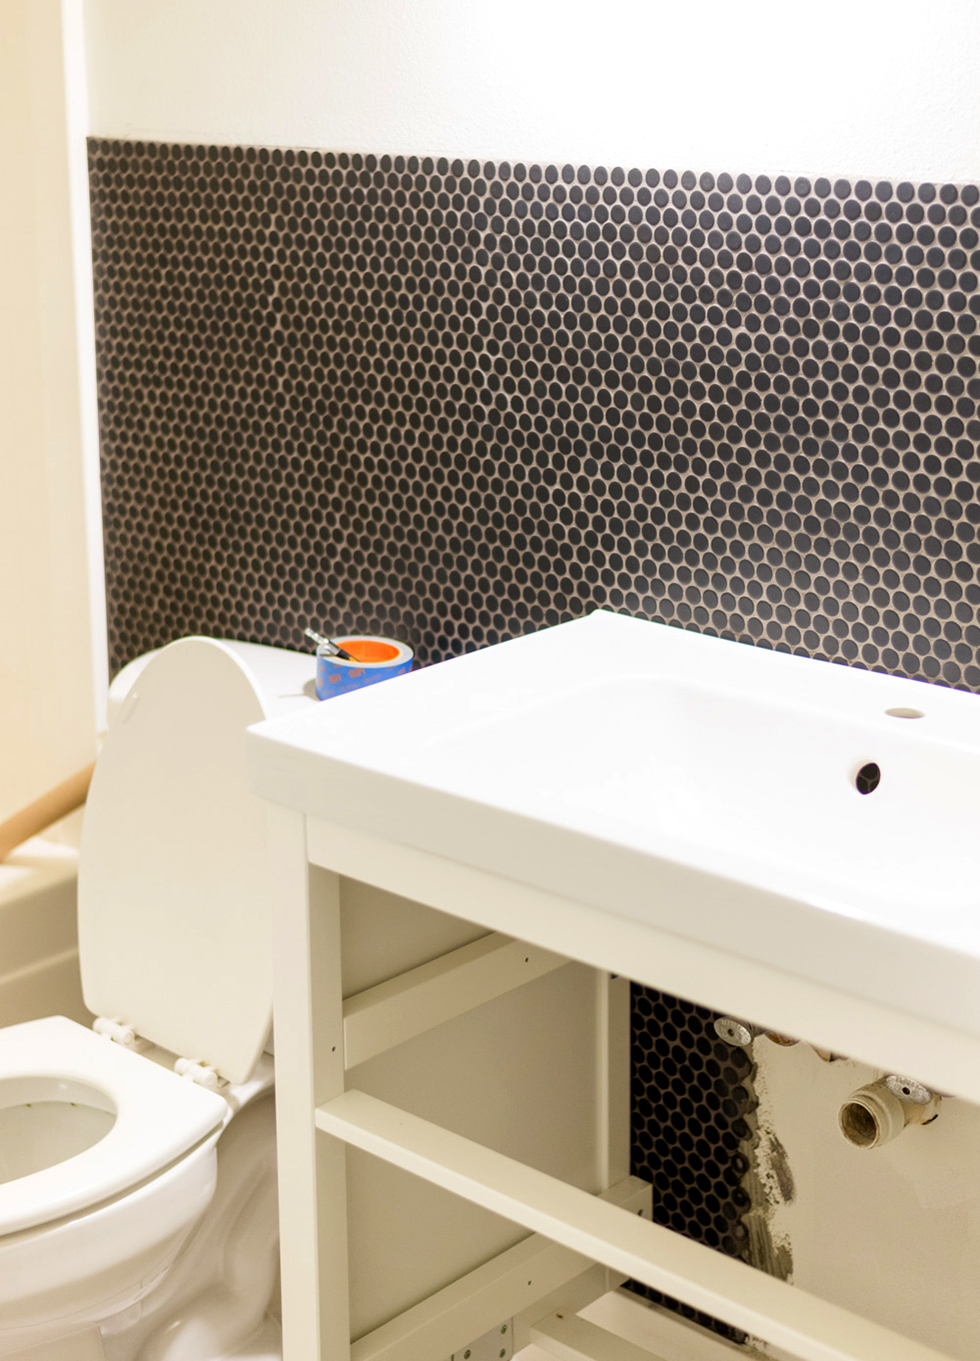
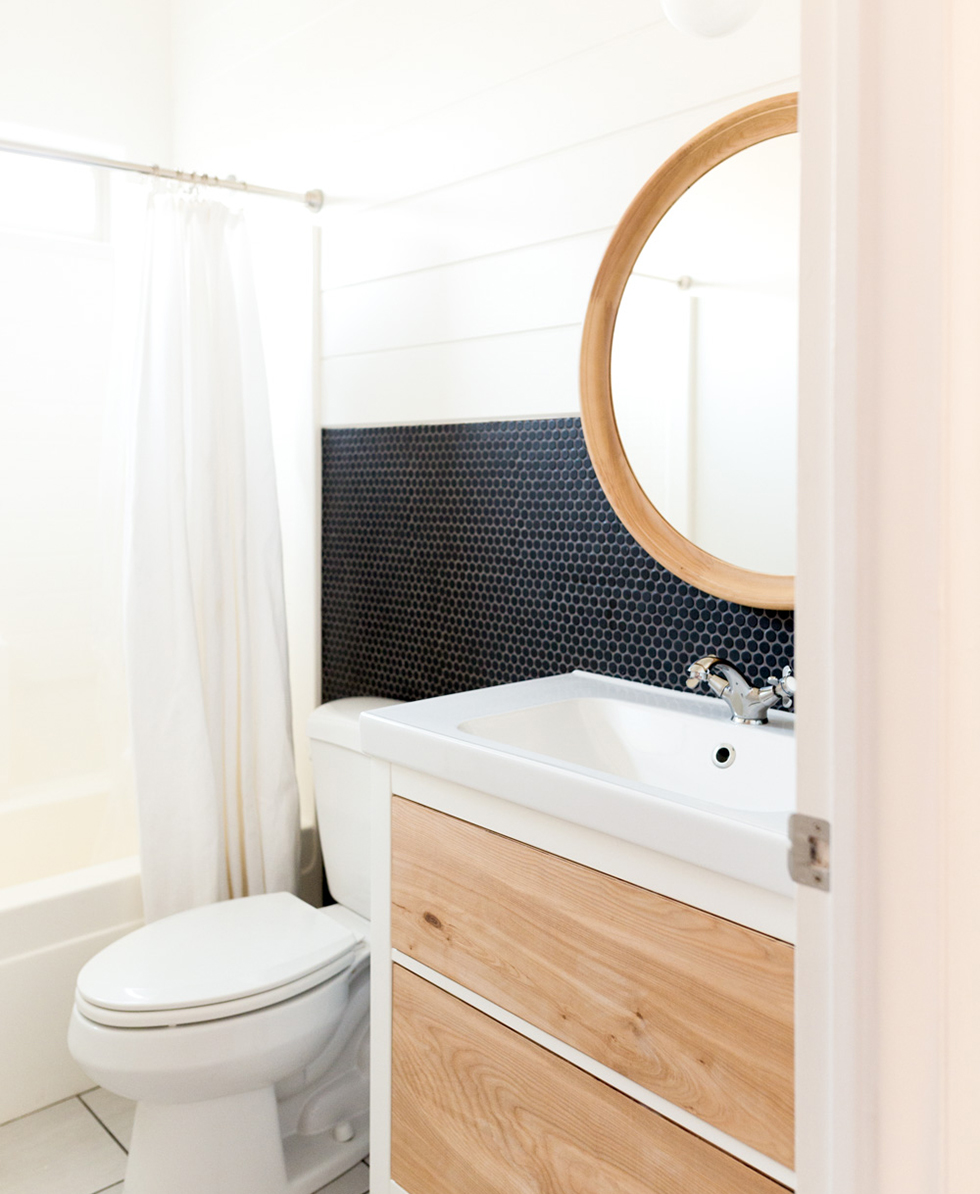
Remnant tile was the name of the game for our remodel. The black penny tile on this wall was leftover from our laundry room floor, and we had just enough to cover the lower half of this wall.

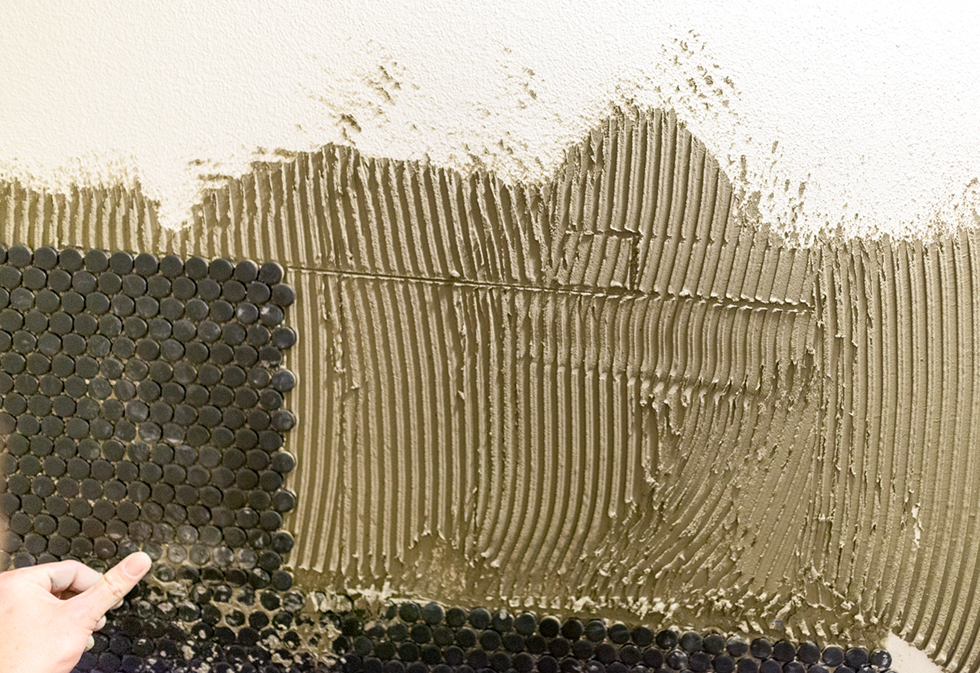

When you’re putting tile on a bathroom, be sure to use a water-friendly, thin-set mortar and not an adhesive like mastic, which is an organic glue that isn’t as durable where moisture is present.
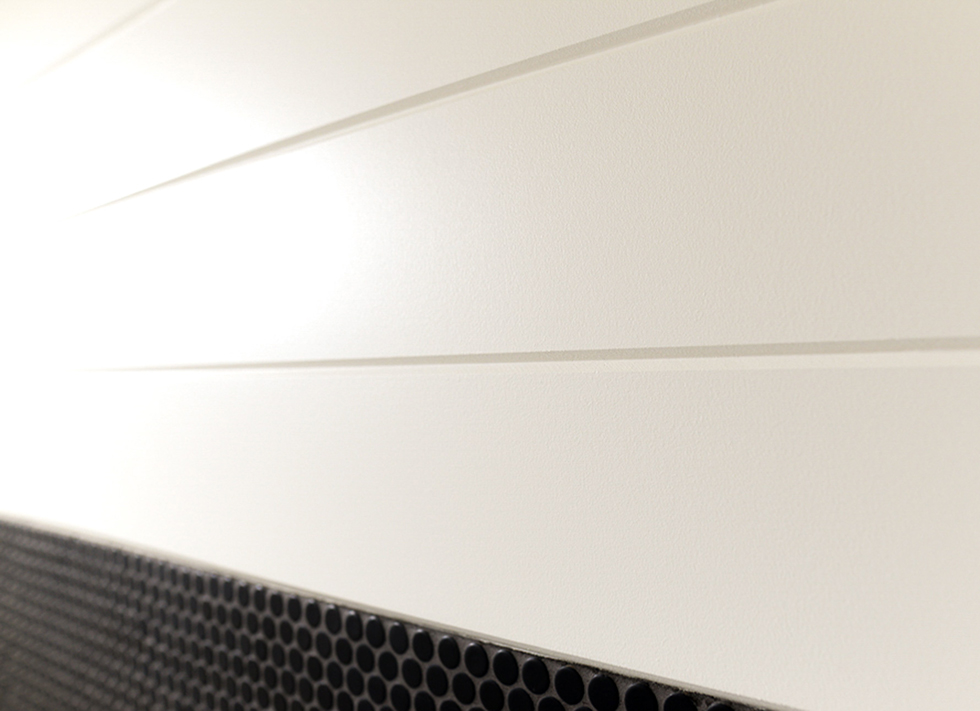
Above the black penny tile, we added V-groove shiplap boards. This technique cost less than $60 and added so much to the bathroom’s visual appeal. Because of the shiplap we chose, we used one-half-inch MDF, but if you chose a more standard shiplap and used one-eighth-inch plywood, you could cover this whole wall for around $35.

DIY Bathroom Renovation Step 3: Remove Builder-Basic Vanity
Other than the tile, our biggest bathroom eyesore was the outdated builder-grade vanity. Most of our budget went to replacing this. After demolition, we found a vanity that fit our budget and vision. Together, the sink and vanity cost around $300.
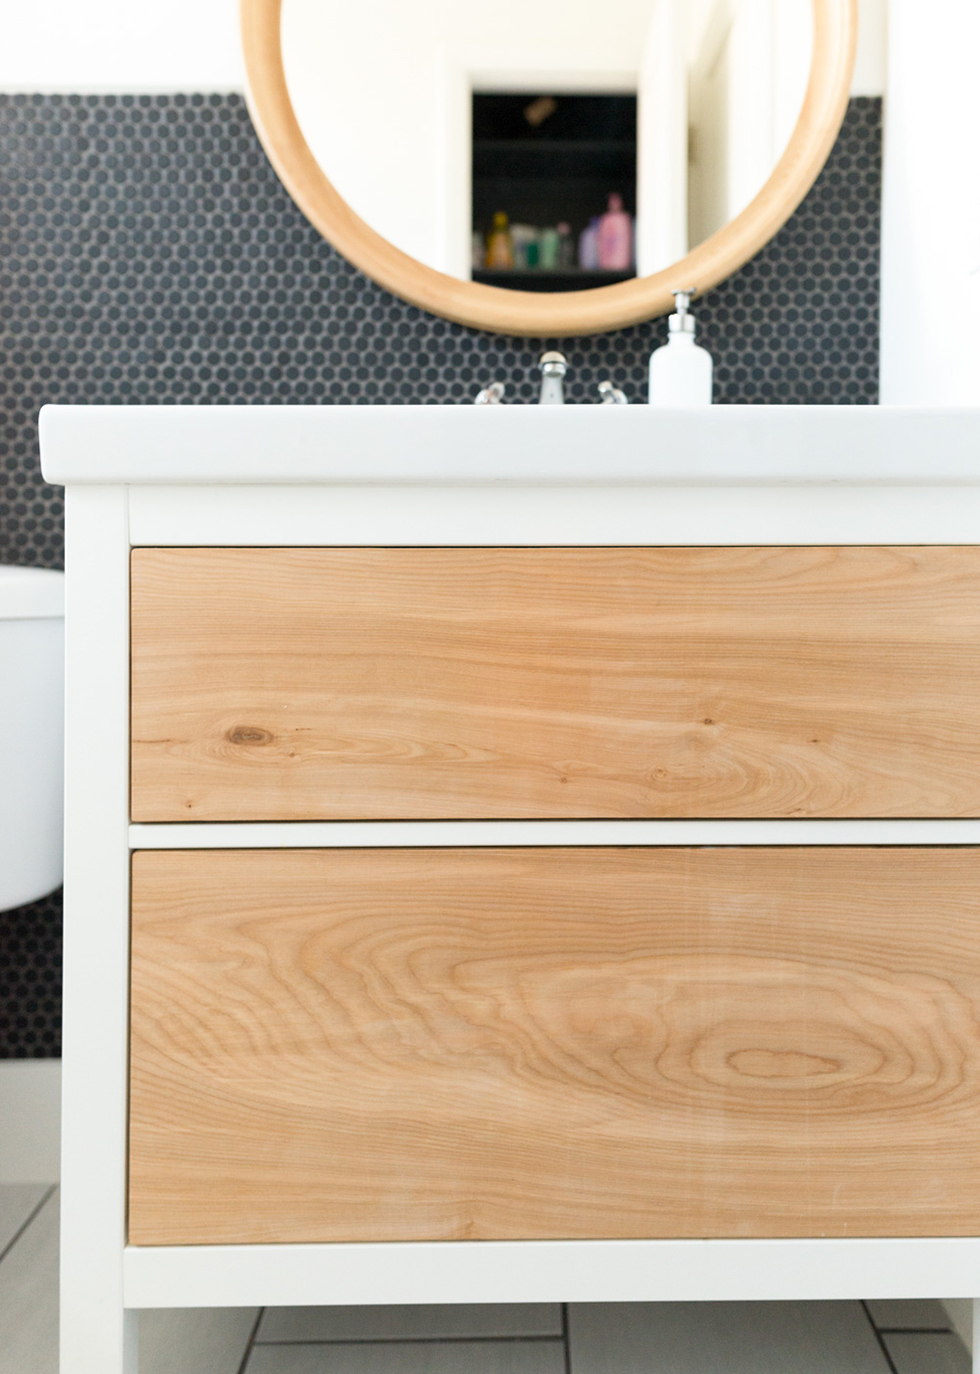
To customize the vanity, we replaced the front side of the original white drawers with birch plywood. I LOVE how it turned out. The wood added a warmth that balances the black-and-white finishes.

DIY Bathroom Renovation Step 4: Get Creative
To wrap up your DIY bathroom renovation, pull in some fun details like art and containers. Thrift stores are one of my favorite places to go for finishing touches. I got our large round mirror for $8!
You can always customize your finds, too. Let’s say the finish on something isn’t what you hoped for: Just buy a cheap can of spray paint and change it!

Are you inspired to tackle your budget bathroom reno? You can do it!
Editor’s note: Prices reflect pricing at the time of the project.