

Subway tile was created for the subway (hence the name). This bright, cleanable, and easily sanitized invention quickly went mainstream in the early 1900s. And it’s been around ever since.
This kitchen and bath staple is inexpensive, available at your local big box hardware store, complementary of almost every style of décor, and completely inoffensive.
When you’re putting something semi-permanent (like tile) in your home it can be a little nerve-wracking because you don’t want it to be a flash in the pan trend. To gauge the longevity of an emerging trend, ask yourself the following questions:
- Is it available to the mainstream public?
- Is it neutral enough that it can work for almost anyone?
- How likely are people to get sick of it?
Once you evaluate the shelf-life of the trend, consider the number of ways you can incorporate it into your home. Today, let’s discuss fresh ways to embrace subway tile.


Patterns
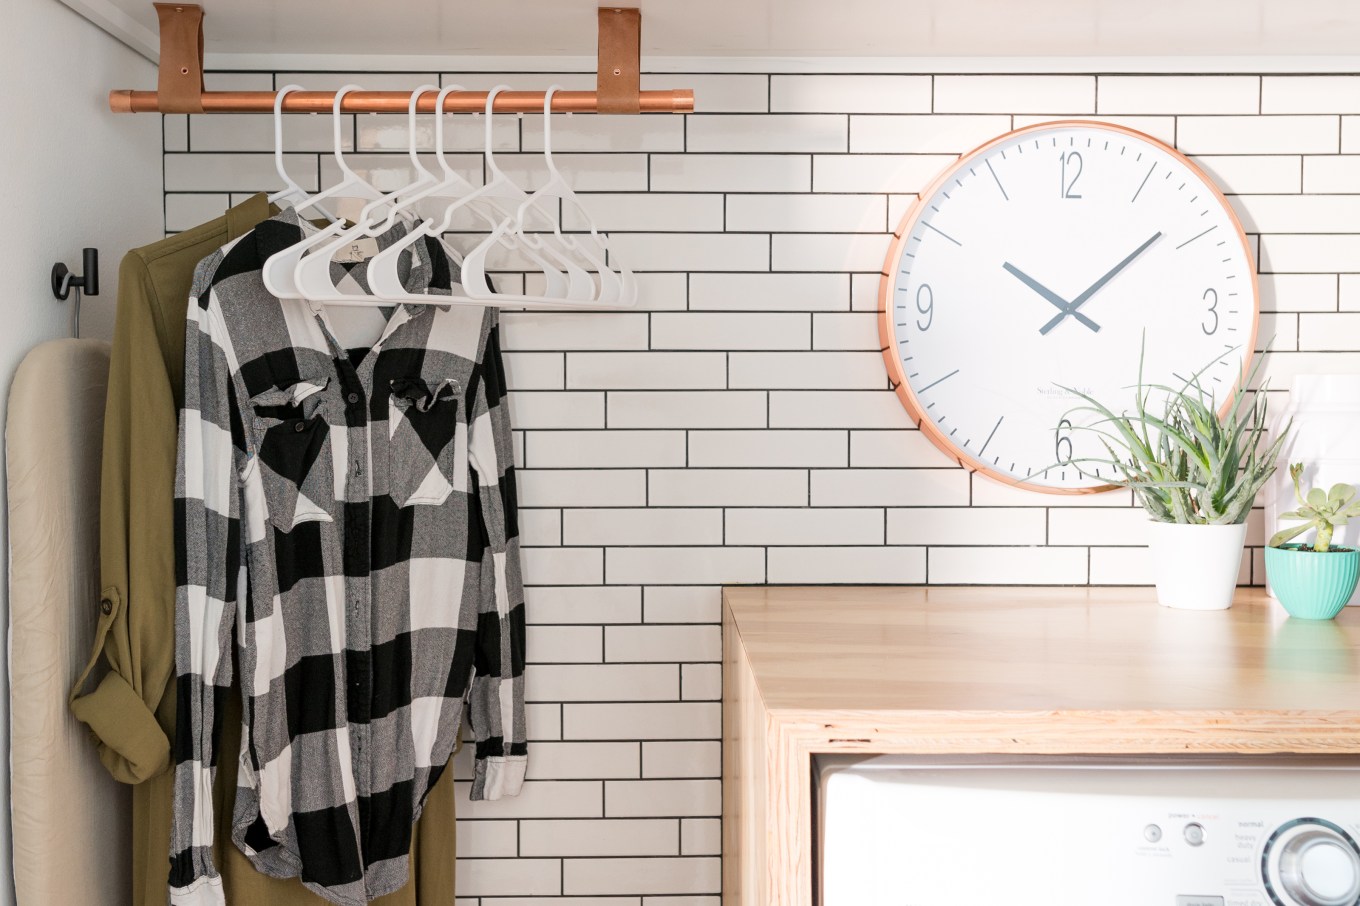
Let’s talk patterns, shall we? When we think of subway tile the first thing that comes to mind is a brick or running bond pattern. This installation type is a very easy DIY and just requires a level countertop or floor to kick things off! You can also take this pattern vertically, so it’s called a vertical brick or vertical running bond.


Stacked tile is a modern take on classic subway style. It instantly takes out the vintage look and replaces it with contemporary.


Herringbone is a pattern that adds a lot of character to a space, especially coupled with dark grout. I love the way The Hunted Interior used herringbone tile all the way to the ceiling in her kitchen!


Be aware, herringbone laying isn’t for the faint of heart so if you’re DIYing, you should study up on the technique. A quick search of “how to lay herringbone tile” will help.
A slightly little less difficult approach is a stacked herringbone pattern like this one that Create/Joy used in her kitchen. I love that you can still work off of the straight horizontal edge!


Shape
Now that you’ve landed on your tile pattern, let’s talk shape.
The term “subway” has evolved from describing a specific 3-inch by 6-inch tile, to any tile that is shaped like a rectangle. As long as it’s rectangular in shape, the tile can be 1 inch by 6 inches, 2 by 6, or 12 by 24. It doesn’t matter because in today’s world they all fit under the subway umbrella.


A quick internet search of “subway tile” will garner a myriad of sizes. However if you want to stick to the most authentic subway look, find tile that measures 3 inches by 6 inches (or at least something that has a 1:2 ratio).
Once you’ve decided on the pattern and shape, you’re ready to start installing! There are a lot of tutorials online about how to install subway tile, but I think sometimes it’s more important to know what not to do. Learning the hard way is always my favorite way. Check out this post that details what I learned (and learned not to do) along the way!
If you’re on the fence about subway tile, let me be the first to invite you over to the dark side. You really can’t go wrong with it. Now to decide on grout colors . . .
Related: Kitchen Remodeling Decisions (Like Subway Tile!) You’ll Never Regret