We've all been there: You turn the shower handle, expecting a cascade of water, and instead, you're greeted with a lackluster dribble. It's like your shower decided to take a leisurely stroll instead of giving you the wake-up call you desperately needed. That’s where your shower valve comes in.
Your shower valve is an essential component of your shower system and is often used daily, so it can quickly become compromised over time. Replacing your shower valve can go a long way toward regulating water flow and maintaining water pressure and consistent temperature.
Let’s look at a few considerations for shower valve replacement, including expenses, timelines, and preparation:
When to Replace Your Shower Valve
If your shower resembles a lazy river at a water park on a scorching day, it might be time to say goodbye.
In older homes, replacing fixtures like shower valves can significantly improve functionality and efficiency, allowing you to save water and reduce utility bills. Plus, it could mean you experience more consistent water flow when you shower.
It may be time to replace your shower valve if you’re experiencing:
- Leaking
- Loose valve
- Inconsistent water temperatures
- Low water pressure
- Valve caked in limescale
- Valve corrosion
- A dated look
Preparing to Replace Your Shower Valve
You'll need to prepare appropriately to replace your shower valve successfully. This phase involves shutting off the water supply, removing the existing valve, and inspecting the surrounding area for signs of damage or corrosion. Additionally, you may need to adjust the existing plumbing to accommodate the new valve.
Selecting the Right Valve
Before you start your shower valve replacement, you’ll need to determine the type and size of valve you need.
Identify the type of valve currently installed in your shower. (Review the list of common valve types below.) This is important because each valve type may use different hardware or plumbing features and require different replacement processes.
Next, measure the valve. Start by removing the cover plate and finding the valve body. (A flashlight could help improve visibility, and taking a photo may prove useful for later reference.) Measure the center-to- center distance between the hot- and cold-water ports on the valve. Check for additional features, such as a diverter for a showerhead or tub spout, to help determine which replacement valve you need.
Types of Shower Valves
If it’s time to replace your shower valve, review this list of common types of shower valves to help identify the existing one and a possible replacement.
- Single-Handle Shower Valve: Has a single lever or knob that controls the water temperature and flow rate. It tends to be simple and easy to use.
- Dual-Handle Shower Valve: Has separate knobs or levers for controlling hot and cold water. This allows for precise temperature adjustments.
- Thermostatic Shower Valve: Designed to maintain a consistent water temperature. After you’ve set the desired temperature, the valve automatically adjusts the mix of hot and cold water to keep it steady, even if someone else uses water in the house.
- Pressure-Balancing Shower Valve: Designed to maintain consistent water pressure, avoiding sudden temperature fluctuations when someone else in the house uses water as a safety feature to prevent scalding.
- Volume Control Shower Valve: Allows you to control the flow rate of water without changing the temperature. These valves are often used with thermostatic or pressure-balancing valves to fine-tune the shower experience.
- Diverter Valve: Redirects water between different showerheads or outlets. For example, it can switch between a handheld showerhead and an overhead rain shower.
- Manual Shower Valve: Requires manual temperature and flow adjustment, often found in older or budget-friendly installations.
- Exposed Shower Valve: Installed on the surface of the wall, and the plumbing is visible. They are easier to install and access for maintenance.
- Concealed Shower Valve: Installed within the wall, hiding the plumbing for a sleek and minimalist look. They require more effort to install but offer a cleaner aesthetic.
Step by Step: How to Replace a Shower Valve
Now that you've measured and identified the type of valve you need, here are the steps to replace a shower valve. This outline of the replacement process can help you anticipate what to expect during the project. For specific details, consult a professional.
- Turn off the water supply: As mentioned earlier, the first and most crucial step is to turn off the water supply to your entire house.
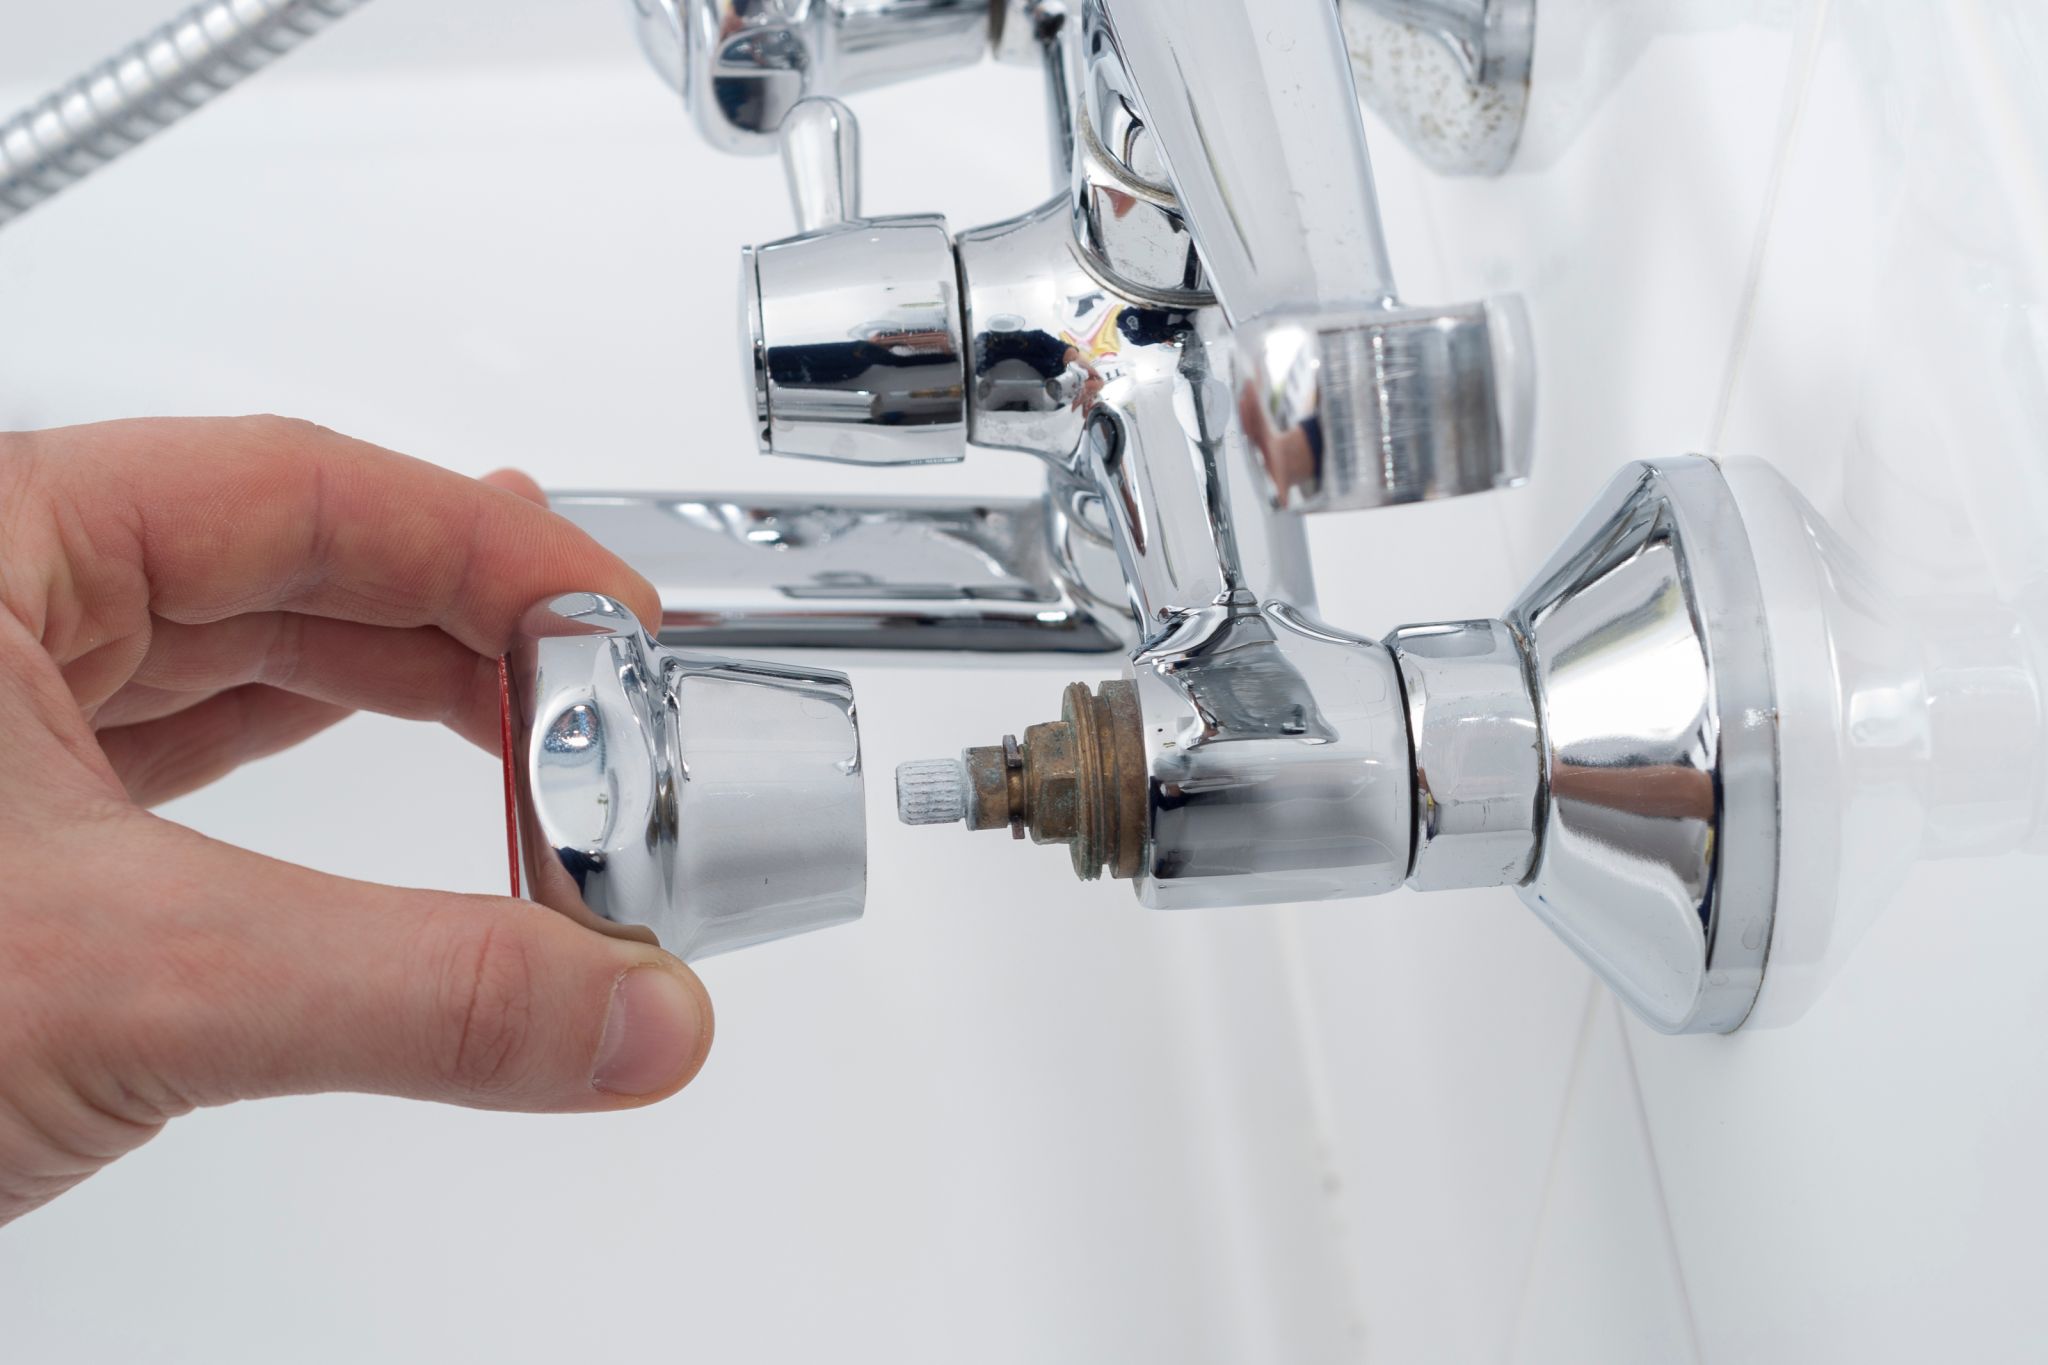
- Remove the old valve: Here's where the action begins. Remove the handle and any trim covering the valve. Next, disconnect the water supply pipes from the valve. Prepare for some water to drain from the pipes by having a bucket or towels handy.
- Prepare the new valve: Before you install the new valve, make sure it's compatible with your plumbing system and the handles and trim you want. Follow the manufacturer's instructions for any necessary preparations.
- Install the new valve: Attach the new valve so that it aligns with the water supply pipes.
- Reconnect the water supply: Reconnect the water supply pipes to the new valve. After everything is in place, turn the water back on and test your shower. Proceed with caution and check for leaks or drips before marking the task complete.
Shower Valve Replacement Project Timeline
The timeline for a shower valve replacement can vary depending on factors such as the complexity of the installation, the condition of the existing plumbing, and unforeseen complications during the process.
On average, you can complete a standard shower valve replacement in an hour and a half to three hours, according to HomeGuide. However, this doesn’t include drying and curing, which could take a few days. Plus, if you have a broken shower valve, the project might require a little more time upfront to assess the damage.
More-complex installations or situations requiring extensive plumbing system adjustments may extend the project timeline.
Materials and Labor Costs
Budgeting is crucial to any home improvement project, including shower valve replacement.
Materials
Although additional tools may be necessary, valve replacement often requires:
- Adjustable wrench
- Pipe cutter
- Soldering kit (if using copper pipes)
- PEX crimping tool (if using PEX pipes)
- Thread seal tape
- Pipe wrench
- Bucket and rags
- Plumbing flux and brush for soldering
- New shower valve compatible with your plumbing system
- Replacement pipes (if necessary)
- Fittings
- Solder or PEX connectors
- Repair sleeve or coupling for unexpected pipe damage
- Safety gear (like gloves and safety glasses)
The price range for these materials can vary widely depending on brand, material quality, and specific features. For a standard shower valve replacement, you could expect to pay $200 to $280 for the valve. High-end or specialized valves with advanced features may cost $500 or more. Pipes and fittings can cost $20 to $100, depending on the materials used (for example, copper, PVC, or PEX).
Labor
Labor can account for a significant portion of the project's overall expense and vary depending on the job's complexity, local labor rates, and the plumber's experience level.
On average, homeowners can expect to pay $375 to $450 for labor to replace a shower valve, including time for planning, buying materials, preparation setup, and post-project cleanup. However, complex installations or situations requiring additional plumbing system adjustments may increase labor costs. A good practice is to obtain multiple quotes from reputable plumbers to support a fair and competitive price.
Preparation costs are also a factor. Check with your plumber about whether they bill for prep tasks like turning off the water, dismantling the old valve, and assessing the condition of the existing plumbing. You’ll also want to get estimates for potential drywall repair in case the replacement calls for some wall adjustments where the new fixtures are installed and in surrounding areas.
DIY vs. Hiring a Pro for Shower Valve Replacement
For experienced DIYers with plumbing experience, it may be possible to swap out existing shower valves. However, there are exceptions. For example, an older shower valve could be more complex, so replacement may best be left to professionals.
Professional Shower Valve Replacement
Hiring a professional for this task could cost $100 to $300 for the valve replacement, not considering prep, cleanup, and more challenging replacements requiring drywall repairs. So, you’ll need to consider whether your project budget allows for the support of a certified plumber or if your skills will enable you to DIY.
DIY Shower Valve Replacement
You may be able to replace the entire shower valve yourself. Still, hiring a professional plumber is generally recommended; a broad range of tools and materials are required for the job. In addition, particularly with older plumbing systems, you’ll need to understand how those systems integrate with newer systems so that you create tight seals that don’t leak.
If you attempt the job yourself, make sure you have the proper supplies.
When Can You Use Your Shower Again?
A critical question is when you can expect to use your shower again, especially if it’s the only one in the house. In most cases, you can take a shower after the replacement is completed and the materials are dry. This includes the fitting and curing of materials, which may take varying amounts of time depending on the materials used -- anywhere from a few hours toa few days.
Follow any specific instructions your plumber provides about the curing time of the materials used and when it's safe to resume regular use of the shower.
Elevate Your Shower Experience with a Valve Replacement
Whether you choose the DIY route or hire a professional plumber, you're invesing in your home's comfort and functionality. No more cringing at the sound of a dripping faucet or bracing yourself for an icy or scalding surprise in the shower. In the world of home ownership, this change may be for the better.
So, savor the feeling of that warm, steady stream of water and pat yourself on the back for a job well done.