Popcorn ceilings may have been all the rage back in the day, but now they're just an outdated eyesore that can be hard to clean and even harder to remove. The popcorn ceiling had its heyday, so if you still have one lurking above your head, it might be time to take it down.
Before you start chipping away, you should know a few things about the DIY process.
Can You DIY a Popcorn Ceiling Removal?
If you're feeling brave, DIY popcorn ceiling removal is possible. However, before you grab your scraper and get to work, there are a few things to consider:
- The popcorn texture may contain asbestos, so the ceiling must be tested before beginning any removal process. Asbestos sampling, handling, and removal should be left exclusively to qualified professionals. So, you should remove the ceiling yourself only if it’s asbestos free.
- Removing a popcorn ceiling can be messy and time-consuming. Prepare to spend several hours scraping and sanding and remember to cover floors and furniture with plastic to protect them from dust and debris.
- If you're uncomfortable with heights, this might not be your DIY project, since you may spend much of the removal time on a ladder.
Overall, removing a popcorn ceiling yourself is doable as long as it’s asbestos-free and you use proper safety measures and some elbow grease. However, if you're hesitant, it's always best to leave it to the professionals. Your lungs (and mental health) might thank you.
Pros and Cons of DIY vs. Professional Popcorn Ceiling Removal
As experienced DIYers know, there are advantages and disadvantages when taking on a project, big or small. Let’s look at the pros and cons of tackling this project yourself or hiring an experienced professional.
DIY Popcorn Ceiling Removal
| Pros | Cons |
| Cost-effectiveness | Mess |
| More control over materials | Potential damage |
| Few tools required | Health risks/risk of injury |
| Flexibility to complete the project on your schedule | Greater difficulty |
| A sense of accomplishment | Requires more work after removal (in other words, retexturing) |
Professional Popcorn Ceiling Removal
| Pros | Cons |
| Quality workmanship | Higher cost |
| Speedy completion | Possible scheduling conflicts |
| Greater safety | Uncertainty of timelines |
| More design options | Less control over materials |
| Cleanup | Difficulty finding the right professional |
| Greater likelihood of completing secondary steps |
Why Remove Popcorn Ceilings?
Your ceiling impacts your living space's entire look and feel and can amplify or soften the room. Whether it's simply time for an update, you want to fix unattractive discoloration, or you want to sell your home, there are a few reasons to consider removing your popcorn ceiling.
A Fresh New Look
Popcorn ceilings might have been trendy decades ago, but they aren't in style anymore. Many people who still have them find them to be old-fashioned and unattractive.
Removing these ceilings could give your home a modern, updated look that may appeal to potential buyers. Plus, it can also improve the ambiance of your home, making it look and feel more inviting.
To complete the fresh, new, popcorn-free look, you'll likely need to take a few additional steps after removing the popcorn, like retexturing and painting. (More on that to come.)
Safety Considerations
Many popcorn ceilings were made with asbestos, a dangerous naturally occurring mineral fiber commonly used in building materials, until the late 1970s. The Clean Air Act established in 1978, bans spray-on asbestos because of health hazards.
So, if your home was built before 1980 and has a popcorn ceiling, you need to have the ceiling tested for asbestos before attempting to remove the asbestos. If the test results are positive, a professional must handle the removal process. In many states, removing a popcorn ceiling that contains asbestos on your own is illegal and you are required to use a state-approved and certified asbestos abatement contractor.
Even if your ceiling doesn't contain asbestos, the texture can make cleaning difficult since it can trap dust and allergens, potentially worsening indoor air quality.
Return on Investment
Removing popcorn ceilings may be an investment, but it can also lead to a great ROI.
Removing popcorn ceilings can increase a home's value because it’s an update. Potential buyers may view popcorn ceilings as outdated, so keeping them could affect the sale price of your home. Plus, removing popcorn ceilings could help your home sell faster, since it’s one less project for buyers to plan for in a renovation. That could make your home more appealing to potential buyers.
How to Remove Popcorn Ceilings
If you're planning a DIY project, research all the steps. Removing 500 square feet of popcorn ceiling can take about 20 hours, according to Fixr.
Even though each popcorn ceiling is unique based on your home's structure, here are some basic steps you can anticipate.
#1 Test for Asbestos
If you're dealing with an older home, testing for asbestos before beginning the popcorn ceiling removal process is essential. If your popcorn ceiling tests positive for asbestos, it's best (and often mandatory) to hire a professional for removal.
#2 Gather Your Tools and Materials
Once you've determined that your ceiling does not contain asbestos, gather the necessary tools and materials for the job. This includes a ladder, drop cloths, painter's tape, a putty knife or drywall scraper, a vacuum with an attachment hose, and joint compound or texture spray.
#3 Cover Your Furniture
Cover the large furniture in the room using a tarp or drop cloth. You may also wish to use a large drop cloth to cover the floor, especially the carpet, to prevent particles from getting into the fibers. Consider removing small or easily movable objects from the space to reduce clutter.
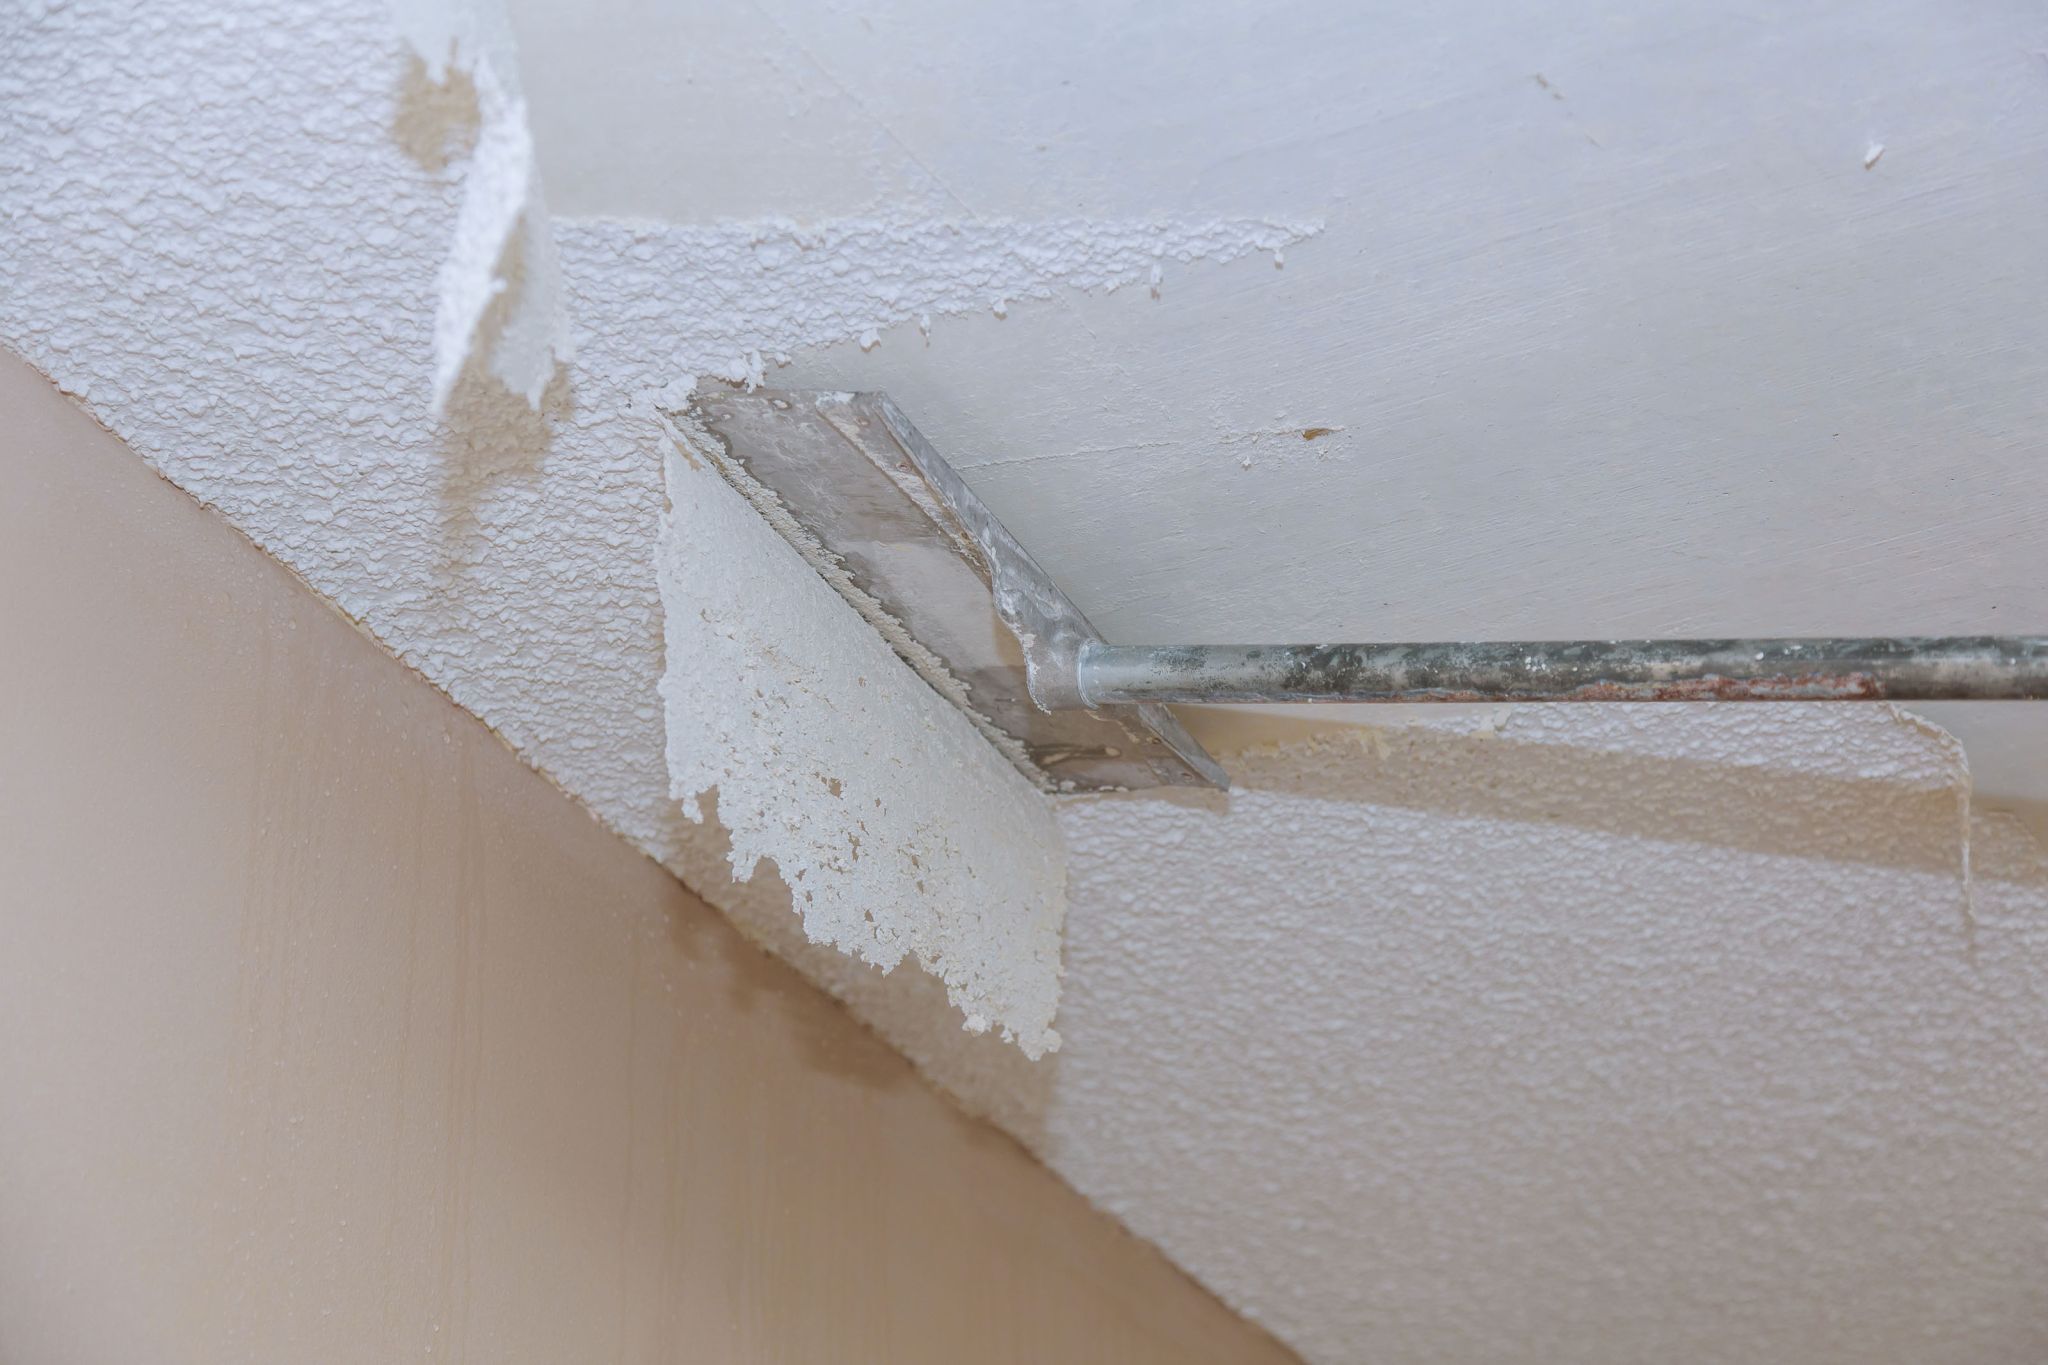
#4 Start Scraping
Once everything is covered and protected, it's time to start scraping off the popcorn texture from your ceiling using your putty knife or other scraping tool. Be sure to apply gentle pressure when scraping so you don't damage the drywall beneath the texture. You may opt for the wet scrape method, which includes misting the popcorn lightly before scraping. This can soften the material and make it easier to remove (and reduce project mess.)
#5 Repair, Retexture, Repaint
After successfully removing the popcorn texture from your ceiling, fill in any cracks or holes you notice during scraping. Then choose a new texture or finish for your ceiling and apply it using either a roller or sprayer, depending on what type of material you select (review the product instructions). Finally, repaint the ceiling once everything has dried completely.
Cost to Remove Popcorn Ceilings
The cost to remove popcorn ceilings will vary depending on whether you decide to do it yourself or hire a professional. If you're a DIY enthusiast, you can try to remove the popcorn ceiling yourself. However, if you're not great with hands-on projects, consider hiring a professional.
Here's how the costs differ depending on how you move forward:
DIY vs. Professional Popcorn Ceiling Removal Costs
The cost of DIY removal will depend on the room size and materials needed. On average, you can expect to pay 15 cents to 17 cents per square foot, assuming you have all the necessary tools on hand, according to Homewyse. If you need to rent or buy tools like a scraper, ladder, or sander, add those costs to your total.
If scaffolding or a ladder ranks high on your fear meter, opt for professional help. Professional popcorn ceiling removal may cost from $179 to $362 per 150 square feet. The cost will depend on where you live and the height and condition of the ceiling, but it generally includes tools and cleanup. With either option, you'll need to test for asbestos.
Your asbestos test can cost $230 to $784, and if the test comes back positive, you could expect to pay $450 to $5,900, depending on the process, the amount of asbestos, and the size of the space.
Post Popcorn Ceiling Removal: What's Next?
Once you've removed your popcorn ceiling, you may need to take a few steps, such as:
Repair the Drywall
After you've scraped away the popcorn ceiling, you may need to repair damage to the drywall. This may include patching holes, filling in cracks, and sanding rough edges.
Protect the Drywall
To ensure your drywall is protected from future damage, apply a texture coat to the surface of the drywall. This will give your ceiling an even finish and help protect it from moisture and other potential damage.
Prime Your Ceiling
Before painting your ceiling, it's important to prime it. This will help the paint adhere properly to the surface and last longer.
Paint Your Ceiling
Once the primer is dry, you can begin painting. Make sure to use multiple coats of paint for an even finish.
Other Options Besides Removing Popcorn Ceilings
If you're hesitant to remove your popcorn ceiling, you don't have to resign yourself to scraping and patching it away. There are other viable alternatives for transforming the look of your space without removing and refinishing the pesky texture, including:
Paint. One popular option for covering popcorn ceilings is painting them, which can make the popcorn less of an eyesore and give it a smoother, more uniform look.
Textured wallpaper. This type of wallpaper has a raised texture that can hide imperfections in the ceiling and add an interesting design element to the room.
Wood beams. Consider adding wood beams to your ceiling if you want a more rustic look. This offers a new style without having to remove the popcorn.
Drywall cover. Cover the existing popcorn ceiling with a layer of drywall, which you can then paint or texture to match the rest of the room.
Depending on budget and project complexity, you could hire a professional or keep going with your DIY kick!
Final Thoughts: DIY or Pro for Removing Popcorn Ceilings?
Removing popcorn ceilings can be tricky, but the improved aesthetic is worth it. With the right tools and procedures, you can transform your space quickly.
If you're unsure whether to DIY or hire a professional, review a complete how-to guide to understand the project's needs. Then, determine what's best for your budget and skill set. Sometimes, calling in an expert is the wisest option.