
This article was reviewed by Don Chouinard, a smart sprinkler expert and contractor with Irrigreen.
You’ve thought about DIYing a sprinkler system installation. After weighing the requirements and your experience, you’ve decided to tackle the project yourself. Before you do that, learn more about each step.
Steps in the Sprinkler System Installation Process
Prepare the Yard for Sprinkler System Installation
Begin by clearing debris. You’ll need to call 811 to notify your local utility center so that you won’t strike a gas line, electrical conduit, or other fiber optic cable. You’ll also avoid causing damage that’s expensive to repair. Most important, calling 811 is the law in every state. Get information about your state.
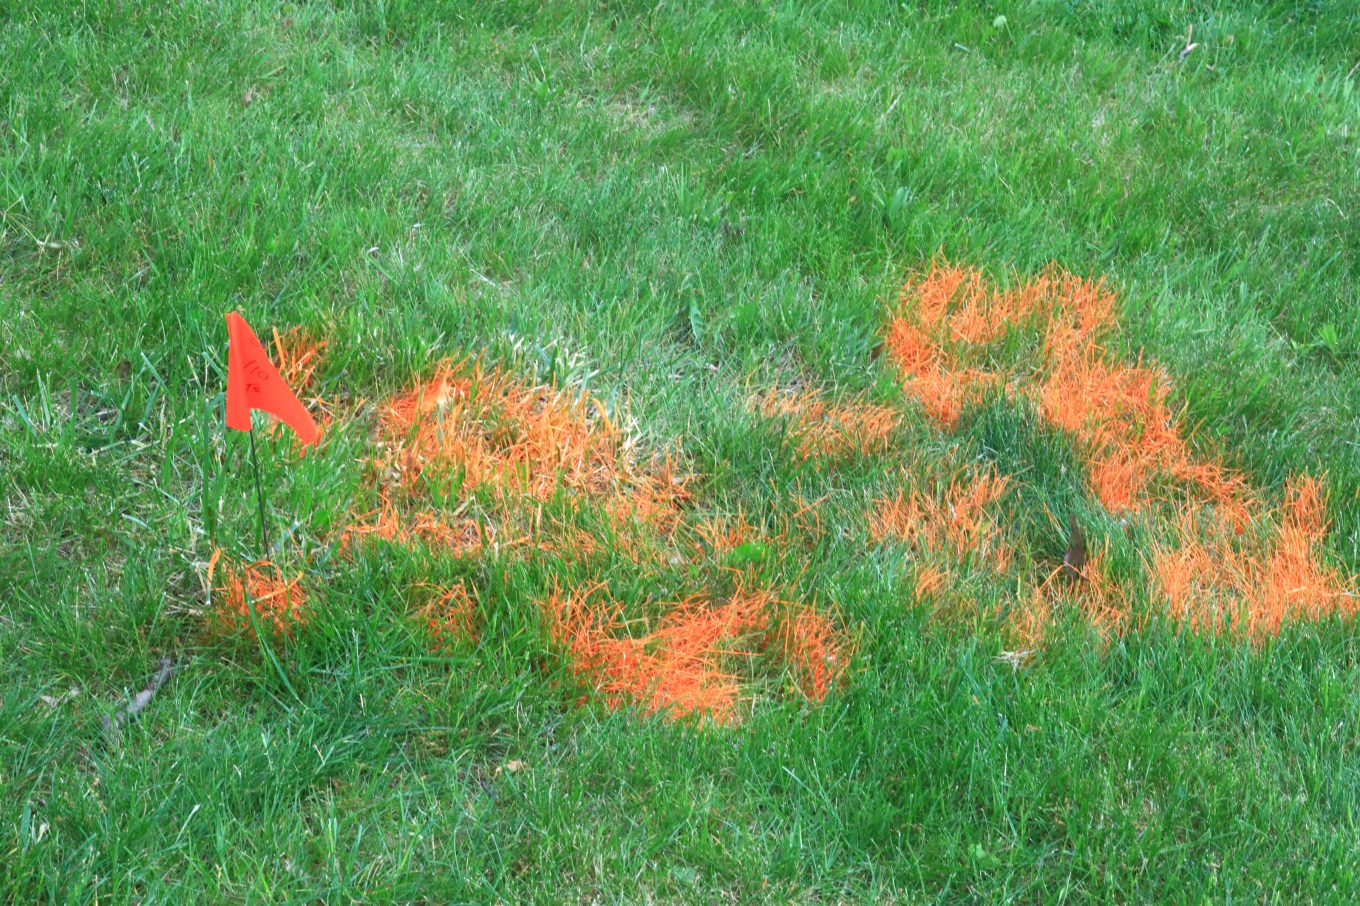
Map Out Your Lawn Sprinkler System and Create Trenches
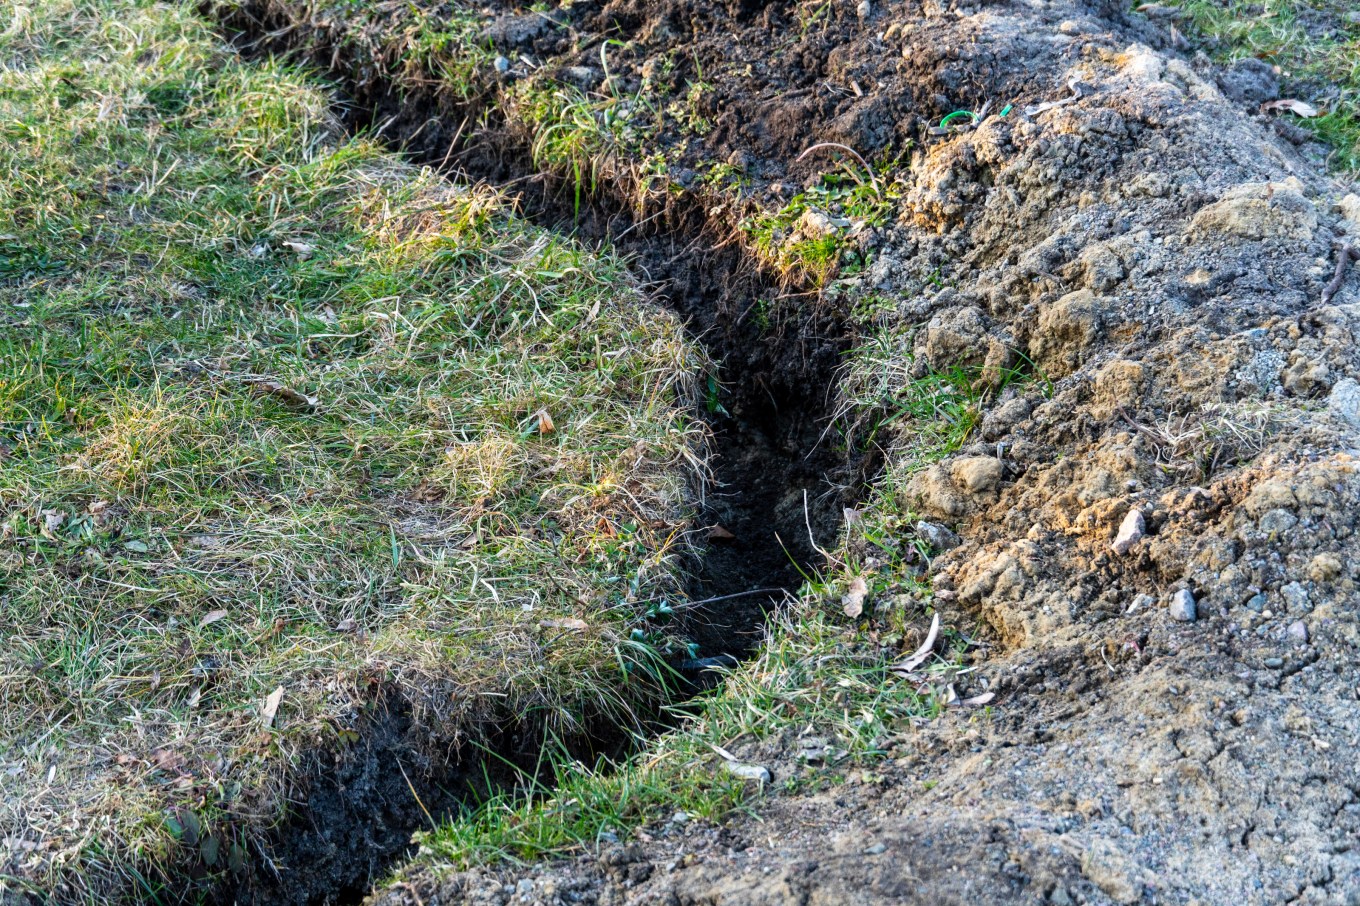
Plan the layout of your sprinkler system, mark the locations of sprinkler heads, and dig trenches. Your layout plan is your roadmap, so create it carefully. For digging trenches, use a trenching shovel and set aside sod to restore the yard afterward, advises Tammy Sons, founder and CEO of TN Nursery near Nashville, Tenn.
Assemble the Sprinkler System and Install Zone Valves
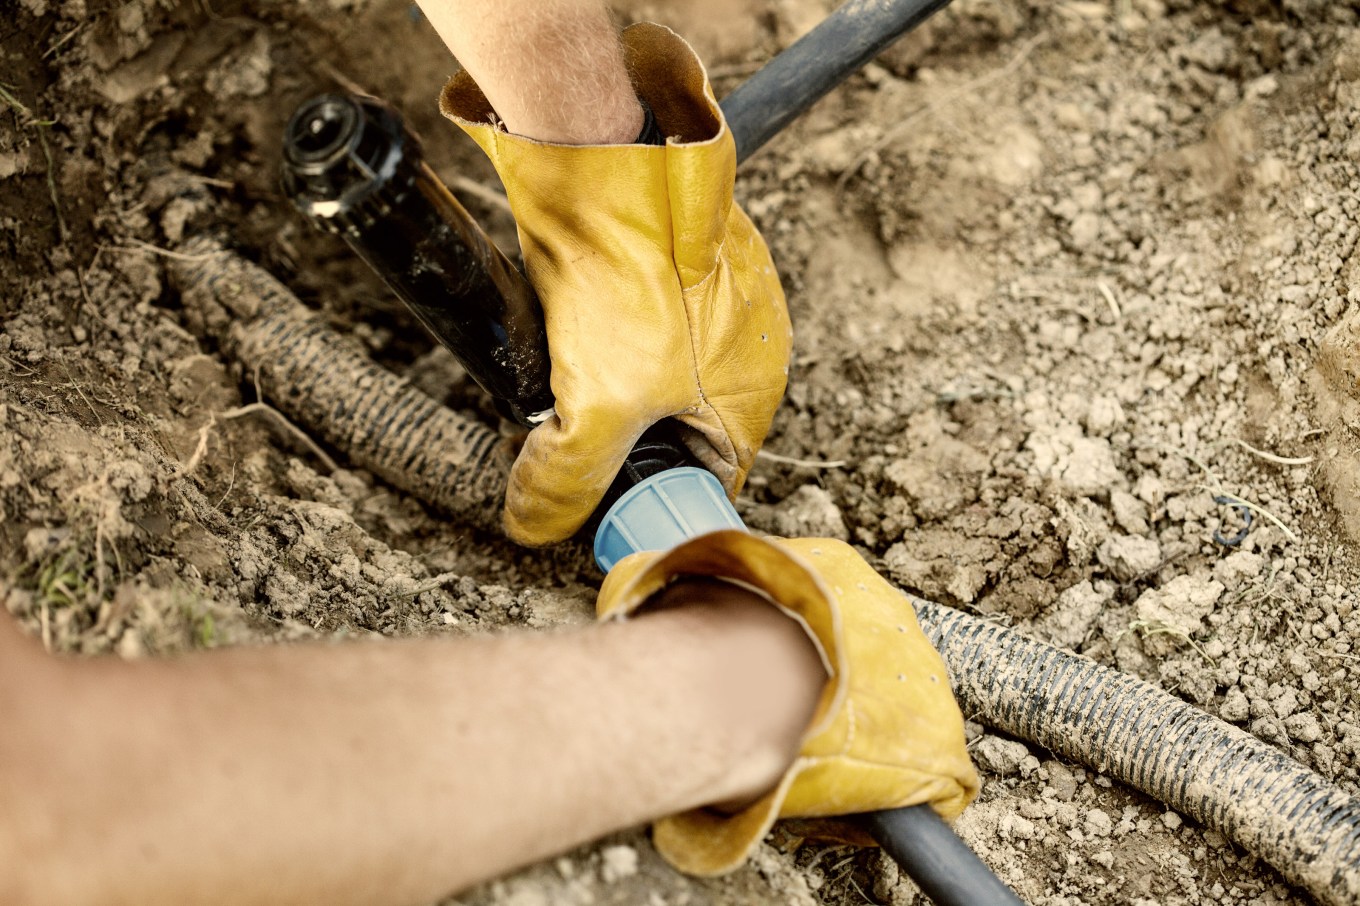
With your sprinkler layout in hand, start assembling the system.
- Begin by installing your zone valves, which control the flow of water to different areas of your yard. These valves connect directly to the mainline, which carries pressurized water from your source. Once each valve is in place, it will feed water into its corresponding lateral lines, delivering water to the sprinkler heads in that zone.
- As you go, check all connections for leaks so that you ensure everything is sealed and functioning properly.
Install Valves and Put Sprinkler Heads in Place
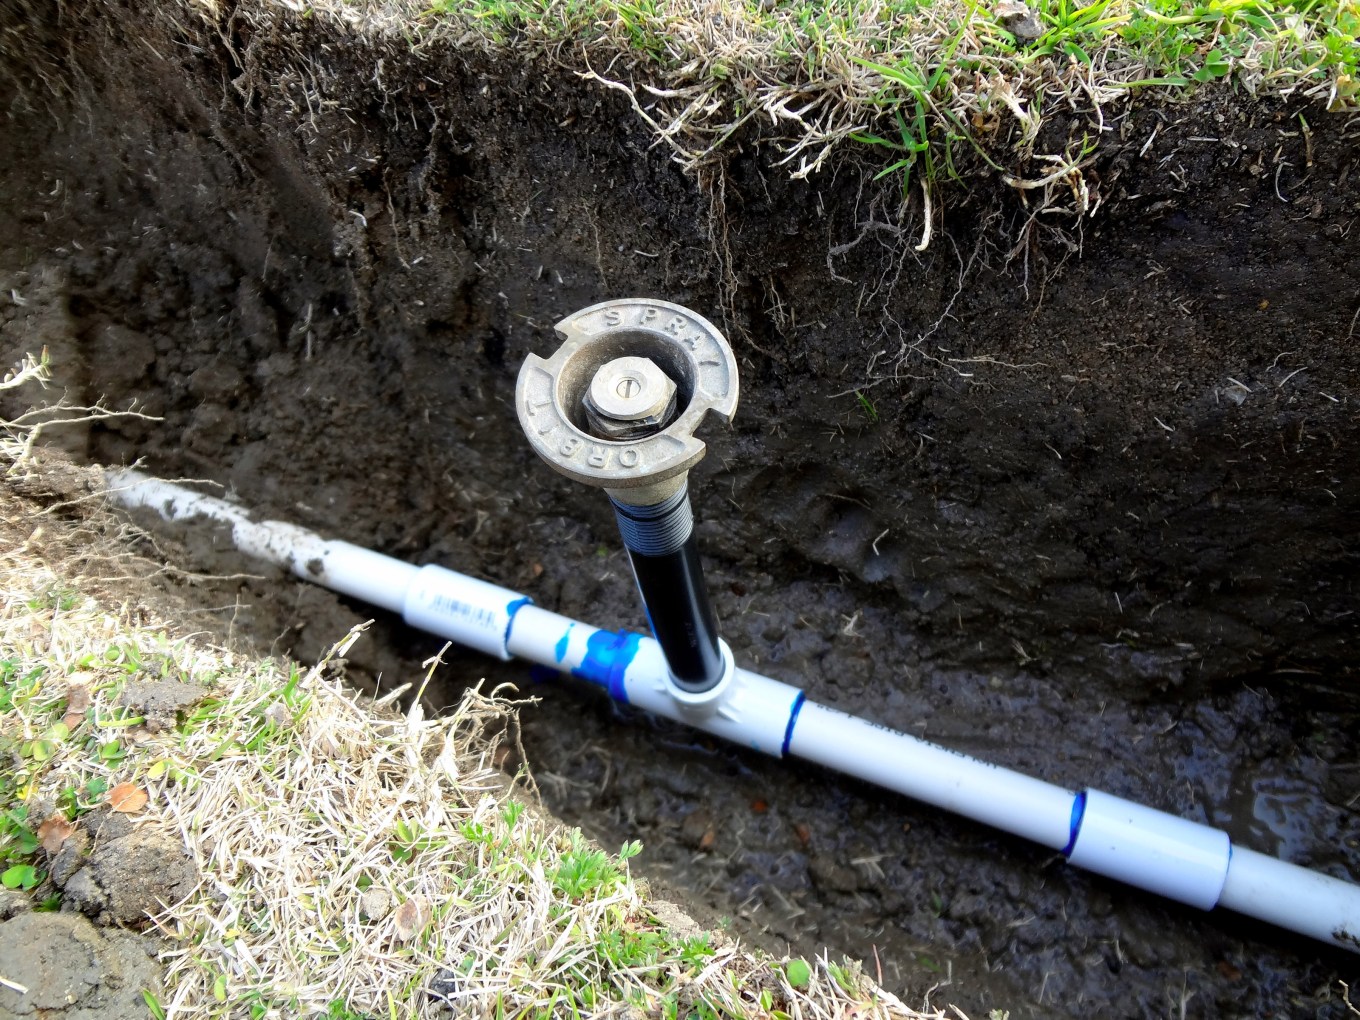
Install the valves and lateral lines, which direct water from the mainline to each sprinkler zone. After that, place the sprinkler heads, which distribute the water evenly across your lawn. Proper spacing and alignment result in full coverage and efficient performance, so refer closely to your layout plan when positioning these components.
Connect Sprinkler System to Water Supply and Run Mainline to Valves
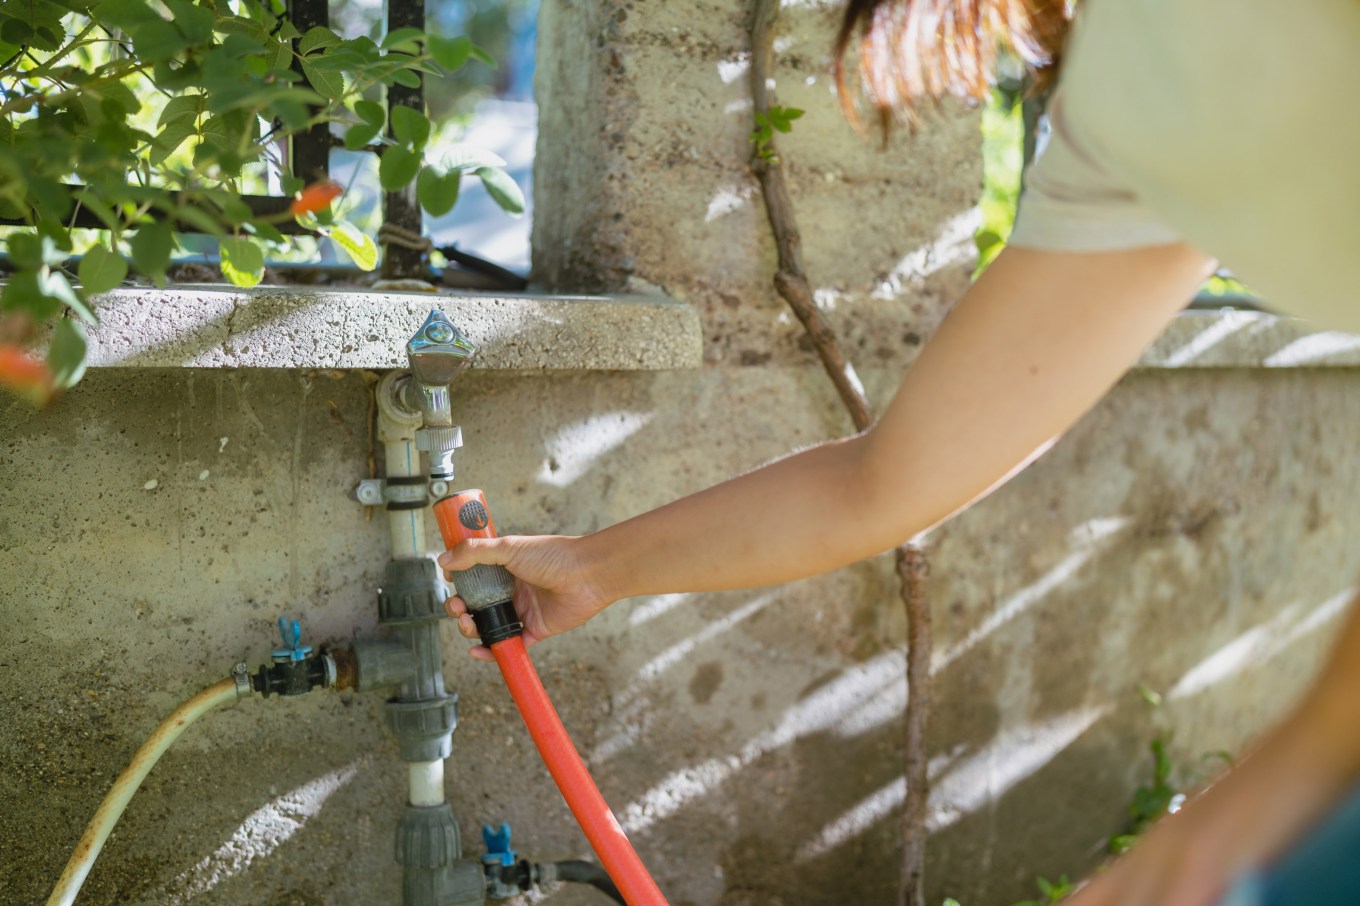
- Begin by connecting your system to the designated water supply and installing an approved backflow prevention device. This device is required by nearly all municipalities to keep the drinking water supply from being contaminated. Always consult your local water provider for backflow requirements and make sure all connections are tight and free of leaks. Requirements vary by city and state.
- Next, run your mainline from the water source to your valve locations. Before proceeding, check your water pressure (pounds per square inch, or PSI) and flow rate (gallons per minute, or GPM) to make sure they meet the requirements of your sprinkler system. These two measurements are essential for proper performance. Getting them right will determine how many zones you need, how many heads you can run at once, and how far your sprinklers can throw.
Program Your Timer to Set the Sprinkler System Watering Schedule

Anticipate Additional DIY Lawn Sprinkler System Costs
Use the controller to set watering schedules. Automated systems can adjust for weather conditions, such as by not turning on when you’ve had enough rain, says Denis McCausland, owner of Green Mountain Landscape and Sprinkler in the Denver metro area.
The sprinkler system itself will account for most of the cost, but you should plan for other associated costs including these:
Getting the Proper Permits for Your DIY Sprinkler System
Most municipalities require permits for in-ground systems to ensure compliance with local codes. says Anton Schwarz, owner of Martinez Lawn Care in Huntsville, Ala. “Always check with your local building department," he adds. Permits often cost money, so you’ll want to budget for them.
Landscaping After DIY Sprinkler System Installation
After installation, you may need landscaping to restore your yard’s appearance. An expert can estimate the costs.
Removing Your Old Sprinkler System
If you're replacing an old system, removal costs will depend on the system's size and complexity. “Tree roots and other obstacles can increase labor costs,” Schwarz says.
Maintaining Your Lawn Sprinkler System
Regular maintenance will affect your system’s efficiency, performance, and longevity. This includes adjusting heads, checking for leaks, and winterizing in climates that have harsh winter temperatures. ”Maintenance will catch issues like leaks or clogged nozzles, saving water and money,” Schwarz says.
Before choosing a sprinkler system, evaluate your budget, yard size, and your yard’s watering needs. High-quality parts and professional installation may cost more up front, but they offer more assurance.
Once you’ve decided on a DIY lawn sprinkler system, you’ll want to budget carefully and complete every step based on your plan and layout. The result will be a well-functioning sprinkler system and a green and healthy yard.