Most of the cost of these DIY weekend projects is in the materials. The labor — that’s you — is free. All you need now are the hours.
But, hey, you’ve got two full days — plenty of time to be a superhero weekend warrior and grab some R&R.
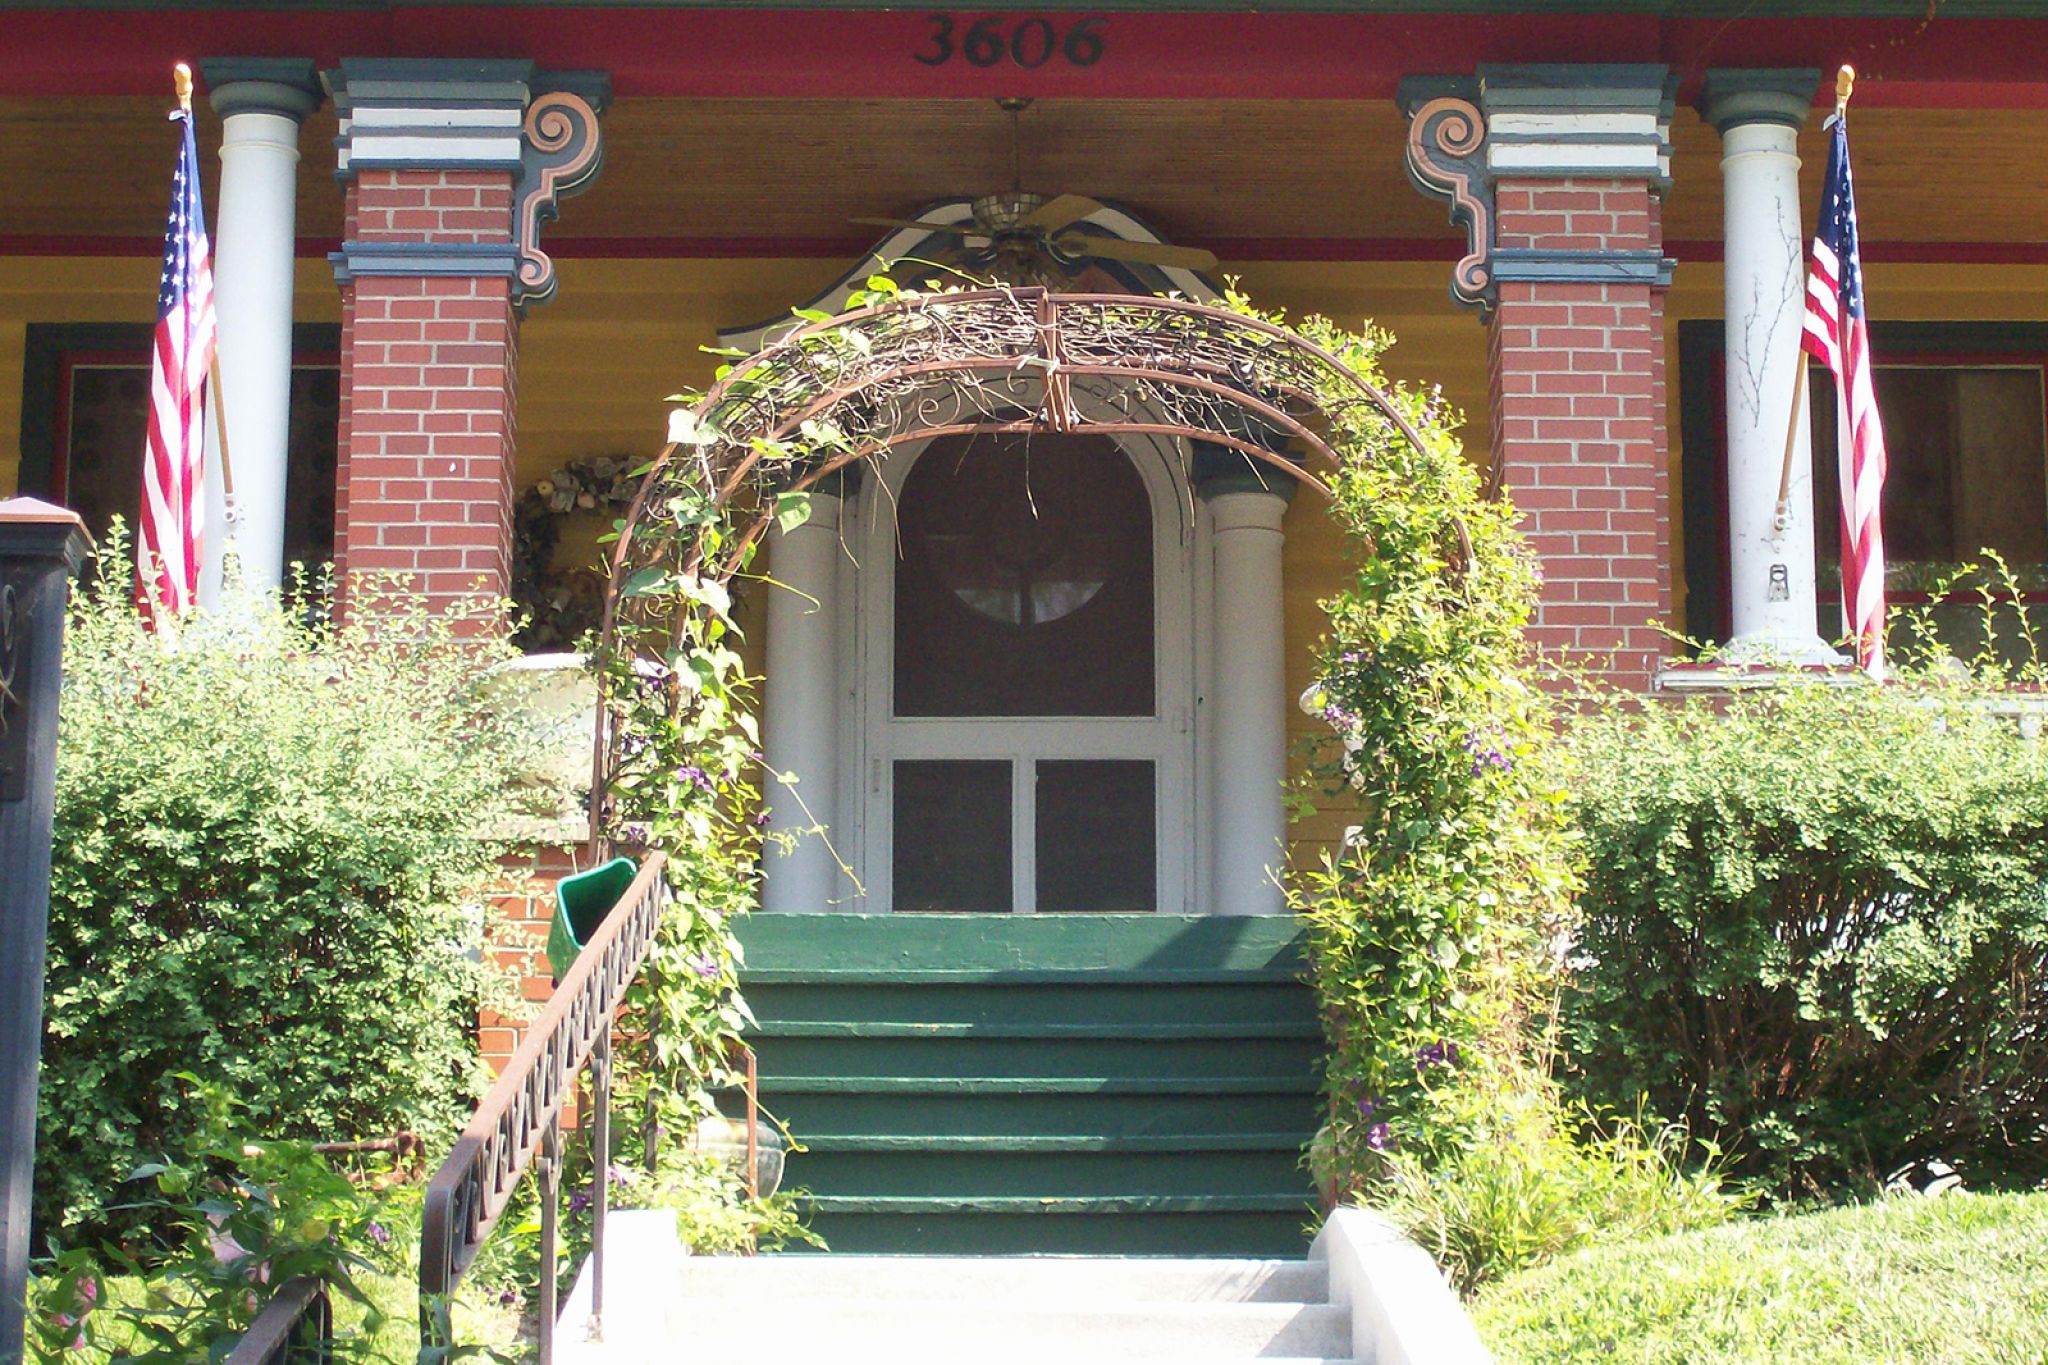
Project #1: Add a Garden Arbor Entry
The setup: Install an eye-catching portal to your garden with a freestanding arbor. It’ll look great at the end of a garden path or framing a grassy area between planting beds.
Specs and cost: Garden arbors can be priced up to thousands of dollars, but you can find nice-looking kits in redwood, cedar, and vinyl at your local home improvement or garden center for $200 to $300. Typical sizes are about 7 feet high and 3 to 4 feet wide. You’ll have to assemble the kit yourself.
Tools: Screwdriver; cordless drill/driver; hammer; tape measure. Kits come pre-cut and pre-drilled for easy assembly, and usually include screws. If fasteners aren’t included, check the materials list before you leave the store.
Time: 3 to 5 hours
Project #2: Install a Window Awning
The setup: Summer is super, but too much sunlight from south- and west-facing windows can heat up your interiors and make your AC work overtime. Beat that heat and save energy by using an awning to stop harsh sunlight before it enters your house.
Specs and cost: Residential awnings come in many sizes and colors. Some are plastic or aluminum, but most are made with weatherproof fabrics. They’re engineered for wind resistance, and some are retractable. A 4-foot-wide awning with a 2.5-foot projection is $150 to $250.
Tools: Cordless drill/driver; adjustable wrench; tape measure; level. You can install an awning on any siding surface, but you’ll need a hammer drill to drill holes in brick. To prevent leaks, fill any drilled holes with silicone sealant before you install screws and bolts.
Time: 3 to 4 hours
Project #3: Screen Off Your Air Conditioner from View
The setup: Air conditioning is great, but air conditioner condensers are ugly. Up your curb appeal quotient by hiding your AC condenser or heat pump unit with a simple screen.
Specs and costs: An AC screen is typically three-sided, about 40 inches high, and freestanding — you’ll want to be able to move it easily when it comes time to service your HVAC. For about $100, you can make a screen yourself using weather-resistant cedar or pressure-treated wood to build three frames, and filling each frame with plastic or pressure-treated lattice.
Or, buy pre-made fencing panels. A 38-inch-by-38-inch plastic fencing panel is about $50.
Tools: Hammer; saw; cordless drill/driver; measuring tape; galvanized wood screws.
Time: Build it yourself in four to six hours. Install pre-made fencing in one to two hours.
Project #4: Add Garage Storage
The setup: Shopping for garage storage solutions is definitely a kid-in-the-candy-store experience. There are so many cool shelves, hooks, and hangers available that you’ll need to prioritize your needs. Take stock of long-handled landscape tools, bikes, paint supplies, ladders, and odd ducks, such as that kayak. Measure your available space so you’ll have a rough idea of where everything goes.
Specs and cost: Set your under-$300 budget, grab a cart, and get shopping. Many storage systems are made to be hung on drywall, but hooks and heavy items should be fastened directly to studs. Use a stud finder ($20) to locate solid framing.
If your garage is unfinished, add strips of wood horizontally across studs so you’ll have something to fasten your storage goodies to. An 8-foot-long 2-by-4 is about $2.50.
Tools: Cordless drill/driver; hammer; level; measuring tape; screws and nails.
Time: This is a simple project, but not a fast one. Figure six to 10 hours to get everything where you want it, plus shopping. But, oh the fun in putting everything in its place!
Project #5: Edging Your Garden
The setup: Edging is a great way to define your planting beds, corral garden mulch, and to separate your lawn from your garden or patio.
Specs and cost: Wood and metal edging looks like tiny fencing; they’re 4 to 6 inches high. Some include spikes that hold the edging in position; other types must be partially buried. Cost is $1 to $5 per foot.
Plastic edging can be molded and colored to mimic brick, wood, and stone. About $20 for 10 feet.
Concrete edging blocks are smooth, or textured to resemble stone. $15 to $25 for 10 feet.
Real stone edging is installed flush with the surrounding grade in a shallow trench on a bed of sand, so digging is required. Stone is sold by the ton and prices vary by region. You’ll need about one-third of a ton of flagstone to make an 8-inch-wide edging 50 feet long, costing $150 to $200.
Tools: Shovel; wheelbarrow; tin snips (for cutting plastic edging); work gloves.
Time: Pre-made edging will take two to three hours for 50 feet; stone will take six to 10 hours.
Related: