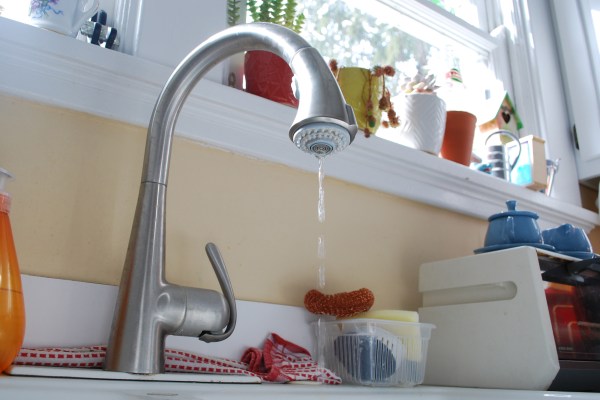
Kitchen Countertop Triage: First Aid for Scratches
In DIY RepairYou can repair kitchen counter mishaps with only a little time and money. Big boo-boos, however, will need professional help.
You can repair kitchen counter mishaps with only a little time and money. Big boo-boos, however, will need professional help.
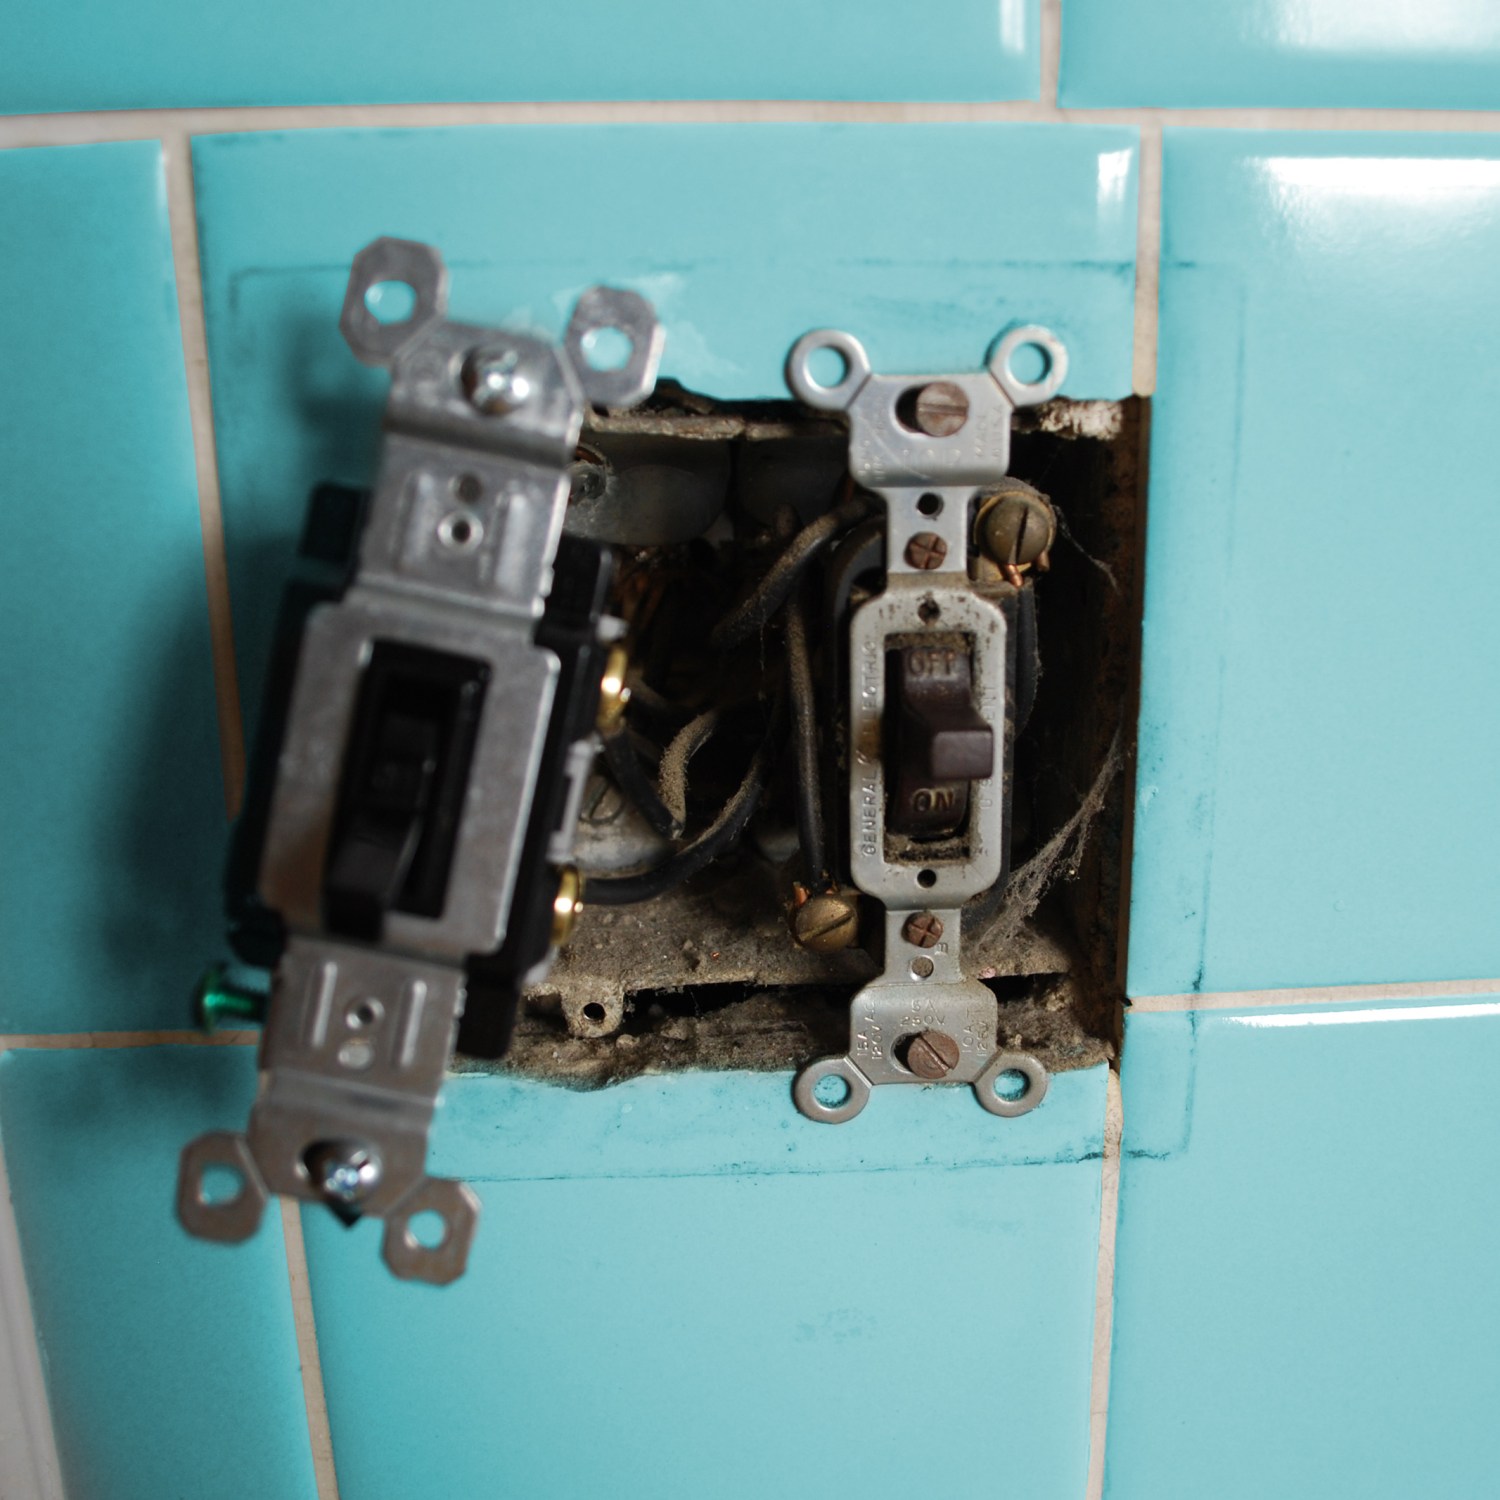
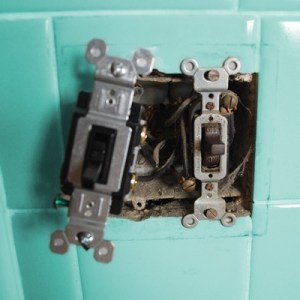
Here’s how to repair a light switch if you’ve got 10 minutes.
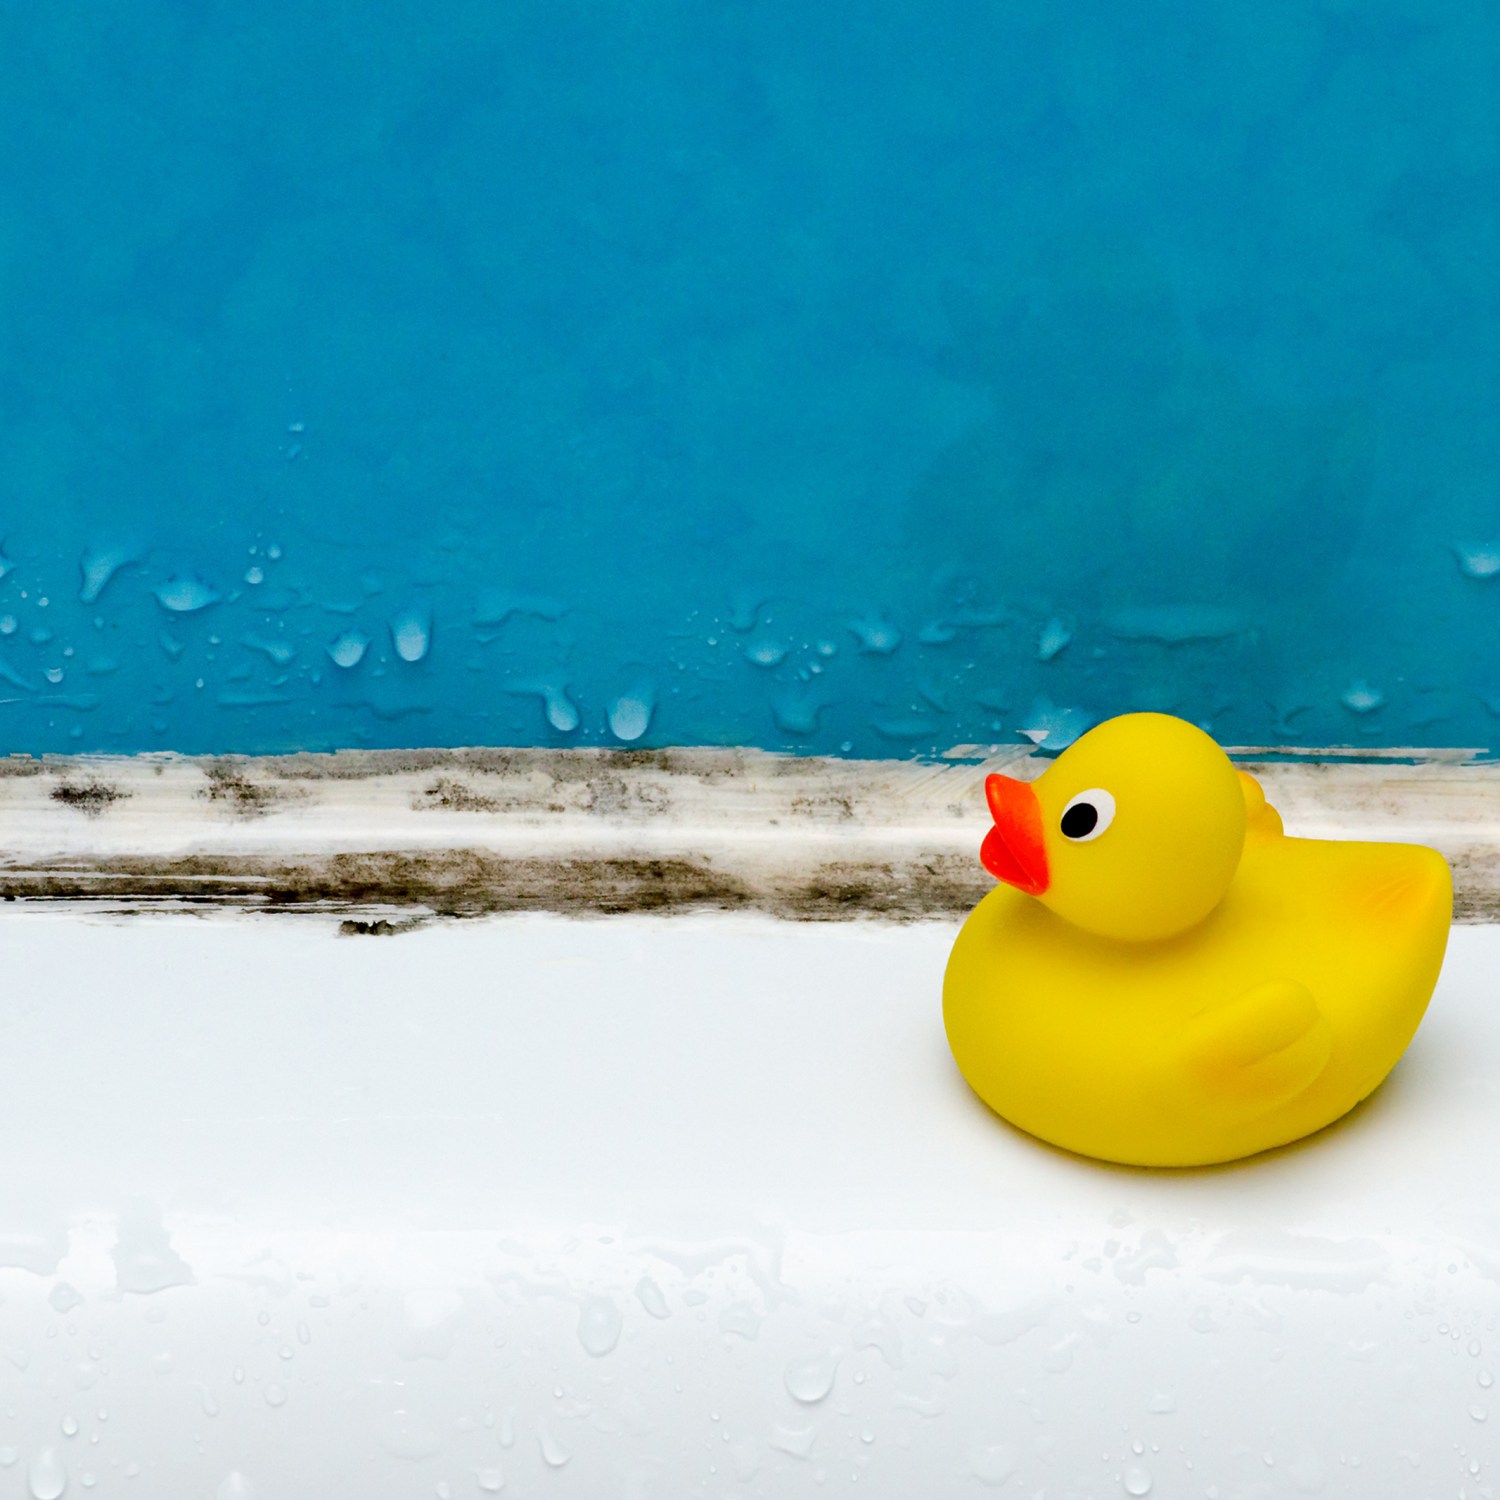
Get rid of one of life’s greatest annoyances for less than a buck.
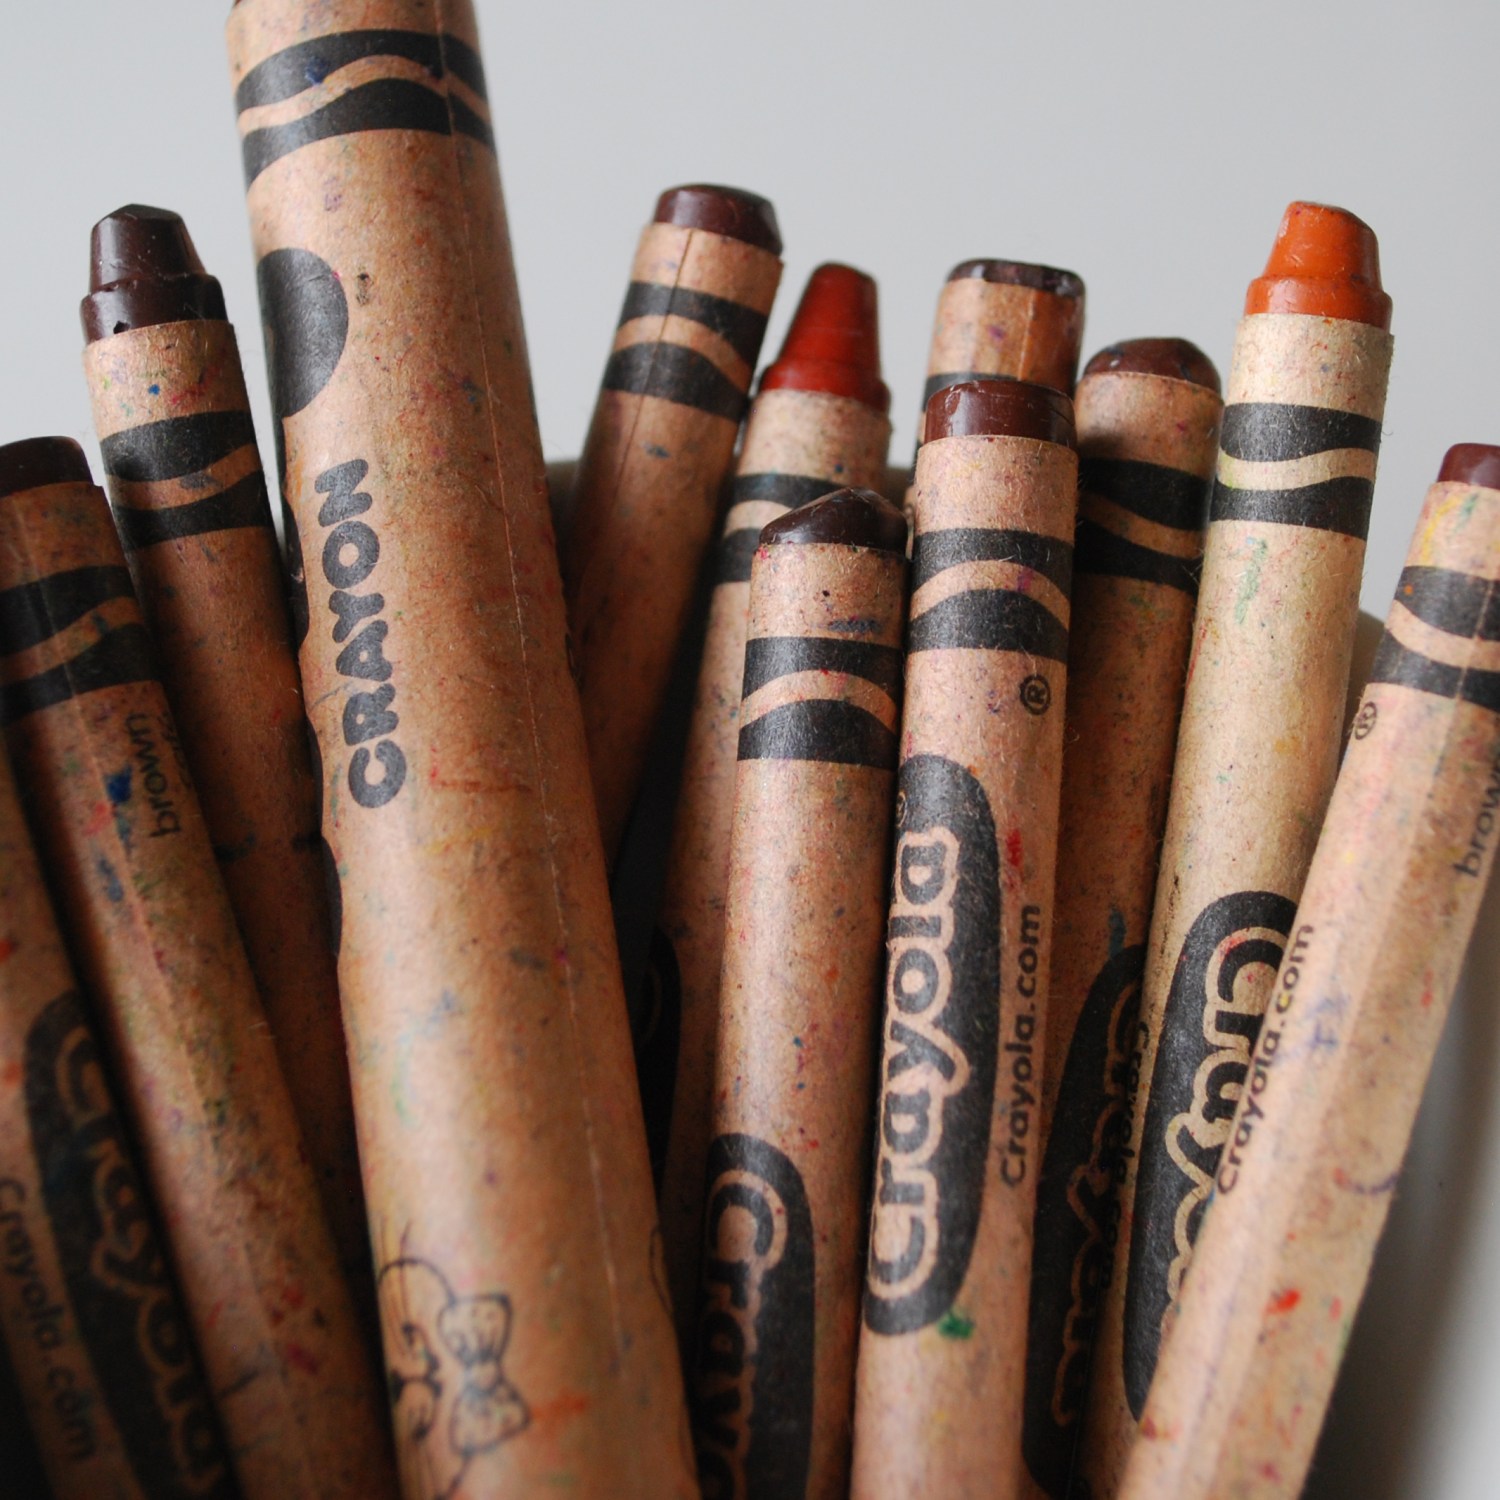
Get your crayons out for the coolest solution of all.
Caulk removal: Patience is key to making it super simple.
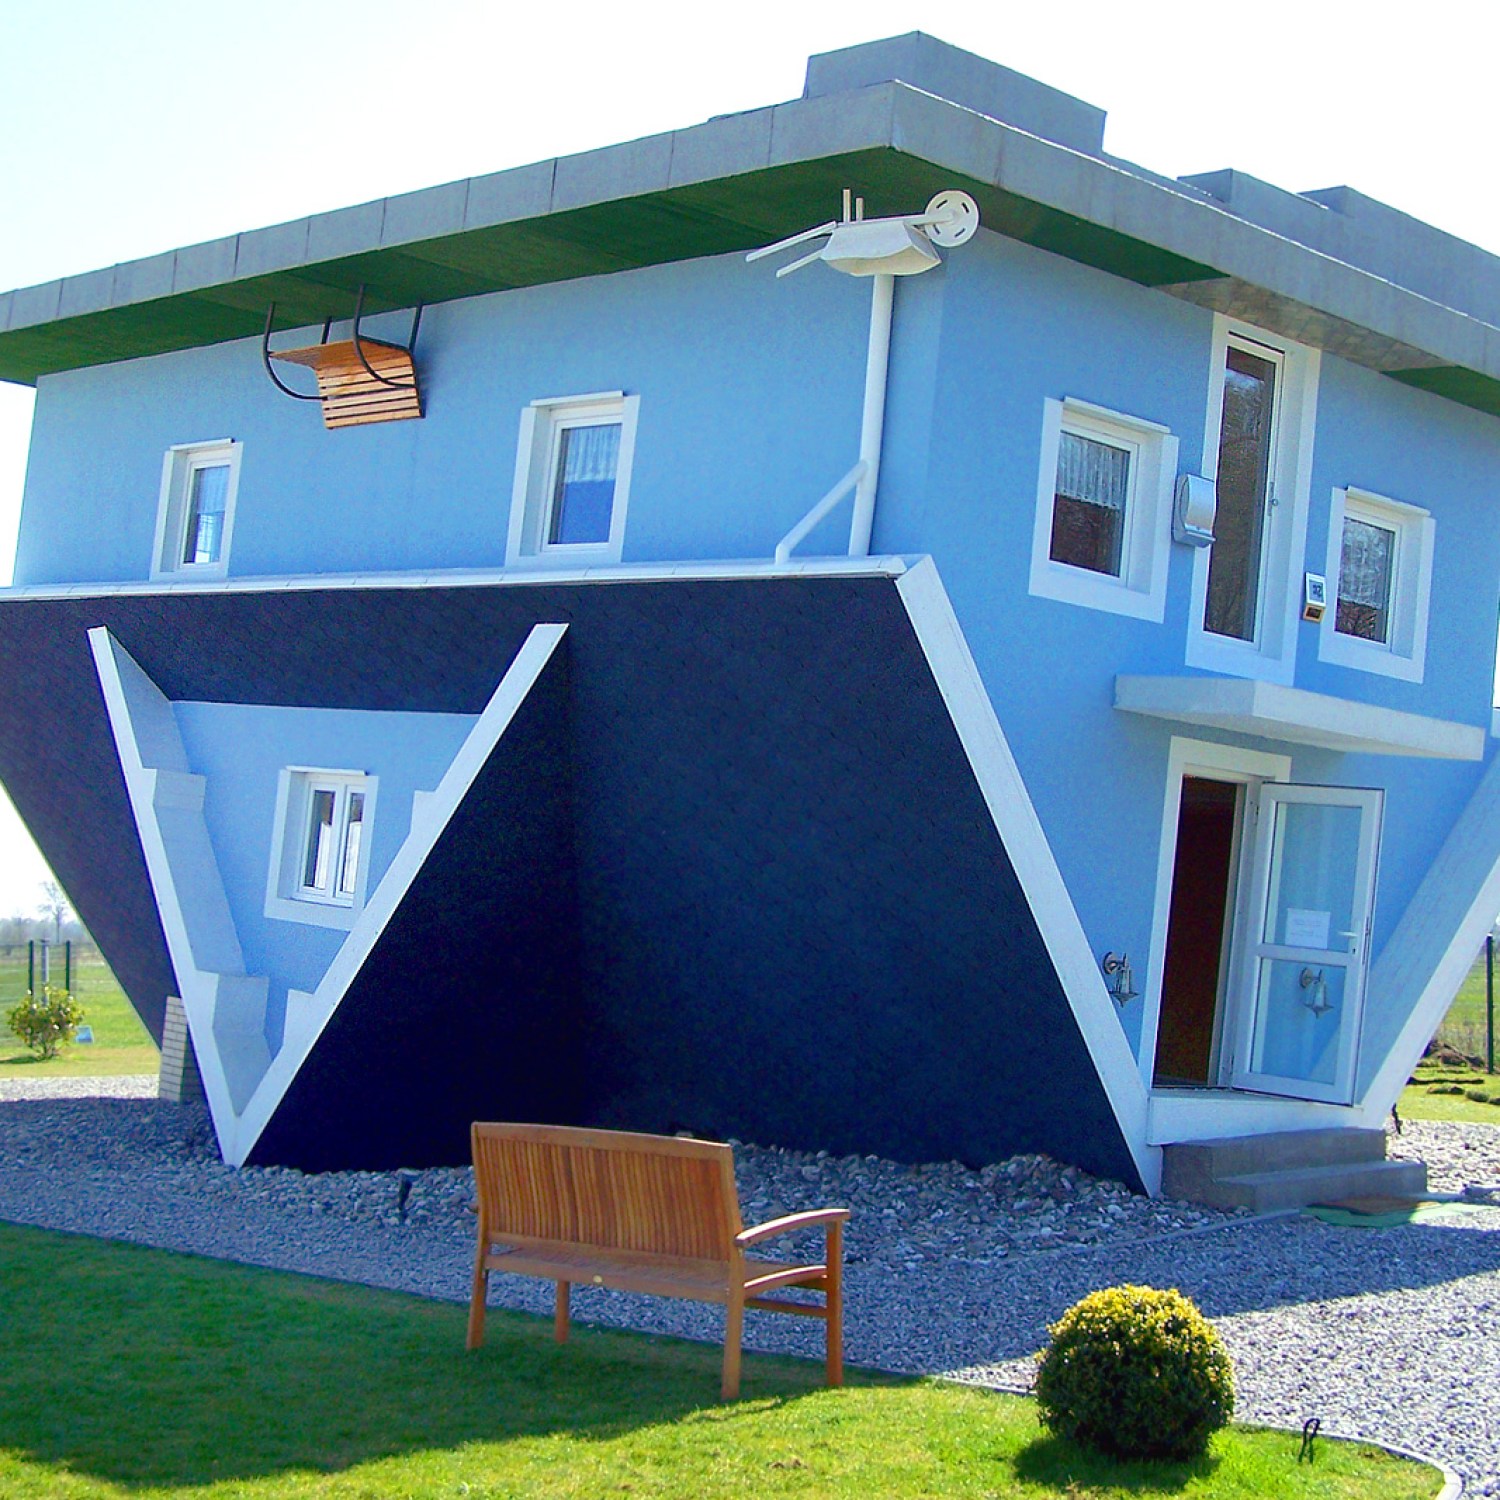
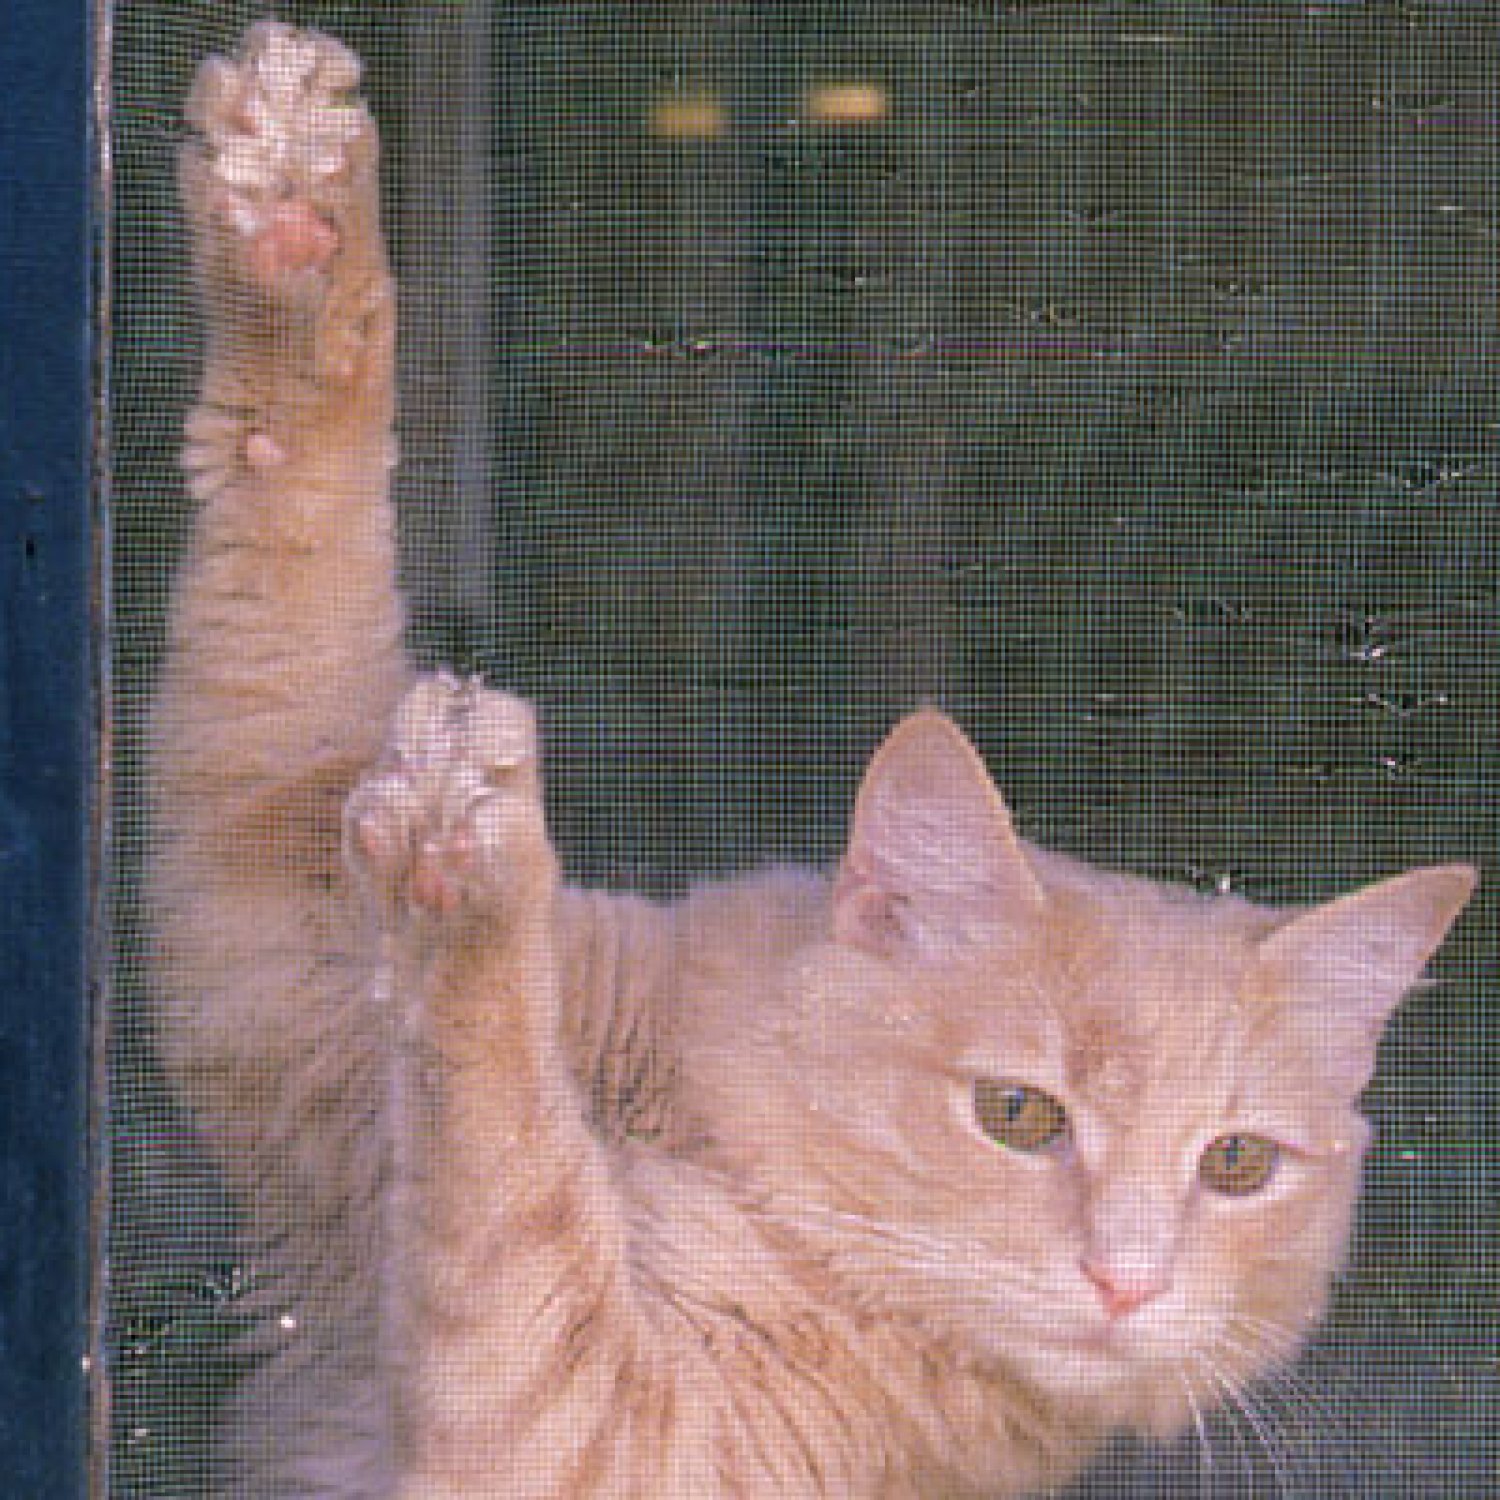
Home maintenance solutions for the quirkiest things.

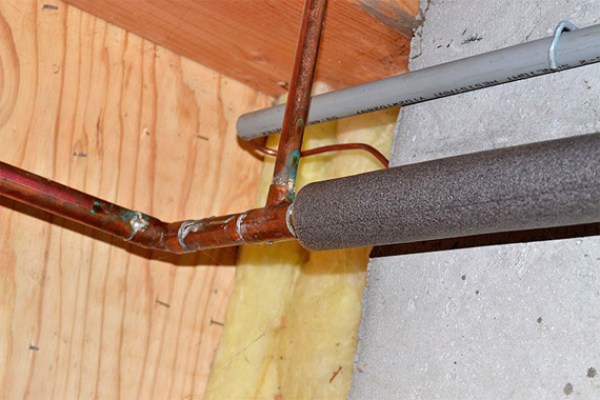
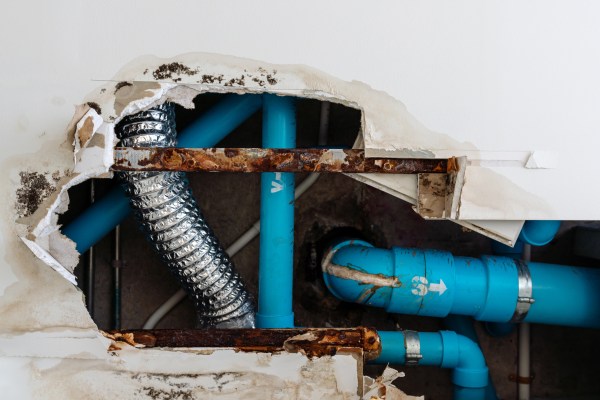
You CAN keep pipes from freezing, and avoid the costly damage that goes with.
Like that annoying squeaky floor board. Easy as tossing a ball to fix!

Although some maintenance projects are best left to the pros, these three easy DIY fixes will give you bragging rights.

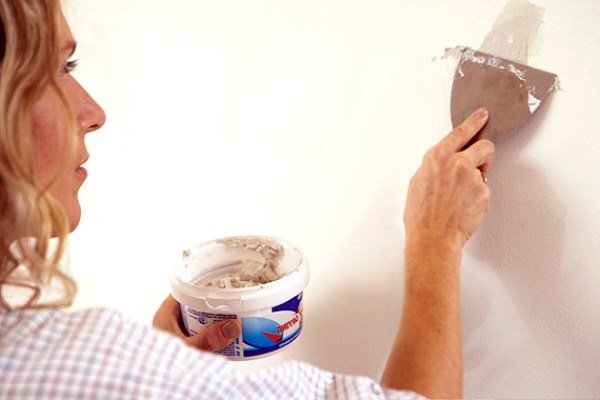
Sooner or later you’ll repair walls that make rooms look worn out. Erasing dings, dents, and scuffs is an easy fix. We’ll show you how.
Get your crayons out for the coolest solution of all.

Avoid these easy-to-prevent mistakes that could cost you big time.
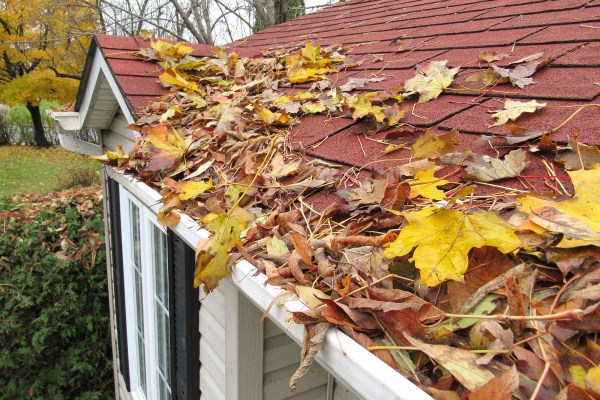
Unclog a blocked rain gutter as quickly as possible to prevent damage to your landscaping, home exterior, gutters, and foundation.
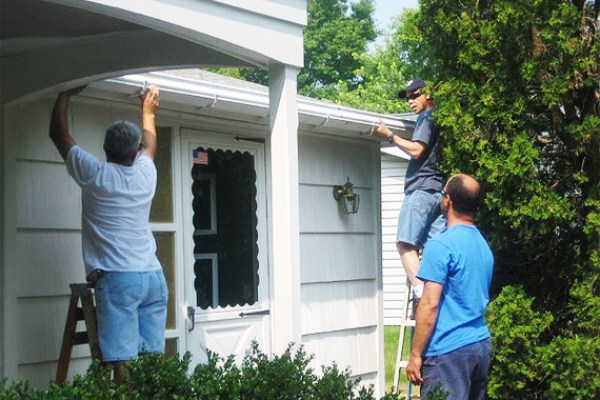
Replace missing gutters and downspouts to prevent serious siding and foundation damage that may cost you $10,000 or more to repair.
The things most likely to break in your home and how much they typically cost.