In case you missed it, many of you smarties dispensed an overflowing bathtub’s worth of great bathroom remodeling tips during our month-long Water-Wise Bathroom Redo project. Now it’s our turn to give some of these worthy ideas a shout-out. (Comments are organized by topic and edited for length.)
Planning a Bath Makeover
1. Do your planning as if it were an empty room.
- Are the fixtures placed in the most advantageous places in the room?
- Can they be moved?
- Can the space be expanded?
- Visit model homes and open houses to get ideas of what other home owners have done. — William
Buying and Installing Fixtures
2. You can save a lot of money by going to a Habitat for Humanity Restore for fixtures, tiles, and towel racks. — Annalisa
3. Check with some of the big-box stores and see if they’ll take [an old toilet] in trade. Sometimes you can save a few pennies on a new one that way and then they will dispose of [the old one]. [With a small footprint,] consider some of the shallower vanities, which will give you more floor space, or even a floating vanity, which will help the room look larger. — Christine
4. A trick that might help with shower arm removal/installation: Buy an oil filter wrench at an auto store — the kind that has a handle and a rubber belt that adjusts by slipping through an eye in the handle. You can easily adjust it to fit the pipe and it doesn't mar the finish. — Mike
5. Sometimes paint and accessories/fixtures make all the difference. Plus the added shower, however small, is hidden up the steps and behind the wall. (See below) Will be great for resale. — Jessica

Saving Water
6. Cheapest, most cost-effective modification:
- Remove the shower head.
- Cut a circle from side of plastic milk jug sized to fit the interior of shower pipe.
- Cut an X in the center of the circle.
- Insert the circle into the pipe, reapply teflon tape, and screw shower head back on.
- Use a 5 gallon bucket to measure amount of water coming out in a minute's time.
You may need to adjust the cut to get a lower flow. It took me three tries to reach 1.5 gallons per minute. (My husband never guessed it had been done!!) But it's now 2 gallons/minute less. — EB
7. The bathroom redo pictured below includes:
- Low-flow faucets
- Tiled showers
- Only one tub in the master bath
- Roman slate (helps keep baths clean and warm when showering)
- Floor drains (no more accidents and it’s easy to clean the floors when baths are done)
- Tankless on-demand water heater (a big penny saver)
We even have the grandkids involved in saving water. They know where to stop filling the tub. We wash in cold water always, and only use the dishwasher when it’s totally full. Proof was when we cut our water bill in half, and the utility bill is never over $175 a month! — Cathy

8. A huge water- and energy-saving item is an on-demand hot water recirculating pump. You can do on-demand with either a sensor or a switch. Either way you’ll save lots of water and energy. You’ll also need to insulate your water pipes. If you open up any walls, that’s the time to insulate. — Daniel
Debating a Shower Curtain vs Shower Door
9. I suggest a bowed shower curtain rod — makes shower feel more spacious without increasing footprint. — Marie
10. I recommend getting rid of the [shower] rod [for] either a shower screen (if washing your children in the tub is necessary) or a frameless shower enclosure.
If these options are too expensive, raise the shower curtain as high to the ceiling as possible. Then, using an existing shower curtain, add a coordinating fabric to the bottom for the extra length to compensate for raising the rod. Trim could be used to hide the seam between the two fabrics. This would seem like a custom shower curtain and the rod would no longer be in the sight line! — Jeff
11. If you have small children, consider a bath screen, [which are] gaining in popularity. These help out Mom and Dad when they bend over to give their little ones a bath, i.e., no track on the tub deck to annoy your ribs. — Tracy

12. We recently moved back from living in Europe, where we came to appreciate the setup in our last apartment there: a glass panel in the shower instead of a shower curtain or shower door. It fastened to the wall at the front of the tub [to keep] the water in, but only ran about a third of the length of the tub. It was on hinges so you could swing it out, which made it easy to clean the faucets, etc. It looked a lot nicer than a curtain but wasn't as confining or dirt-collecting as a shower door. — John
13. A quick word in favor of shower doors: Clear ones can give you the same open feeling as curtains. And for pet owners (like myself) who bathe their furry family members in the tub/shower, not only is a handheld shower attachment a must-have, but so are shower doors. Being able to bathe [my cat] in a securely enclosed space makes her more cooperative, and virtually eliminates my need for boxes of Band-Aids. — Johnna
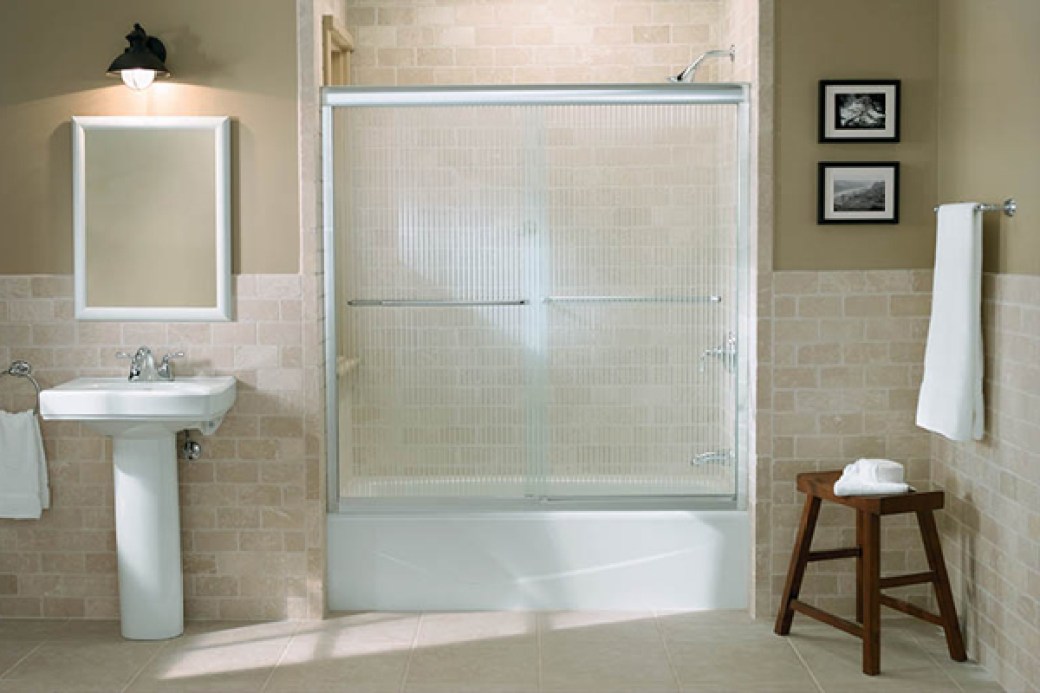
14. A 1/4" or 3/8" semi-frameless chrome/clear shower enclosure (bypass doors) like the one below would make [a] small bathroom larger AND even more elegant. Add hydroshield (a Rain-X-type material to aid in cleaning). — Tracy
Related: Dump Your Tub for a Dreamy Shower
Grouting and Resurfacing
15. Nasty grout/caulk is the biggest turn-off to my buyers — and a pain to clean and maintain. Get an all-one-piece shower unit!! NO GROUT/CAULK LINES! Cleaning is a breeze since it’s an all-one surface. You may find you’ll spend nearly as much money — or more! — on resurfacing the tub, plus adding a surround, as you would if you purchase an all-one-piece shower unit. (I got mine at Lowe's for around $300.) — Laura
16. [Tile-tub resurfacing] breaks down over time and amount of use. Get a good warranty/guarantee. — Angela
17. You can get a walk-in tub that won’t cost much more than refinishing the old one. Soak anytime you want without using any more water than the old one, enjoy the jets, and it’ll be easier on you as you age ... unless you plan on selling your house before retirement. In that case a walk-in tub can only increase the value and desirability of your house. — Marcia
Creating Storage
18. Do away with [the vanity and cabinet]. Is there enough wall space for you to build a small linen closet? You wouldn't believe how much stuff you can you can put in a small space with proper shelving. The inside of my linen closet is 2' w X 12" d and holds everything with room to spare. — Paula
19. I swapped out the dinky medicine cabinet for much taller spaces built into the stud cavities created on each side of the mirror. I flipped up the 60-inch-wide mirror vertically to make space and it made a huge difference in seemingly expanding the room, as it takes the eye up. — EB
Related: See Creative Storage Ideas for the Bathroom
Lighting
20. I cringe every time I walk into a new or remodeled bath and see the standard over-the-mirror lighting. Why? Ever compared this "Halloween effect" to lighting (As we age this becomes even more pronounced; depressing sight first thing in the morning.) that comes from the sides near face level? I manage to figure out a way to move the lights down on all my bath designs. Clients are very grateful for that usually overlooked detail. — EB
Which is your favorite tip? Have more bathroom makeover tips and pics you’d like to share? Please do!