
Because decks are exposed to the elements all year round, it’s a good idea to establish a routine of upkeep that’ll protect your deck and prevent expensive repairs.
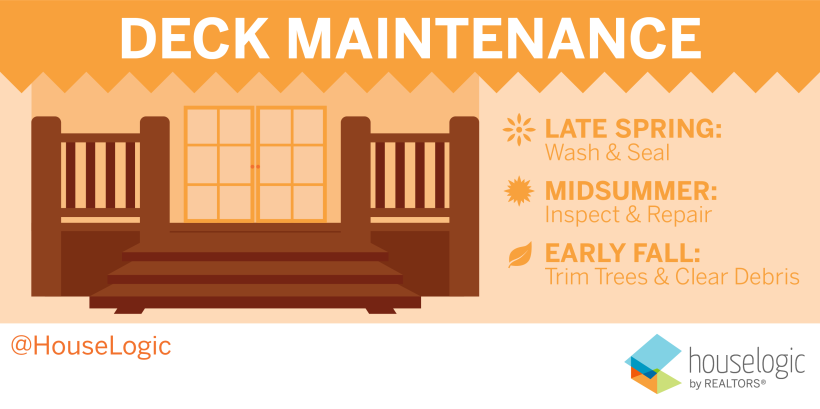
Here’s a simple deck maintenance schedule to keep it safe, sound, and looking great.
Spring: Wash the Deck
An unwashed deck is an invitation to mold and mildew, which can cause rot. Here’s how to wash your deck:
1. Remove debris from between deck boards using a putty knife. Pay special attention to the areas where deck boards cross the joists -- the structural members underneath the decking.
TIP: For a makeshift extension that’s a real knee-saver, try pushing the handle of your putty knife into a length of 1¼-inch PVC pipe. Some putty knives squeeze right in. Or buy a pole-type groove and crevice cleaner.
2. Protect all shrubs and plantings. Wet them and cover them with plastic sheeting.
3. Thoroughly sweep the deck.
4. Choose an appropriate cleanser.
- Wood deck: Use a standard deck cleaner and follow its directions. Some require the decking to be wet first. Some don’t.
- Composite deck: Use a cleaner specifically formulated for composite material. Attack grease and oil stains with a commercial degreaser and detergents.
- Vinyl (cellular PVC) deck: You’ll only need to use warm water and a mild soap to remove mold, mildew, and dirt.
5. Clean the deck. Choose a cloudy day when the decking is cool and the sun won’t evaporate the cleaner.
- Wood deck: Use a paint roller, a garden sprayer, or a stiff-bristled brush broom to apply the cleaner. Don’t let it pool. Don’t let the deck dry until you’ve scrubbed it clean. Then let it soak according to manufacturer’s instructions (usually about 10 minutes). Rinse thoroughly with clean water.
TIP: To clean wood railings: Working from the bottom up, apply the cleaner, scrub, and then rinse. Working from the top down splatters the cleaning solution onto dry wood where it can double-bleach the surface, leaving marks that don’t go away when the lower area is washed. Working from the bottom up means you’ll be splattering onto a wet surface where the cleaner is diluted, leaving no marks.
- Composite deck: Scrub with a soft brush. Do not use a pressure washer -- it can permanently damage the decking and will void any warranty. Remove rust and leaf stains with a deck brightener containing oxalic acid.
- Vinyl deck: Scrub in a circular motion using a stiff broom, then rinse thoroughly.
6. Let deck dry. Wait two days before sealing.
Spring: Seal the Deck
Sealers and stains are available at home improvement centers for about $30 per gallon -- enough to cover 250 square feet of decking. Your finish options include:
- Clear sealer that lets the wood’s natural grain and color show through
- Toner that adds a bit of color but fully reveals the grain and provides some protection against sunlight (ultraviolet or UV light)
- Semi-transparent stain that tints the wood, but lets some grain show
- Solid stain and opaque color that seal weathering damage and completely cover the grain
Expect to reapply clear sealers and toners annually. Reapply stain finishes as needed (every other year is a good routine) using the same or a slightly darker color. Be sure to wear gloves, a safety mask, and eye protection when applying stain and sealers.
1. Choose a two-day period when you’ll have clear skies and moderate temperatures.
2. Lightly sand the deck. Use a pole sander equipped with 80-grit paper to remove any furriness caused by washing.
3. Replace any missing or popped nails and screws. Replace protruding nails with deck screws slightly longer than the nail. If a nail only slightly protrudes, you may do more harm than good trying to pull it out. Pound it home.
TIP: When pulling out the nail with a hammer or pry bar, use a scrap of wood as a fulcrum for greater leverage and to avoid damaging the deck.
4. Apply the sealer or stain. Use a roller to apply the sealer to the decking, covering three or four boards at a time. Use brushes and small rollers for railings, planters, and benches. Don’t let the sealant dry or puddle. Two thin coats is better than one thick one.
TIP: Deck sealants aren’t required or recommended for composite decks, although some composite decking can be stained to restore its color. Be sure the product is intended for composites. Don’t expect the same density of color that you would achieve with wood
Midsummer: Inspect and Repair Your Deck
When the weather is warm and dry, it’s a good time to give your deck’s structure a close inspection. Pay particular attention to any areas within 6 inches of the ground or close to sources of water, such as downspouts and planters.
1. Look for signs of rot. Probe structural members with a flat-blade screwdriver. Begin by checking stairs, especially where the stringers (the saw-tooth notched pieces that support the steps) meet the ground. Also check each perimeter post. If you can push the screwdriver a quarter-inch or more into a suspect area, you probably have rot.
TIP: Areas of rot that are no bigger than a silver dollar can be removed with a chisel, and the hole can be treated with wood preservative. Larger areas may require the structural member to be replaced. Consult a professional carpenter or builder for an estimate for repairs.
2. Inspect the ledger. Using a flashlight underneath your deck, pay special attention to the ledger — that all-important piece of framing that attaches the deck to the house. A damaged ledger is the cause of 90% of all deck collapses.
TIP: The ledger should be attached with lag screws, not just nails. The flashing -- the metal cap that covers the top of the ledger and prevents moisture from getting behind the siding -- should be free of rust and holes.
3. Check remaining joists, posts, and beams. Check all the hardware underneath, especially joist hangers, and replace any that are seriously rusted. Probe for signs of rot on the posts and joists. If anything looks doubtful, call in a pro to provide an estimate for any needed repairs.
TIP: If a framing member can’t be easily removed and replaced, reinforce it. For example, if a joist shows areas of rot, you can add a splint of comparable pressure-treated lumber alongside it, attaching the splint with two or three 3-inch deck screws every 12 inches. Then chisel away the rotten area and paint the raw wood with preservative.
4. Check for cracks or rotten decking boards. Not all cracks are a structural threat, but they’ll get worse with time. If you find damage, replace the piece.
5. Check the railing. Give it a good shake to be sure posts are not loose or damaged -- loose connections may be remedied by drilling pilot holes and adding galvanized lag screws. Look for cracks that, over time, may have developed around fasteners such as nails or screws. To remedy, remove the fastener and seal the crack with an exterior-grade adhesive. Then, drill a new pilot hole and add a new galvanized deck screw.
Fall: Preventive Measures
Fall is also a good time to wash and seal your deck if you didn’t get a chance to in the spring. The point is to do it when temperatures are mild.
Otherwise, to keep your deck in good shape:
- Trim nearby bushes and trees. They need to be at least 12 inches from the deck to slow mold, moss, and rot.
- Don’t let leaves and other debris pile up in corners.
- Move planters, chairs, and tables occasionally to avoid discoloring the decking. Keep nearby gutters and downspouts in good repair.