Old wood siding, fast becoming a dinosaur in new construction, regularly needs the protection of a new coat of paint.
A professional will charge you between $4,000 and $6,000 to paint a 2,000-square foot, two-story house. But you can do it yourself in a few weekends for the cost of paint and supplies.
A good paint job can last 10 years. The key is proper preparation. Here are 10 steps to take to make sure your exterior paint job looks great, adds value to your home, and lasts a long time.
Step 1: Get the Lead Out
Do-it-yourselfers are not obligated to follow EPA regulations for lead-safe practices, as professional paint contractors must. But if your home was built before 1978, when lead paint was banned for residential use, you should protect yourself and your neighbors from airborne lead particles.
The first step is to test for lead paint: Kits are available for $10 to $35 online, and at paint and hardware stores. If tests prove positive for lead, keep paint dust to a minimum by taking the following precautions.
- Lay plastic drop cloths and collect scrapings.
- Clean area with a HEPA vacuum.
- Wear masks and Tyvek suits.
- Dispose of all materials at an approved hazardous materials site.
Step 2: Wash the Exterior
Mildew thrives under fresh paint, which won’t adhere well to dirty, grimy, spore-sporting exterior walls. So wash your home’s exterior before painting.
Use a mix of water and a phosphate-free cleanser such as Jomax House Cleaner ($15 per gallon) and Mildew Killer Concentrate ($8.50 for 32 ounces).
You can hand-apply the solution with a sponge, which will take forever and many trips up and down the ladder. Or, hire a pro to pressure wash siding--not a task for an amateur, who can damage siding by pushing water under boards. (Cost varies by location: $150 to $750 for a professional to pressure wash the exterior of a 2,100-square-foot house.)
Step 3: Scrape off Loose Paint
Once clapboards are dry, remove loose, flaking paint.
A handheld scraper is usually the best tool for the job, though you can also use a hot-air gun or infrared paint stripper. Never use an open-flame torch, which can easily start a fire and is illegal in most states unless you have a permit.
To work lead-safe, wear a mask and Tyvek suit, spray water on the paint as you scrape, and collect the debris.
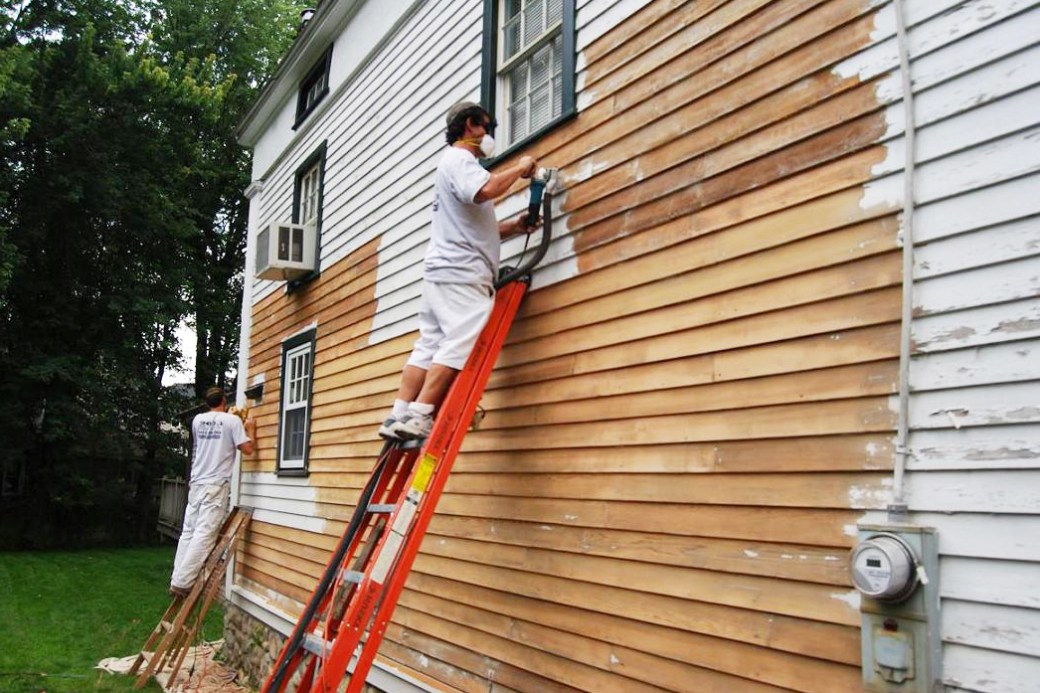
Step 4: Sand Rough Spots
A pad sander or random-orbit fitted with 80-grit sandpaper will smooth out any remaining rough spots. Take care not to push so hard that you leave sander marks in the wood.
To be lead safe, use sanders fitted with HEPA filters.
Step 5: Fill and Repair
After washing, scraping, and sanding your wood siding, step back and inspect what you’ve uncovered--holes, dings, and chips.
Fill minor holes or dings in the siding with a patching putty or compound such as Zinsser’s Ready Patch ($20 per gallon).
If you’ve got a major rot problem, summon a carpenter to replace the bad wood. Also, fix drainage problems that cause water to pool and promote rot.
Step 6: Apply Primer
Apply primer immediately after preparing wood siding.
White, gray, or tinted primer provides an even base for topcoats to adhere to, and a uniform canvas from which to survey your work. Small gaps in joints and around doors, windows, and other spots where horizontals meet verticals will all stand out in high relief, showing where you need to fill in with caulk.
If you’re painting over bare wood or existing latex paint, then latex primer is fine. But if you’re painting over multiple coats of oil-based paint, it’s best to stick with a new coat of oil-based primer.
Step 7: Caulk All Joints
Siliconized or top-of-the line polyurethane acrylic caulks give paint jobs a smooth, pleasing look. But the benefits aren’t purely aesthetic. Tight joints also prevent air leaks and block water penetration.
Spring for the $7-a-tube polyurethane caulks with 55-year warranties, which will stand up to weather better than 35-year caulks that cost less than $3. The average house requires about seven tubes of caulk.
Step 8: Choose the Right Paint
Painting with water-based acrylic latex is so much easier than dealing with oil-based paints. Latex paint:
- Applies easily
- Dries quickly
- Cleans up with soap and water
If your house already sports an oil-based paint, which is more durable than latex, you’ll have to stick with it.
Choose finishes carefully. As a rule, the higher the sheen, the better the paint is at blocking the sun’s damaging rays. Satin is fine for shingles or clapboards, but you’ll want gloss paint to protect high-traffic parts of a house, such as window casings, porches, and doorframes. A gallon of premium exterior latex costs $35 to $45.
Step 9: Apply Top Coat(s)
Less is more when it comes to applying top coats. More layers can result in paint flaking off through the years; less paint bonds better to layers beneath.
If you’re going from a white house to yellow or cream, you might be able to get by with one coat. Going from a light to a dark house, and vice versa, usually requires two coats.
Step 10: Practice Good Maintenance
You can extend the life of a good paint job by:
- Inspecting the caulk every year and replacing any that’s cracked or missing.
- Removing mold or mildew.
- Washing stains from nesting birds and pollen.
- Touching up blisters and peels before they spread.
Related: Paint with Confidence: The Ultimate Guide to Interior Painting